Fold-up Van Table for Two
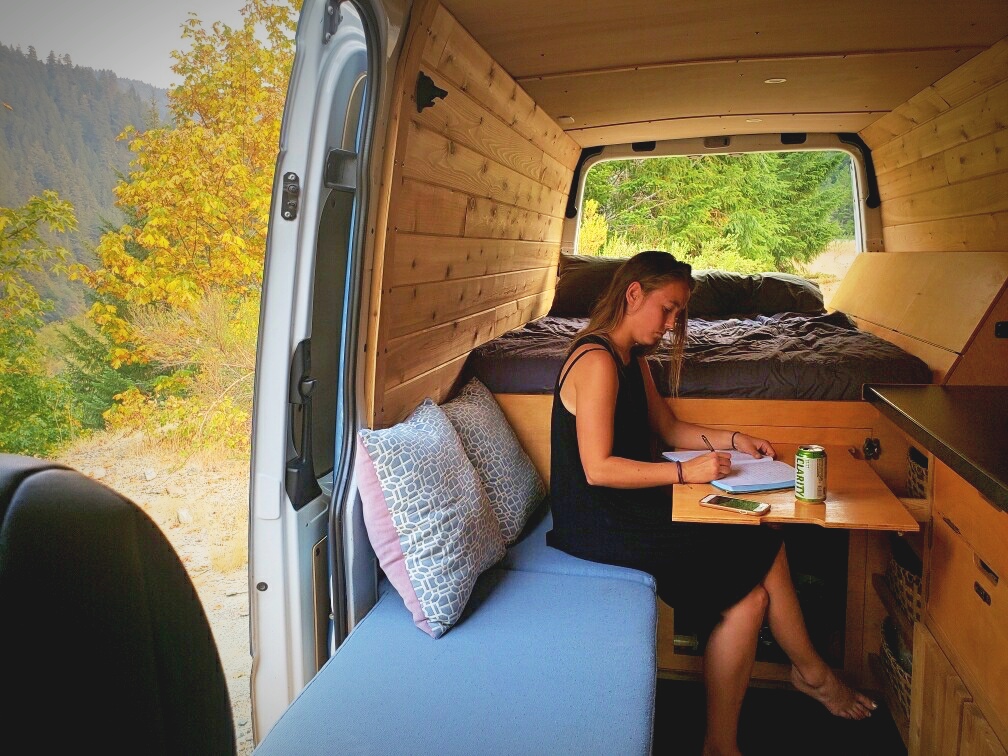
Writing and relaxing at our fold up van table.
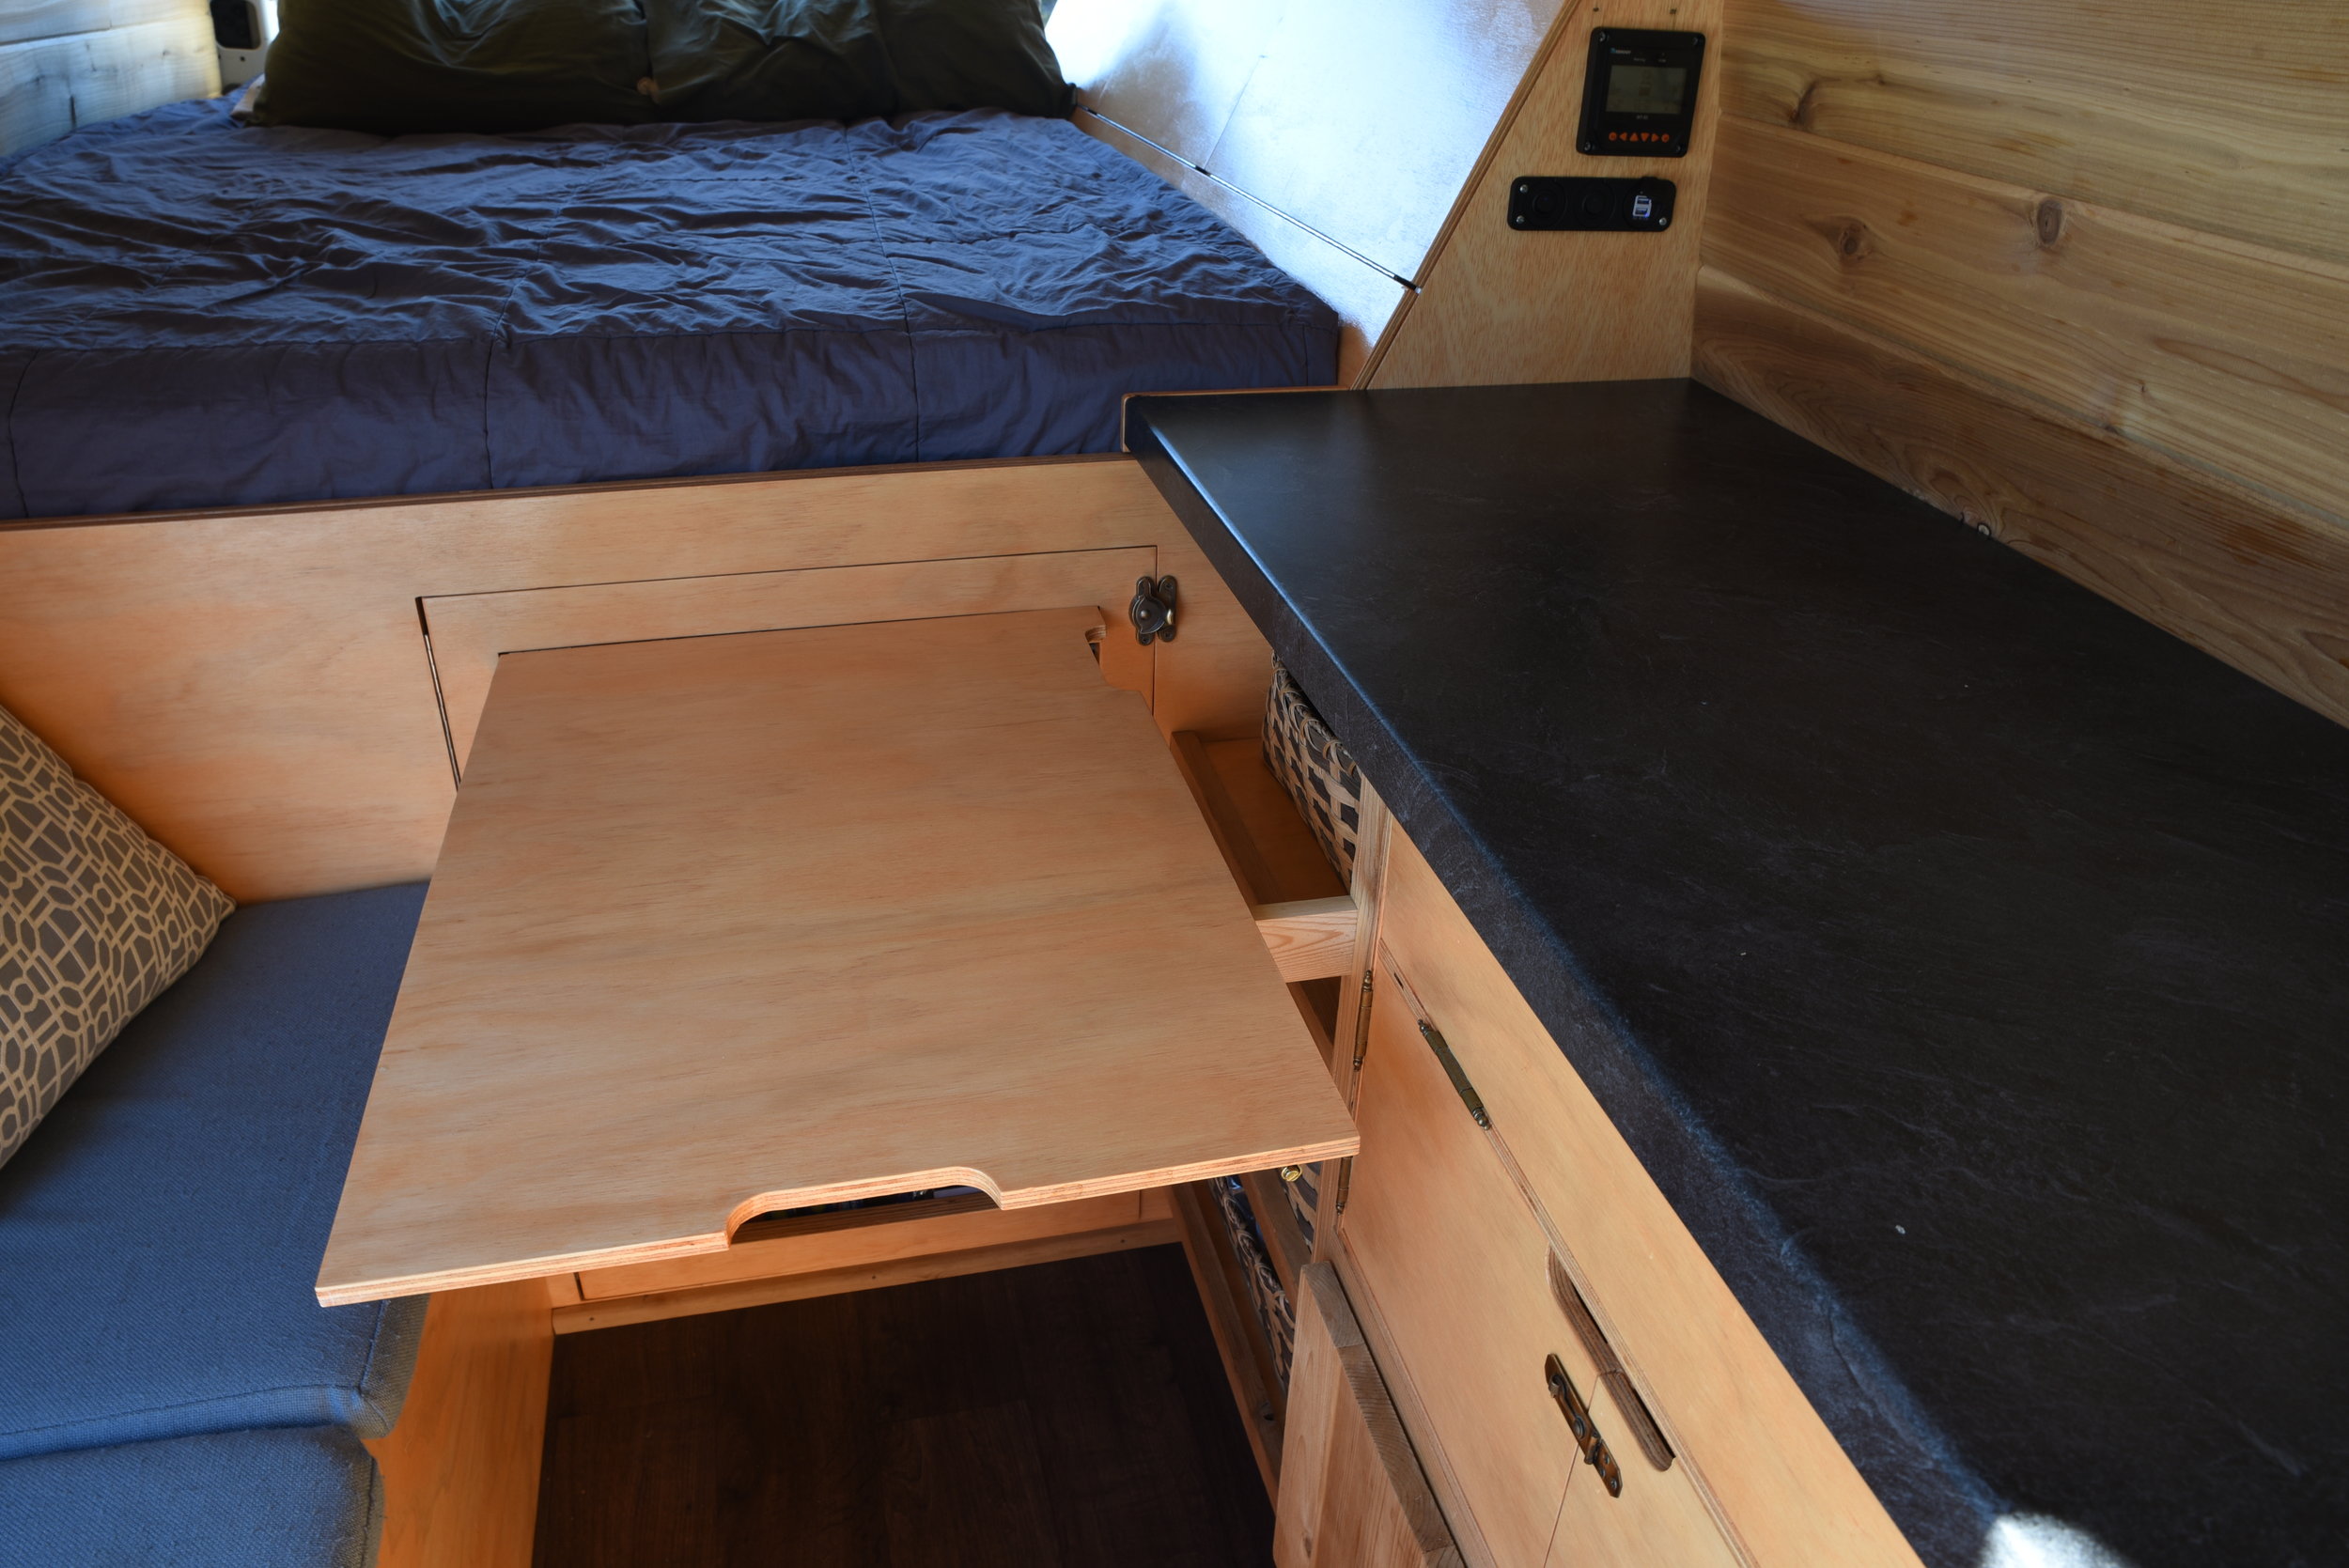
Having a table in your van is a really nice addition to make the space more versatile. Our small table folds out of a large cabinet door on the front of the bed platform. It takes up no extra space and it's a sturdy design. We can be confident when we set a glass of water on the table that it won't spill on the floor with a nudge of the table. It's a comfortable place to eat or work when sitting on the the bench that also holds our chest fridge. (See our page on our “Fridge Storage Bench,” for more on this part of the build.)
Tools
Materials
1/2-inch, AB grade, sanded plywood
Continuous/piano hinges (one about 20 inches long and one about 32 inches long)
Short cedar board
Nut, bolt, and washer
Varathane One Step water-based stain and polyurethane (Honey Pecan)
The first step in the design of our table was to figure out how tall we needed the table to be. Since the bench we would be sitting at while using the table stores our chest fridge, it had a fixed height of about 20 inches. This is on the taller side for a seat, so we wanted to make sure that the the height of the table would be ergonomic in comparison to the bench. After a hilarious bout of measuring furniture in our apartment and measuring ourselves while trying to hold precisely 20-inch wall sits while holding boards to simulate a table top, we ended up deciding that the top of our table should be about 11 inches above the seat of the bench. That meant that when folded upright, we wanted the table to be about 31 inches high.
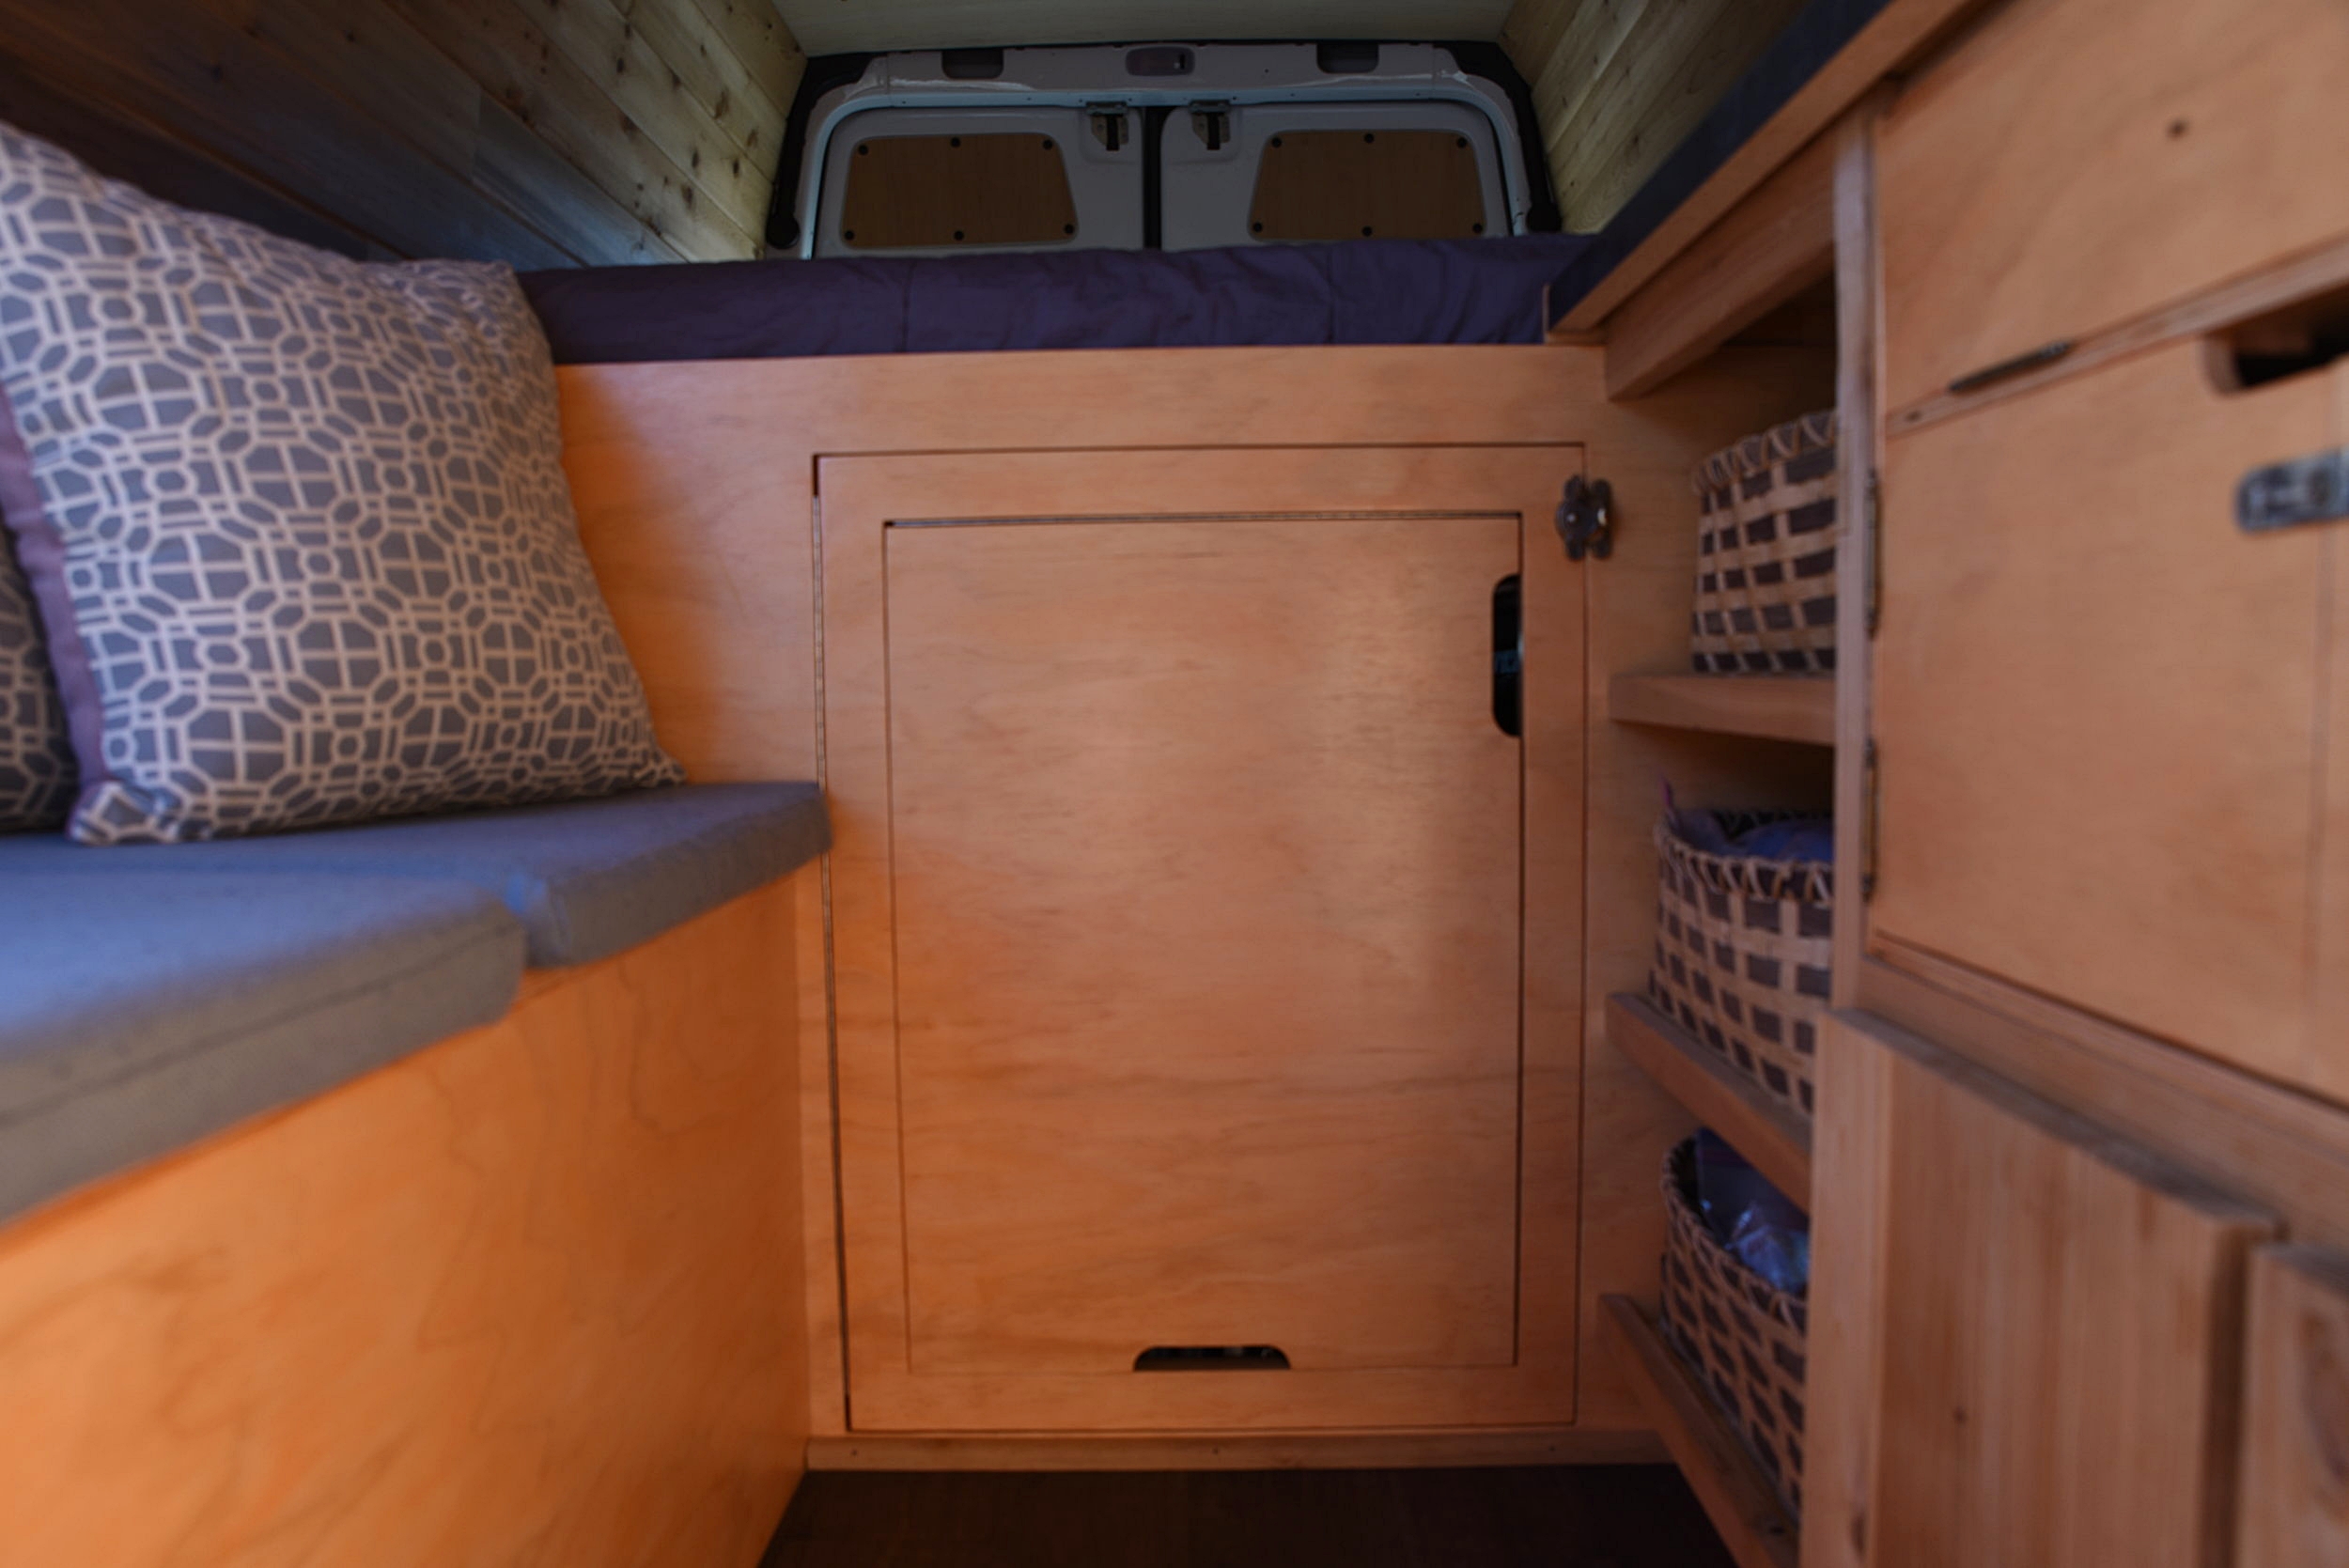
Our table is built into the front of our bed platform. (For more about out bed platform, read “Building Our Bed Platform.”) In the front of the bed platform there is a large cabinet door that can be used to access the storage space underneath our bed, and the table is inset within this large cabinet door. It is essentially a double hinged cabinet door. The cabinet door swings out, while the table which lies within the larger door swings upward. The cabinet door itself is essentially only a large frame, which is completed by the table.
Since we knew the height we wanted our table to be, we could figure out the size of needed for the cabinet door. We wanted the table to be as long and wide as possible, so the door is about as wide as the space between the bench and cabinets and as high as our bed platform front. The frame in the door that holds the table is about two inches wide to give us the maximum table size.

The front of the bed platform front ready to receive the double-hinged cabinet door.

The front of the bed platform and the frame for the the cabinet door resting within its opening.
The front of the bed platform is made from 1/2-inch plywood, reinforced at the top with a second piece of 1/2-inch plywood glued to the back. We first glued this reinforcement on and then cut the cabinet door and the table from this same piece, so that the grain would match on the front.
To cut the pieces for the door and the table from the front of the bed platform, we used a handheld circular saw and used a fence made from a straight board to keep the cuts straight. Since the table and cabinet door are all cut from the same sheet of plywood, we had to cut two rectangle shapes inside of the larger sheet. We used plunge cuts with the circular saw to do this. (This is a great video if you don't know how to do plunge cut).
The table is made from the same piece of 1/2-inch plywood as the bed platform front, but we reinforced the back of the table by screwing another piece of 1/2-inch plywood to it to prevent warping. This 1-inch thick construction is sturdy enough to stay straight and not bow along its approximately three foot length, even when loaded down with a tasty meal.
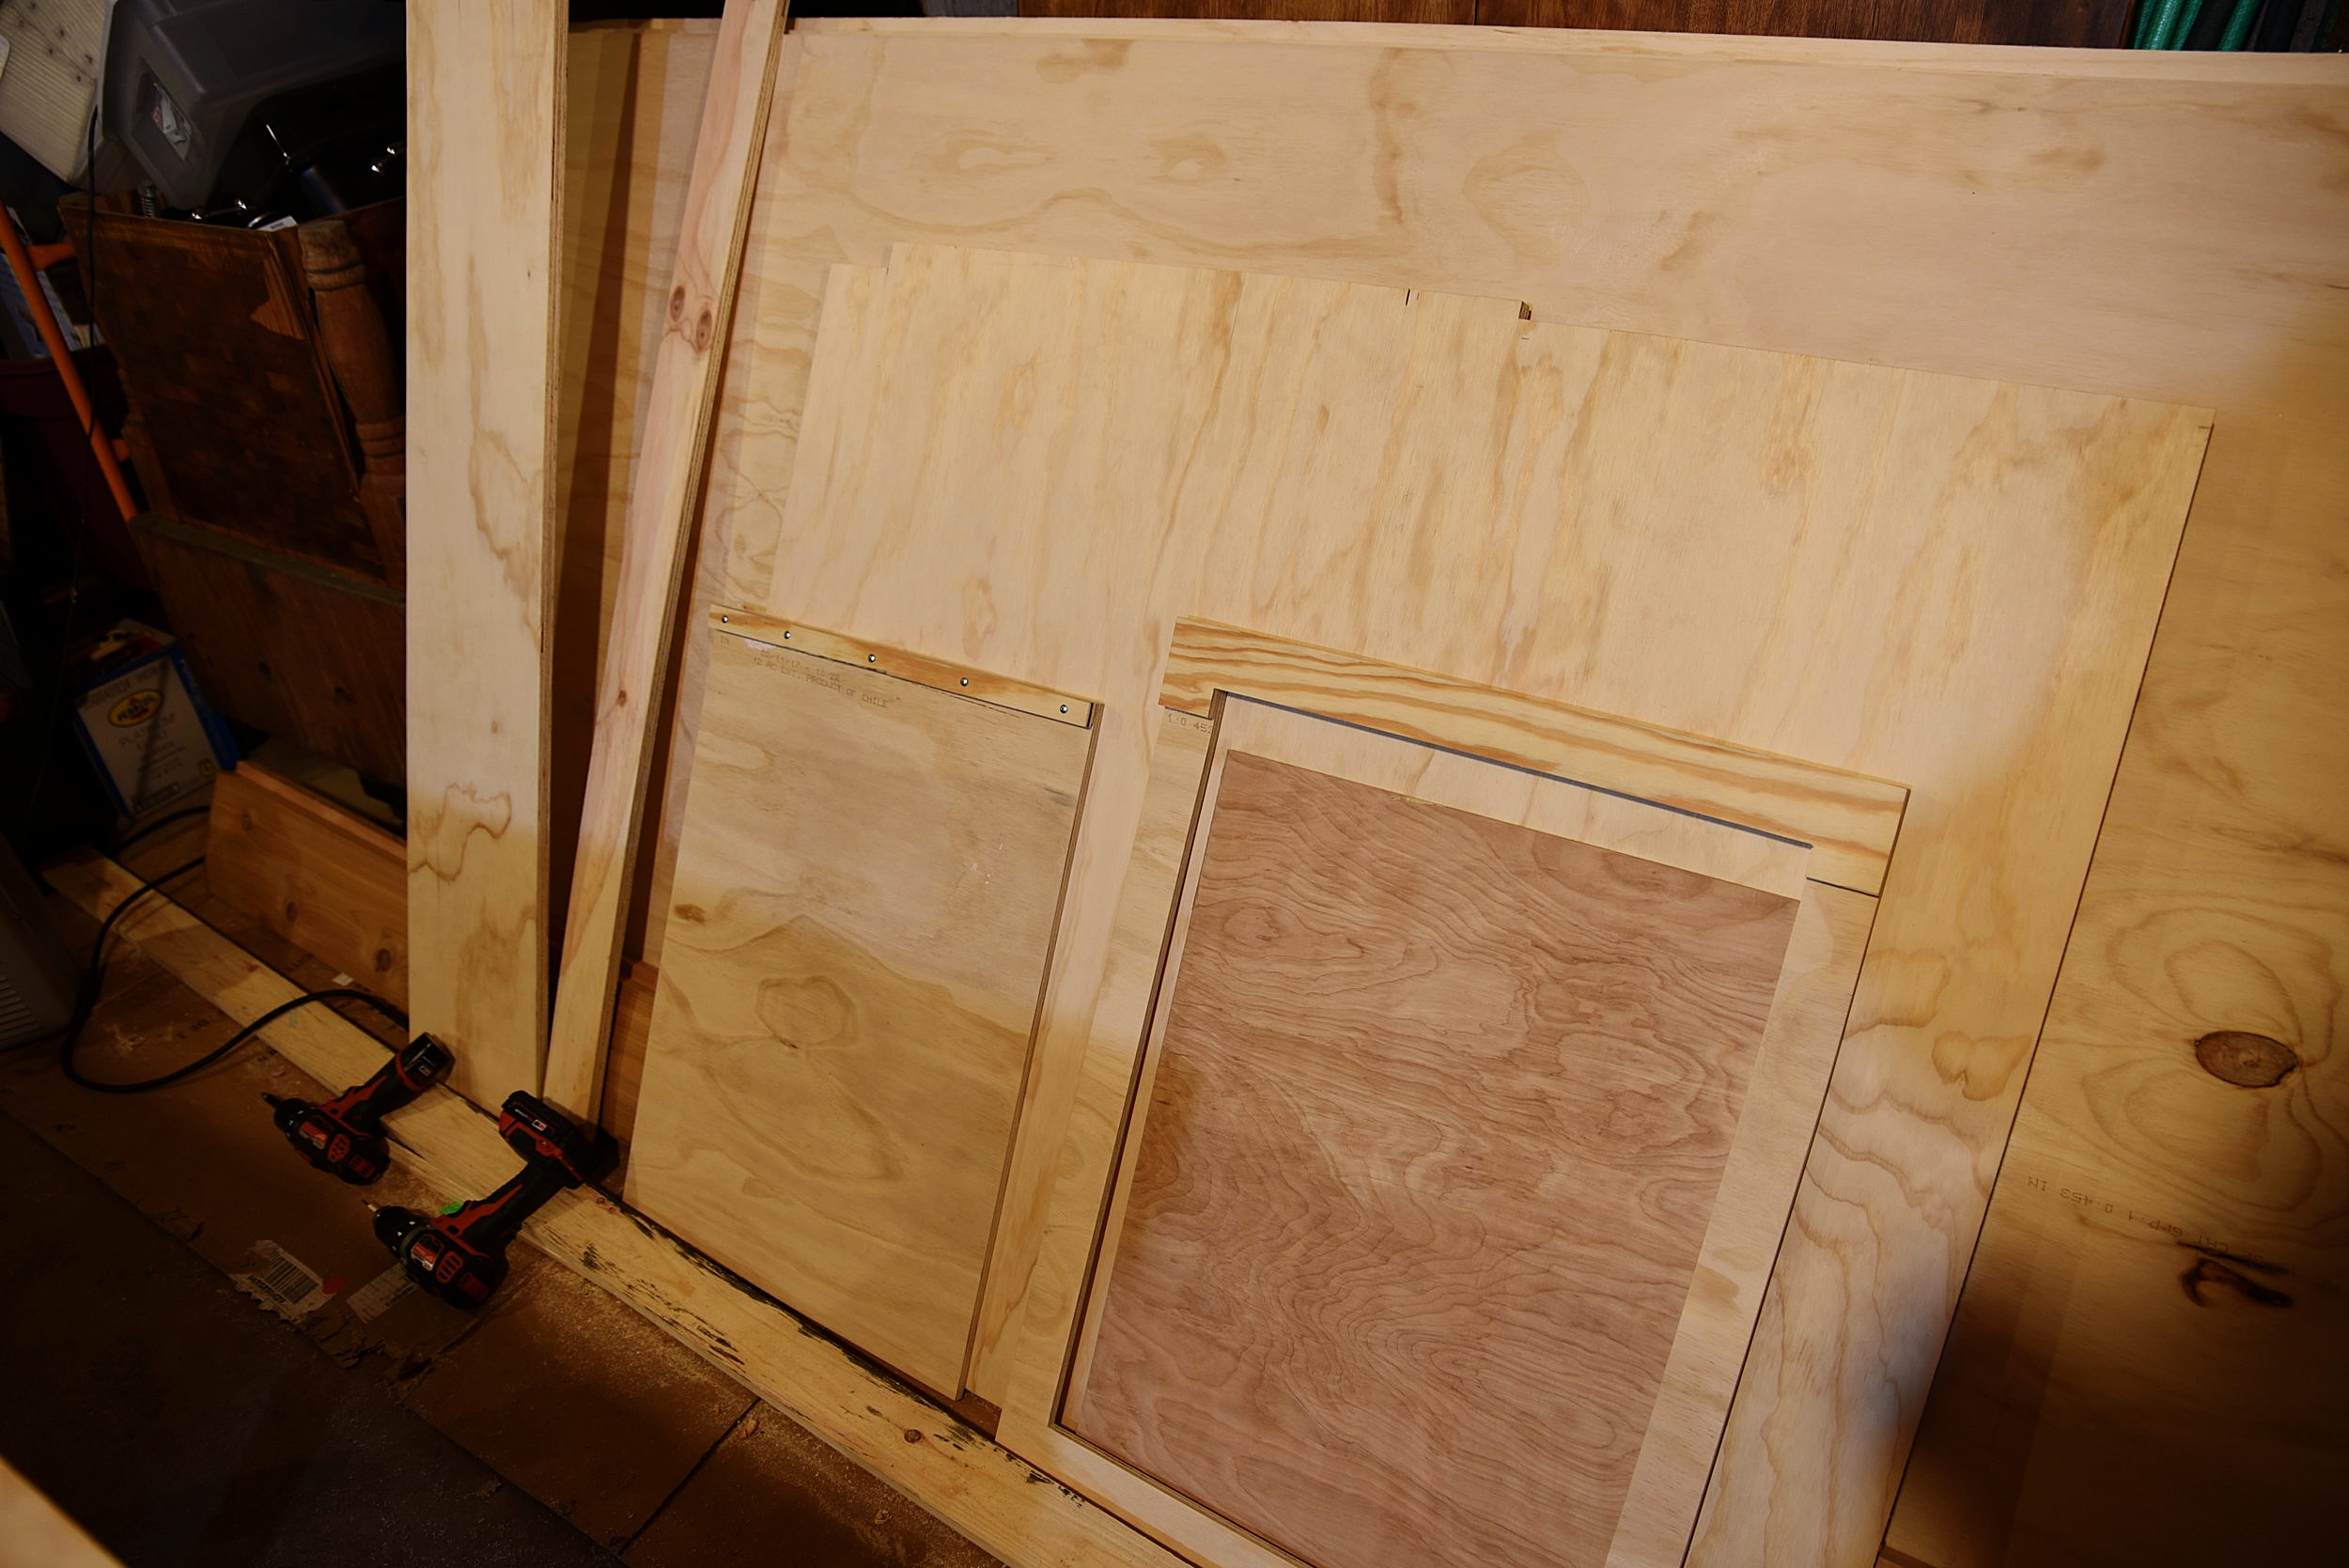
The 2-inch frame of the cabinet door is in the right of the picture and the table that fits within this door frame is in the left of the picture.
The door fits within the front of the bed platform, hinging out. The table fits within this door, hinging up.
A handle is cut into the upper right corner of the table, which we use to open the cabinet door. Another handle is cut into the bottom end of the table which is used to pull the table up. We used a coping saw, file, and sanding blocks to make these cuts to avoid splintering and chipping that would likely be caused by our jigsaw.
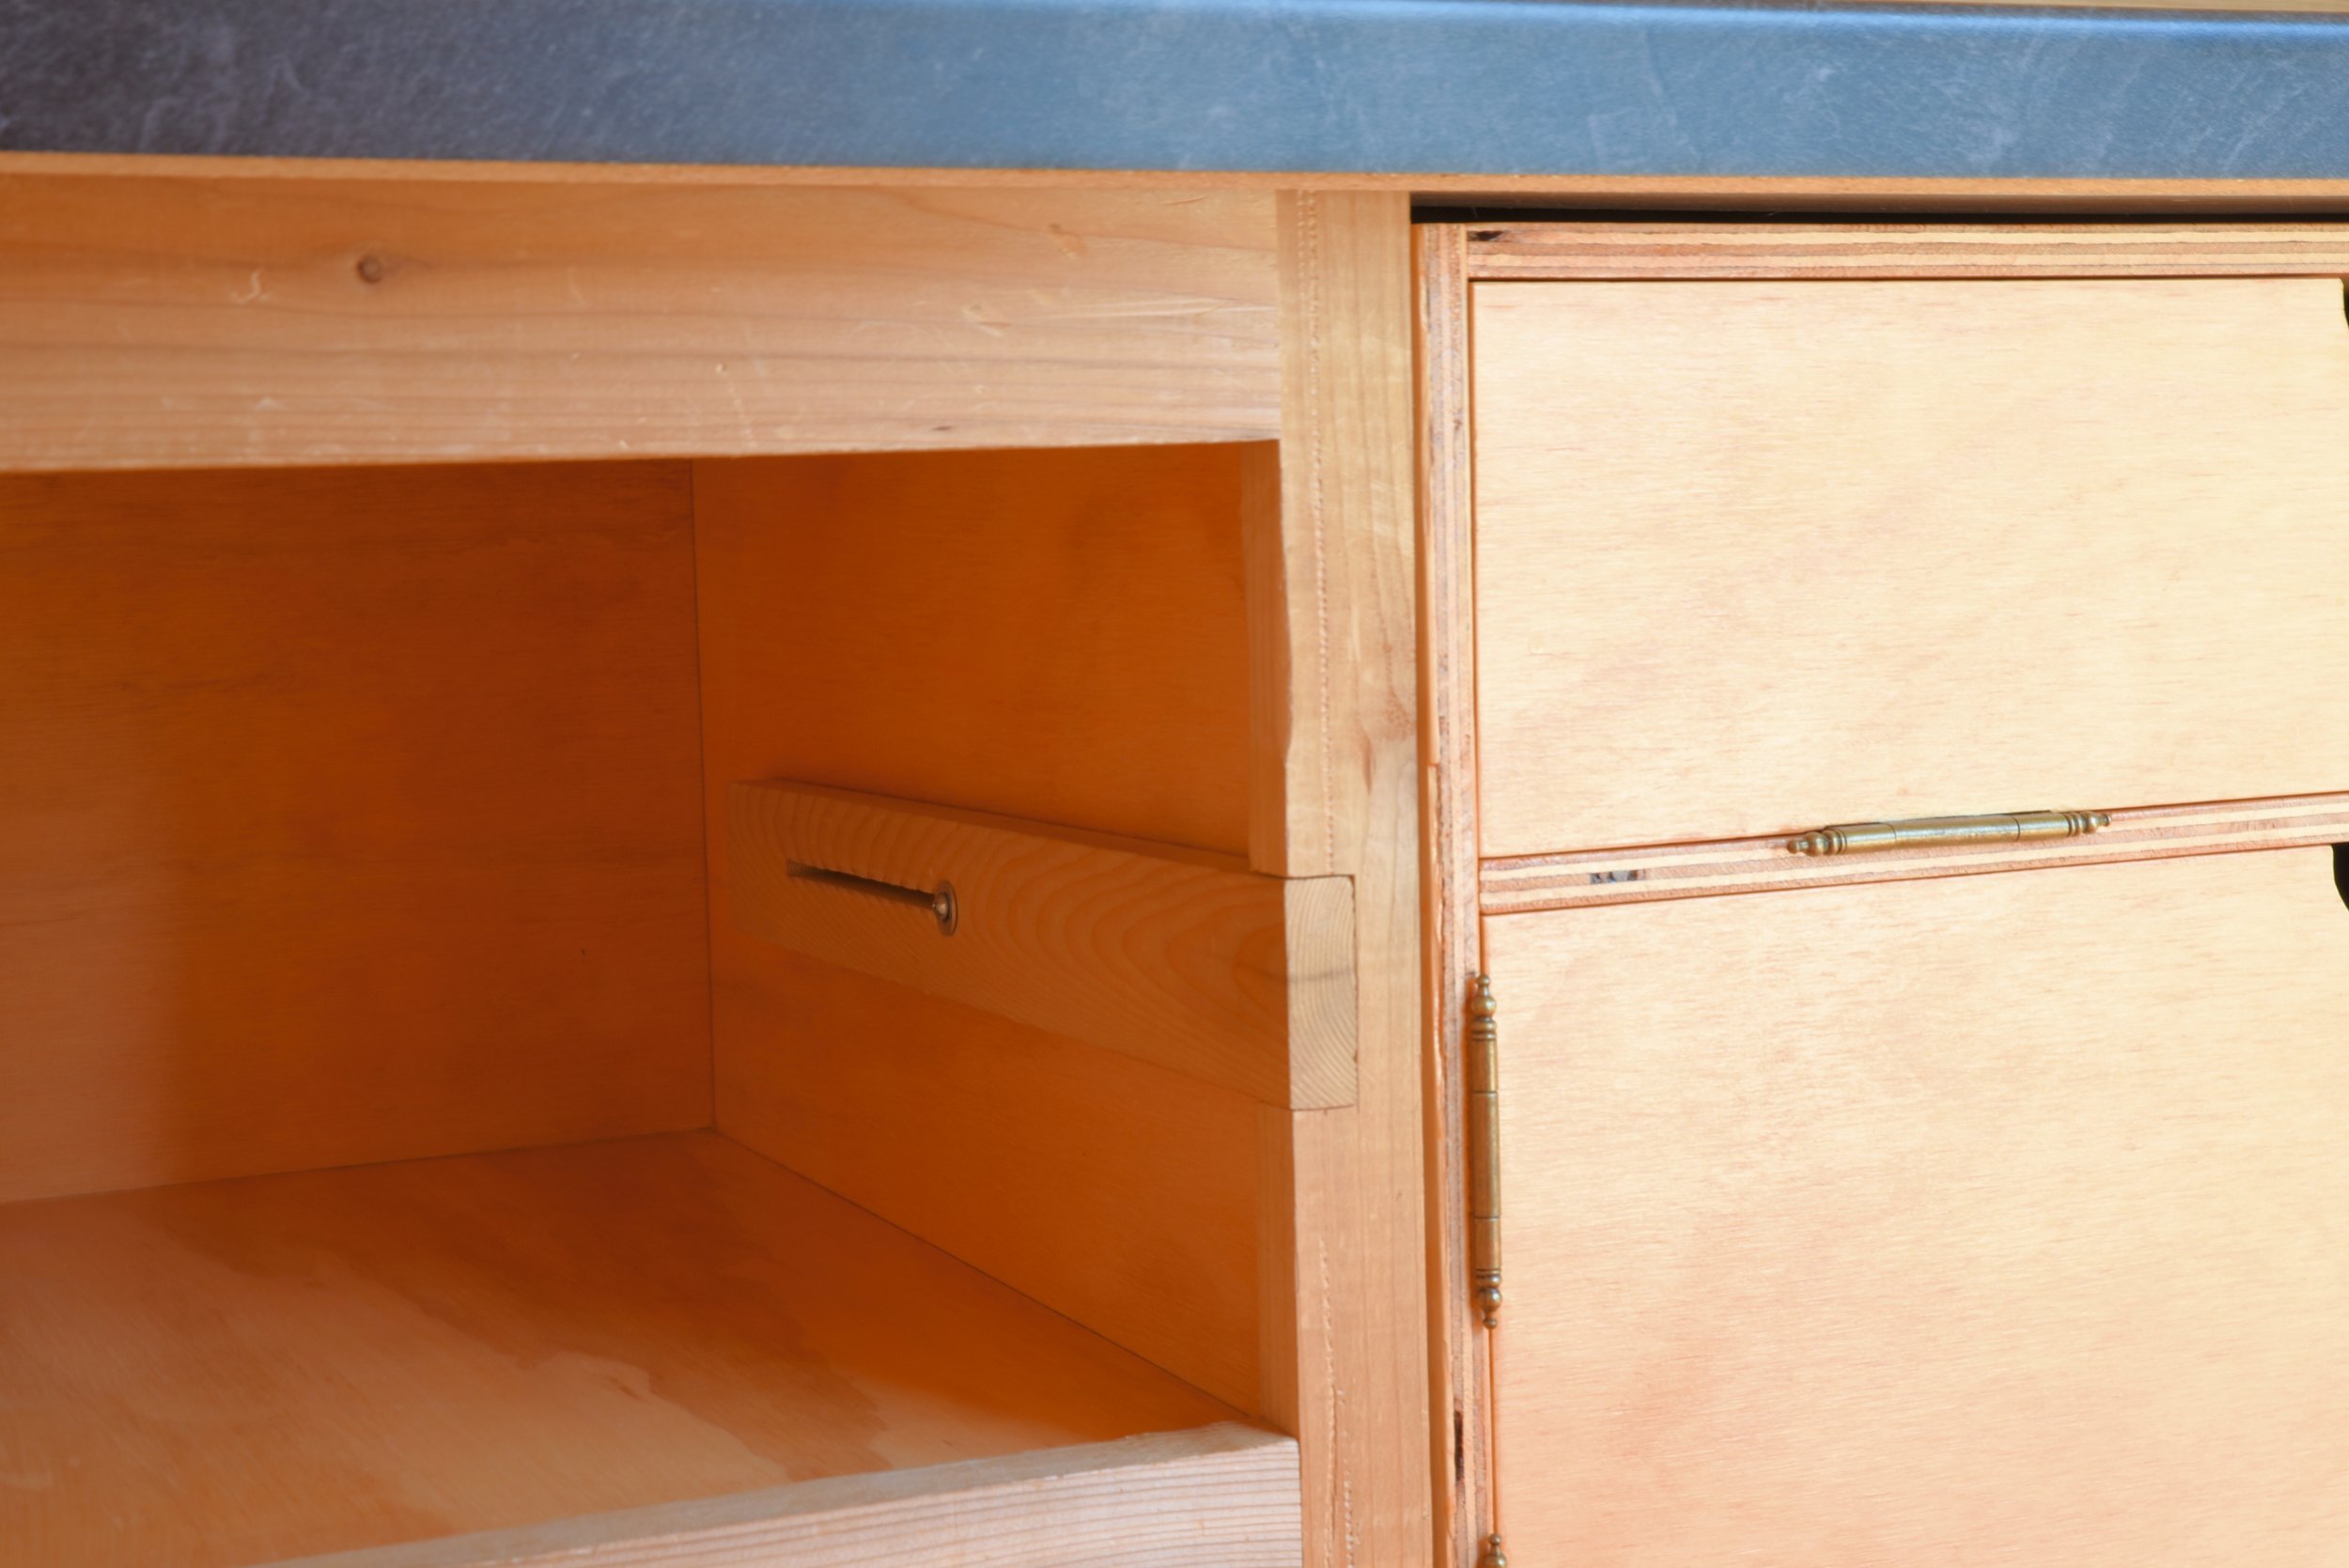
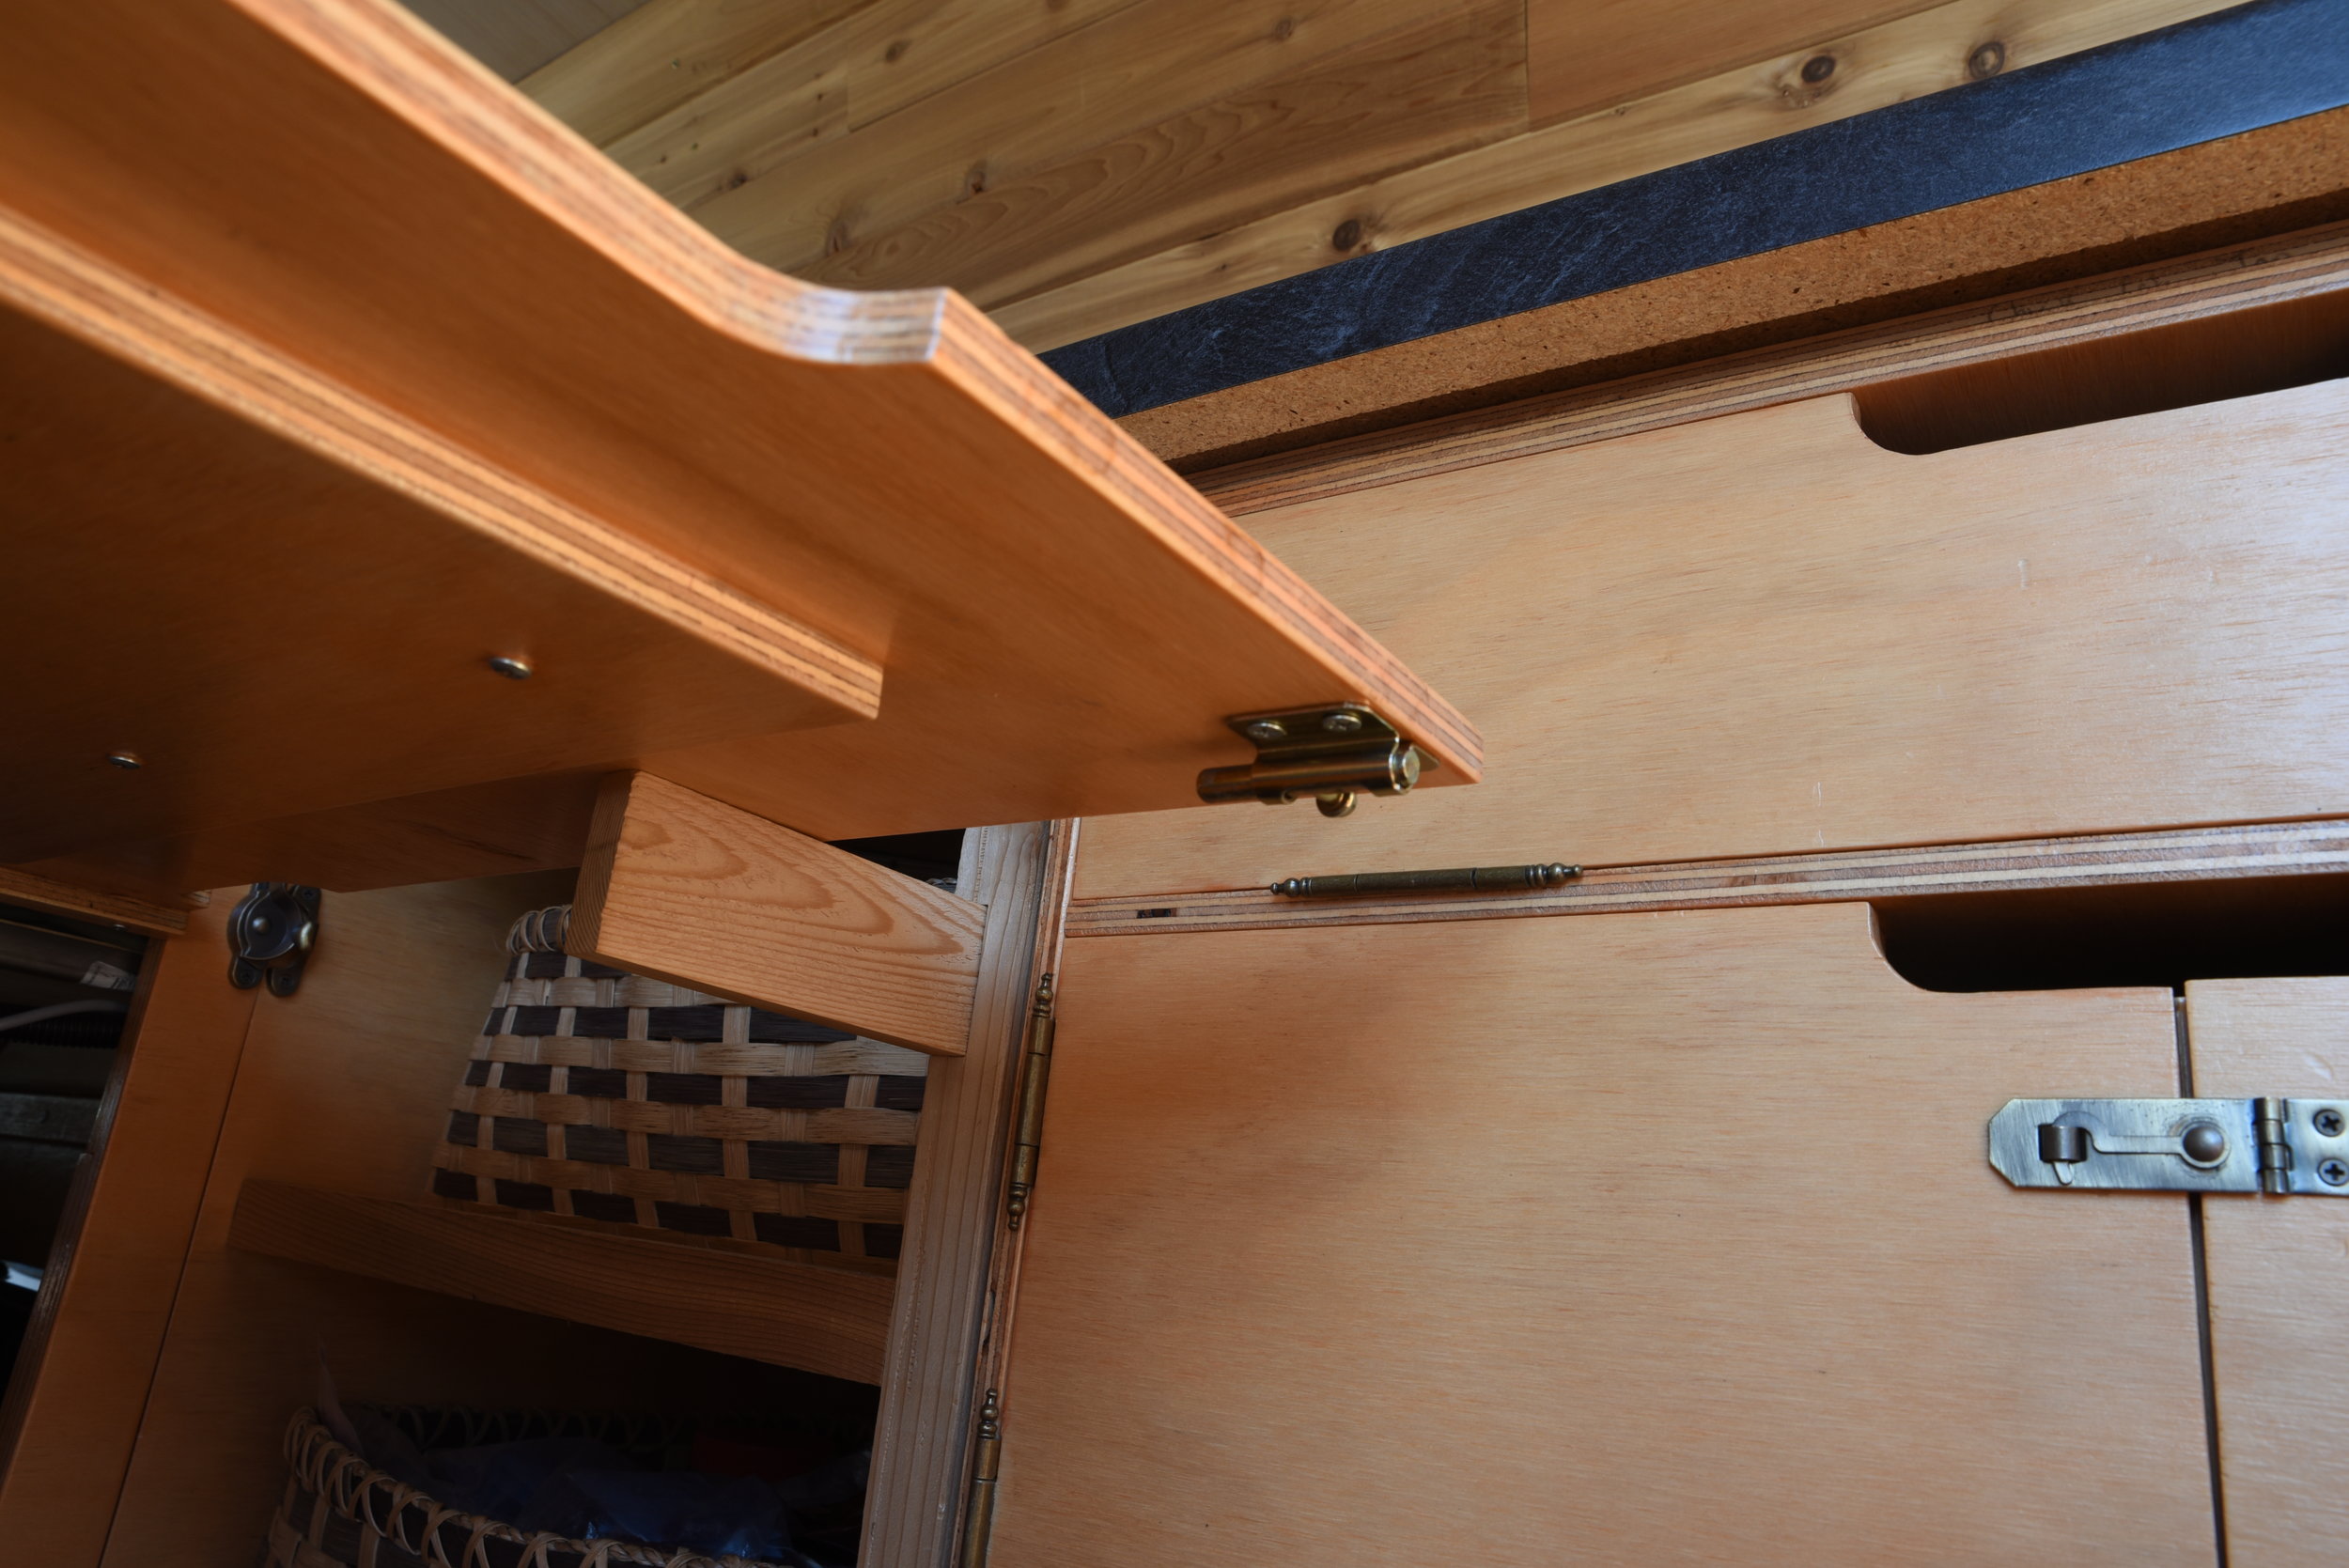
The table and door are both hinged using continuous hinges, also called piano hinges. We think these hinges are a great option for van conversions. They come in long lengths that you can cut to the right size with a hacksaw. You attach them to your cabinet doors in many places along their length. Because they are fastened along the entire length of the door, they are more likely to keep this enormous door hanging straight even after the stress of bumpy drives on curvy mountainous roads. We also were screwing into the end grain of plywood, which is a pretty weak place for mounting a hinge. By having more points where the hinge is fastened, it is a more secure attachment.

A continuous hinge attaches in multiple places along the length of the door. Making a good choice for plywood cabinets and for a van conversion that will subject it to constant movement.

Ian deburrs the continuous hinge with an iron file.
The table and the cabinet door need to be secured while driving so that they do not swing open allowing our food to spill out. To keep the table from smacking about while we drive, we attached a slide bolt to the back of it on the bottom edge. The bolt slides into a hole in the frame of the cabinet door to keep the table inside the door frame. This latch is hidden, and to unlock it we have to open the cabinet door.
To keep the cabinet door closed, we used a sash lock. You usually see these types of locks on windows. Since it's on the outside of the door, we chose this latch since it has a kind of old fashioned look and is a bit nicer looking than the slide bolt.

A simple slide lock on the back keeps our table from smacking about while we drive.
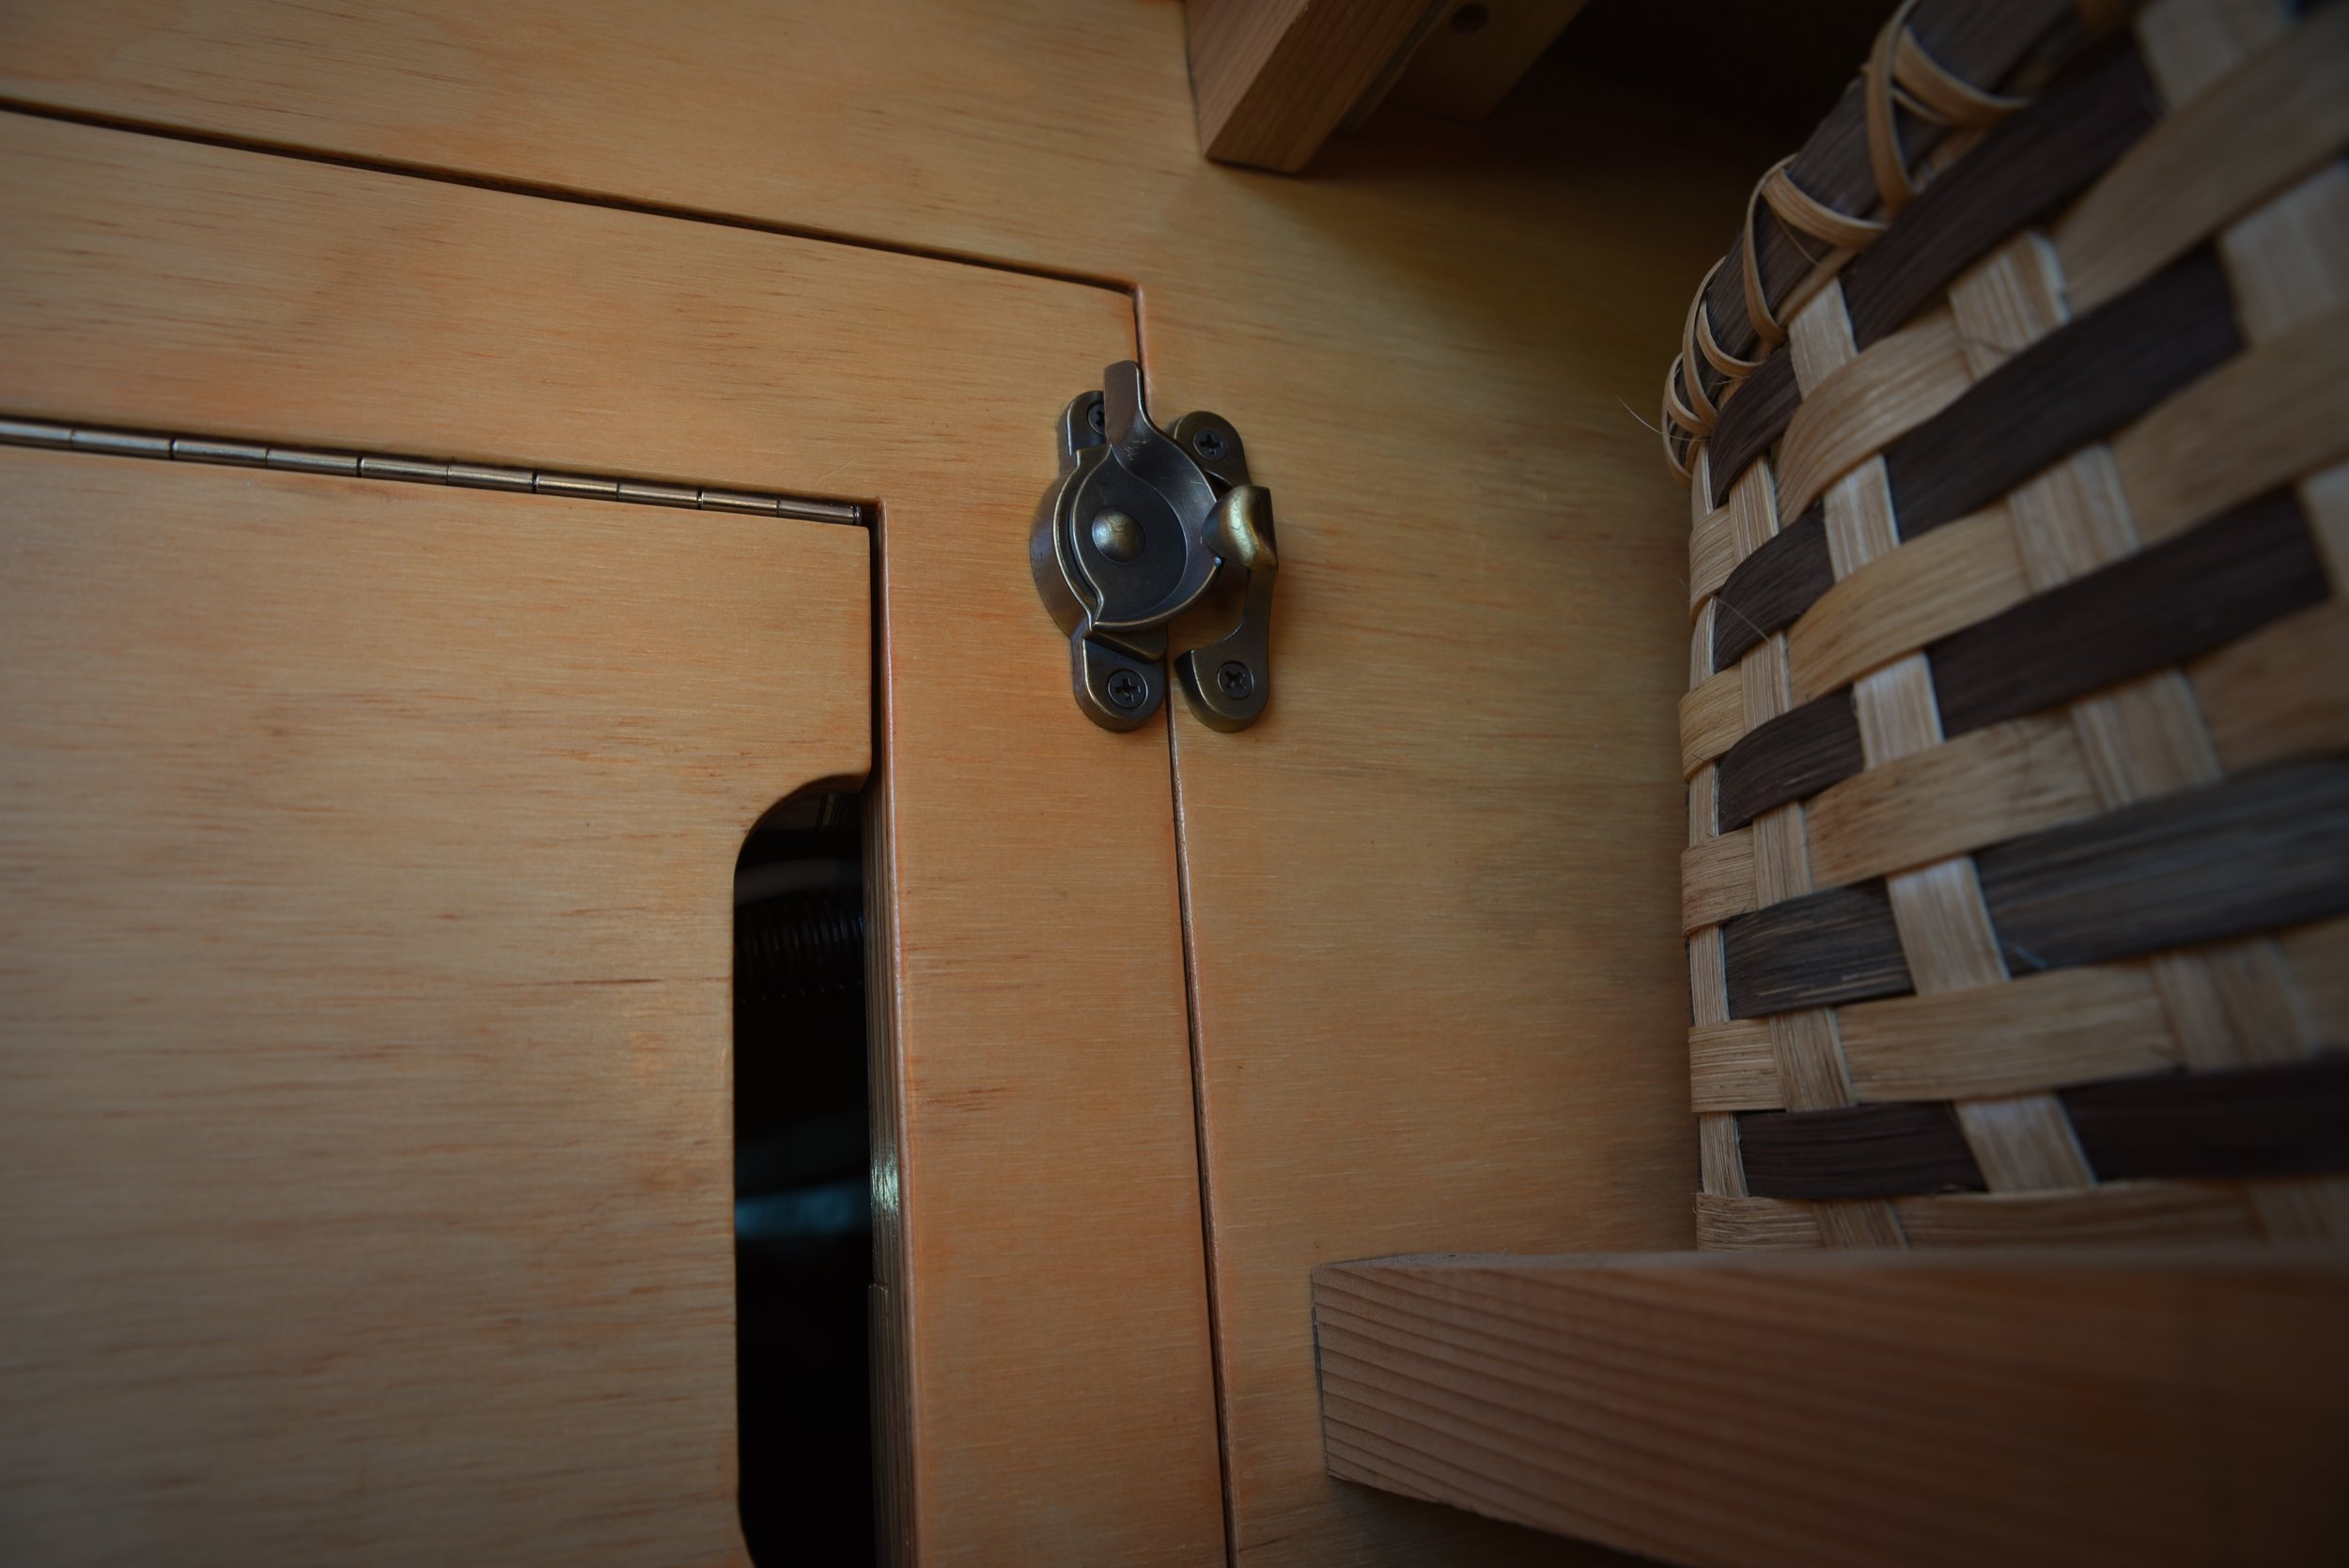
A sash lock (usually used on windows) is a stylish and latch for keeping our giant cabinet door closed while we drive, and also while we use the table.
The final step of the table was to build the support that would hold it upright. We toyed with a couple of designs for this support, including a removable leg or a leg that could fold out from the bottom of the table, but eventually we decided that these seemed overly complex and that they would make the table an extra hassle to use. The design we landed on is simply a short board that slides out horizontally from our kitchen cabinetry to hold the table up.
A short cedar board of about 16 inches slides out from the top shelf of the cabinetry closest to our bed. The board is attached to the inside wall of the cabinetry using a bolt, nut, and washer. We cut a slot into the board and the board slides along the bolt which is installed through the wall of the cabinetry.
When stowed away, the board takes up essentially no extra space. The cedar board matches the cedar of our cabinet frame and the support is recessed into a small notch in the cabinet frame, so it is barely noticeable when not in use.

The table is supported by a short length of board that slides back into the frame of our cabinetry when not in use.
The support is attached to interior wall of our cabinetry with nuts and bolts. The slot cut into the board allows us to slide this board out a specific distance for the table to rest on.
We finished the table in the same way as our bed platform and other cabinetry, using one coat of Varathane Water-based Stain and Polyurethane in Golden Pecan, with two coats of clear water-based polyurethane on top. (For more about how we chose this finish for our van, check out our page, “Building Our Bed Platform.“)
Our table has turned out to be a really useful part of our van set up. We use it to prepare food and for extra counter space. Even though it's a bit short for two people, we eat at it often. We sometimes sit at it and work on our computers. Overall we are very happy that we settled on this design, since it gives us a convenient surface to work and eat at, and it gives us access to our underbed storage.
The fold-out table is supported by a small board that slides out of our cabinetry.