Installing the Fan
It's fantastic!
When you are living, cooking, and breathing in a small enclosed space, moisture control and ventilation are very important. And that's why we cut a huge hole in the roof of the van and installed a Fantastic Vent.
Tools
Materials
Cardboard and scissors for a template
2x2” scrap wood
For our ventilation system, we went with a Fan-Tastic Vent 801250. This is a really common choice for van conversions. The model we chose can reverse directions, so it can either draw in air or expel air. It has three speeds in each direction, and of course it, has a rain cover that can be opened and closed. It's not too fancy, but it also has enough different functions to keep us comfortable.

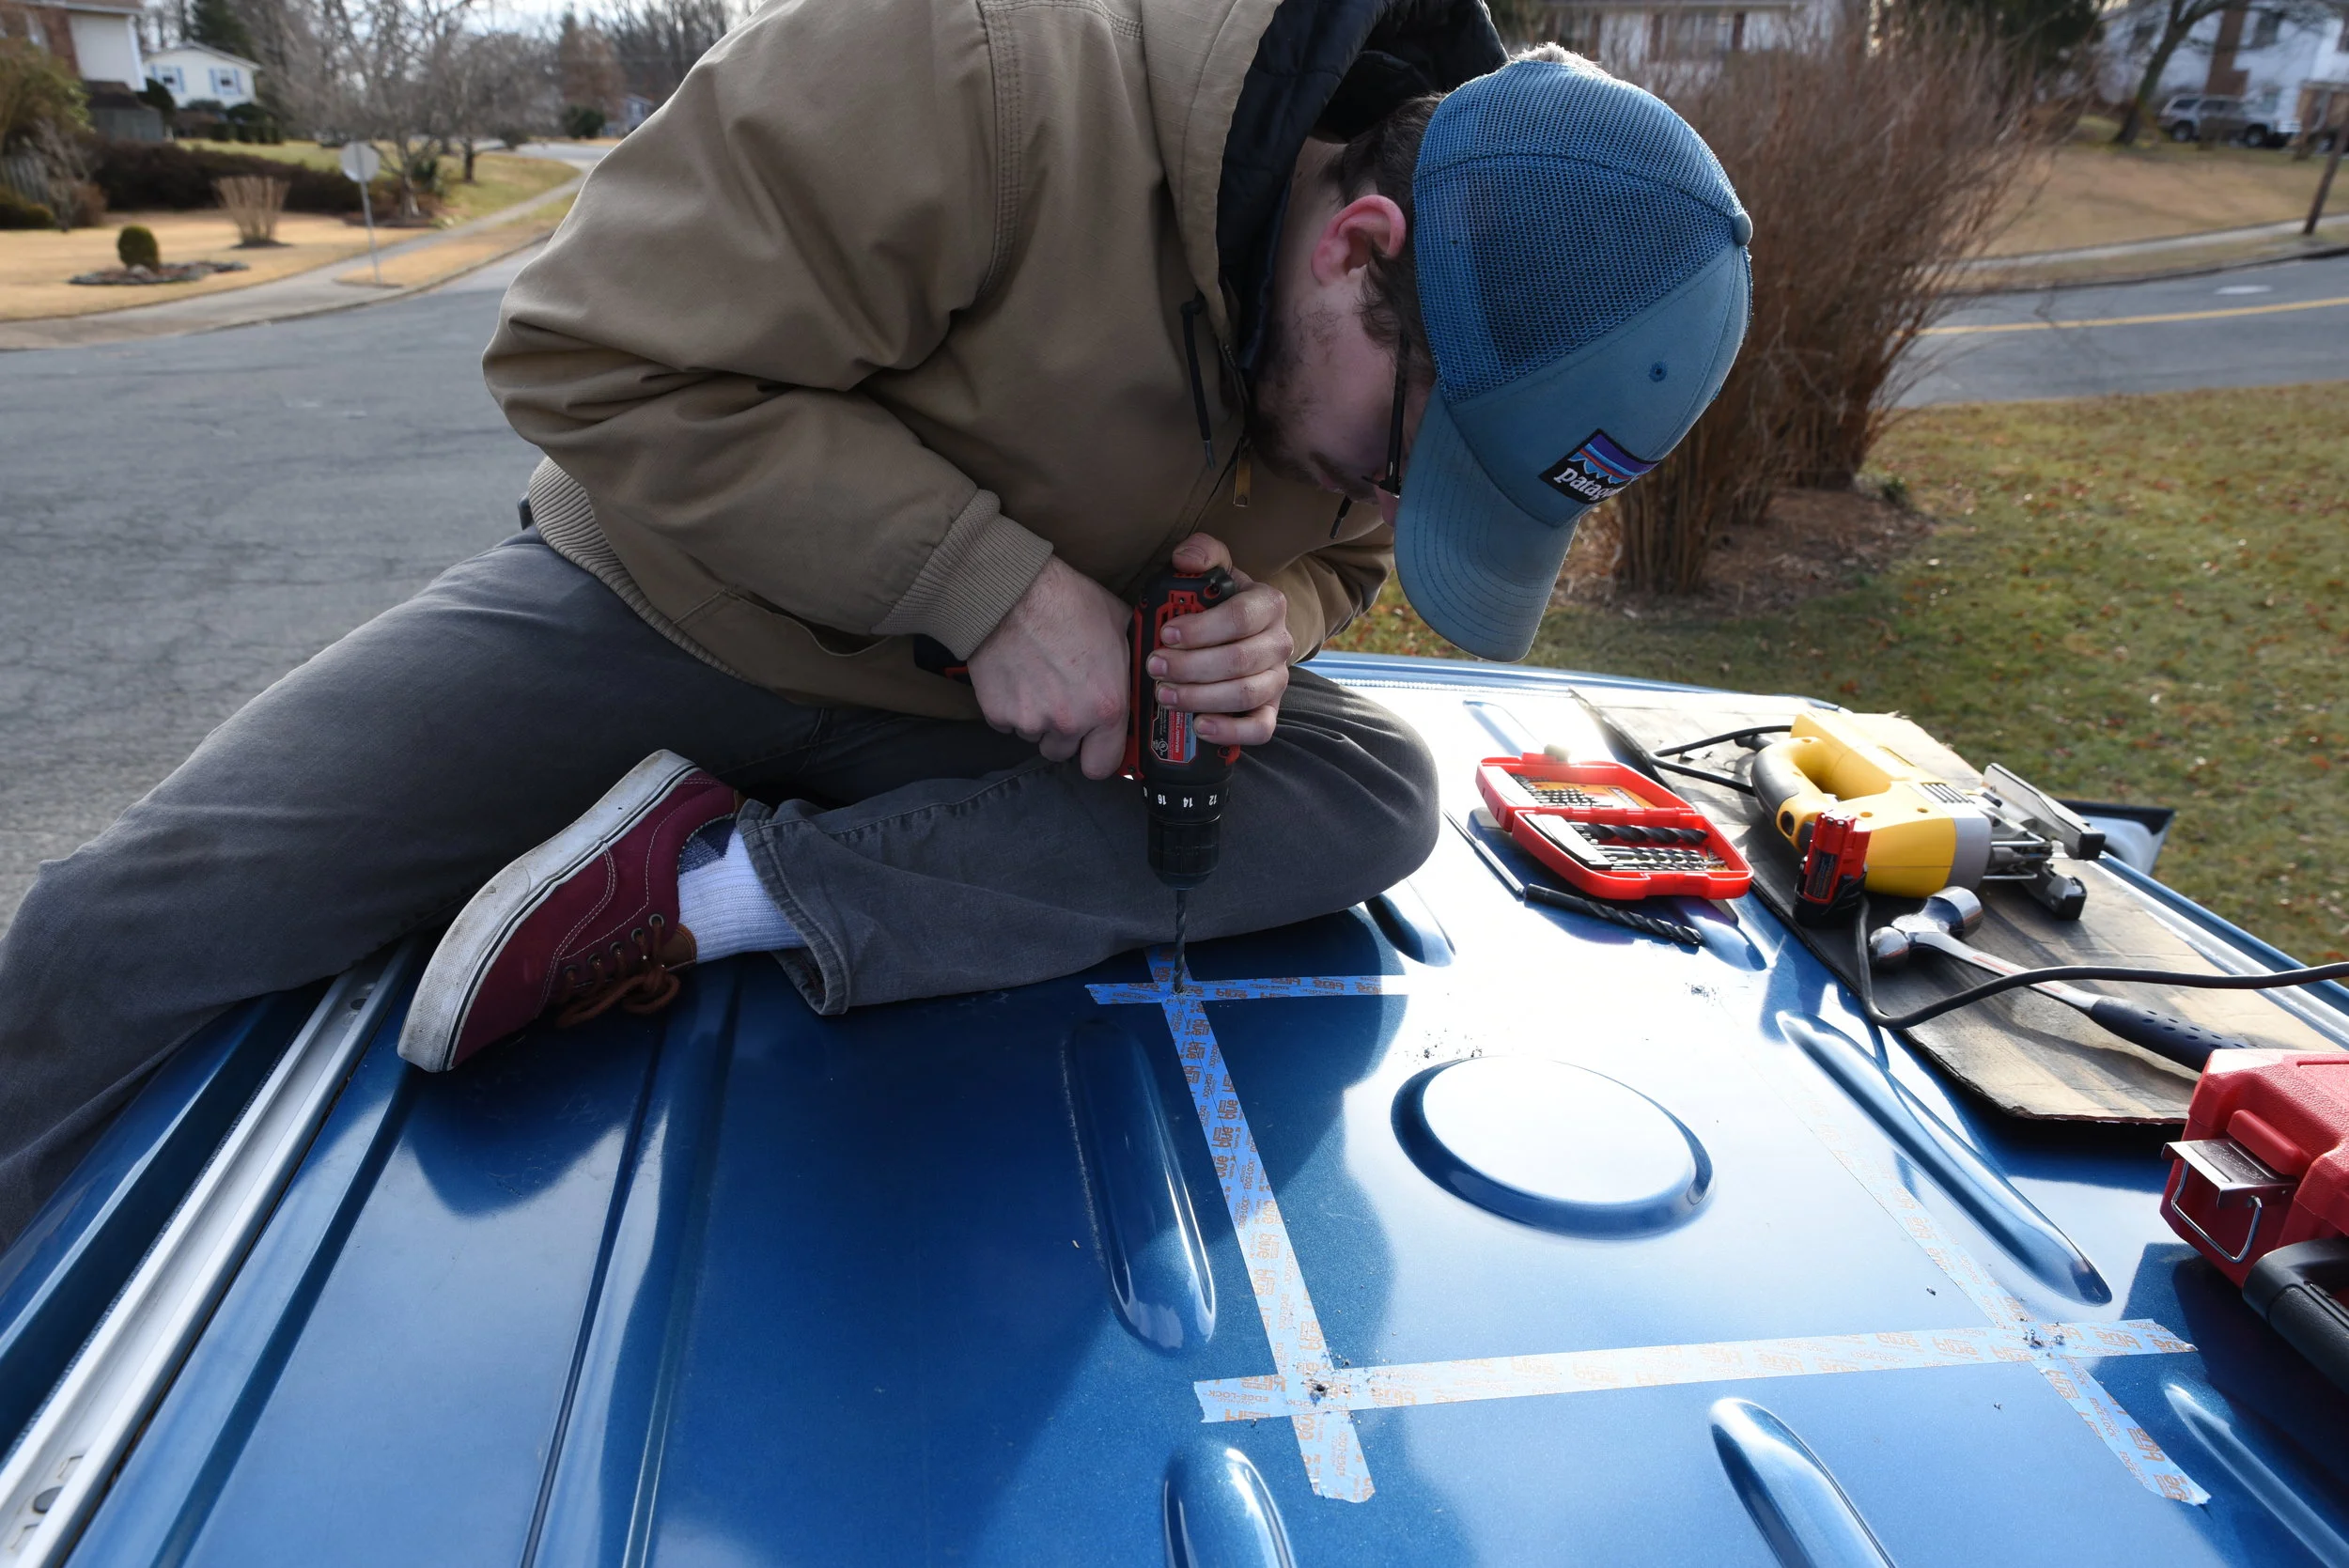
You can see the four corners of our fan drilled into the ceiling in this picture.

Ian installs the Fan-Tastic Vent with the butyl tape on the bottom of the vent’s flange.
For the placement of our fan, we picked the spot in the van that is designed to have a vent installed in it. There is a circle punched in the metal at this spot, and it's convenient because there are no ridges running through the area so the vent fits more or less flush on this area. This area is also conveniently almost directly above where our stove is located in the kitchen area. We also didn't want the fan directly above our bed in case any water drips through it in heavy rain. We’ve never had the fan leak when we have the cover closed, but if we forget to close it when it is raining, we’ve had some water drip into our van.
We also positioned the fan so that its cover opens toward the back of the van. Our thinking is that if we ever drive off with the vent cover open by accident, it won't be ripped off by the wind.

Ian poses for a photo with his cardboard template.
Ian places the van above out kitchen area in the van.
The first step was to make a really accurate template so that we would know where to cut. We measured the part of our fan that would fit into the hole in the van, and then cut a square that shape in really stiff cardboard. We also cut a hole in the middle so that we would be able to lay the template flat against the van when we traced it.
Then we climbed on top our van, we lined the template up straight. We taped around the edge of the template with blue painters tape. Then we drew the outline on top of the tape. We did this so that when we cut the metal the paint would not chip so much around the cut.

In this photo you can see why we had to cut out the middle of the template in order for it to lay flat.
Next we used a hammer and an awl to pound a small indentation in each corner where we would drill holes, otherwise it is really difficult for the drill bit to get purchase on the slippery metal.
Before cutting the roof with a jig saw, you have to drill large holes in each corner so that you can fit the blade in and turn it at the corners. We started with the smallest drill bit and increased in size until the holes were large enough to comfortably fit the blade of the jig saw.
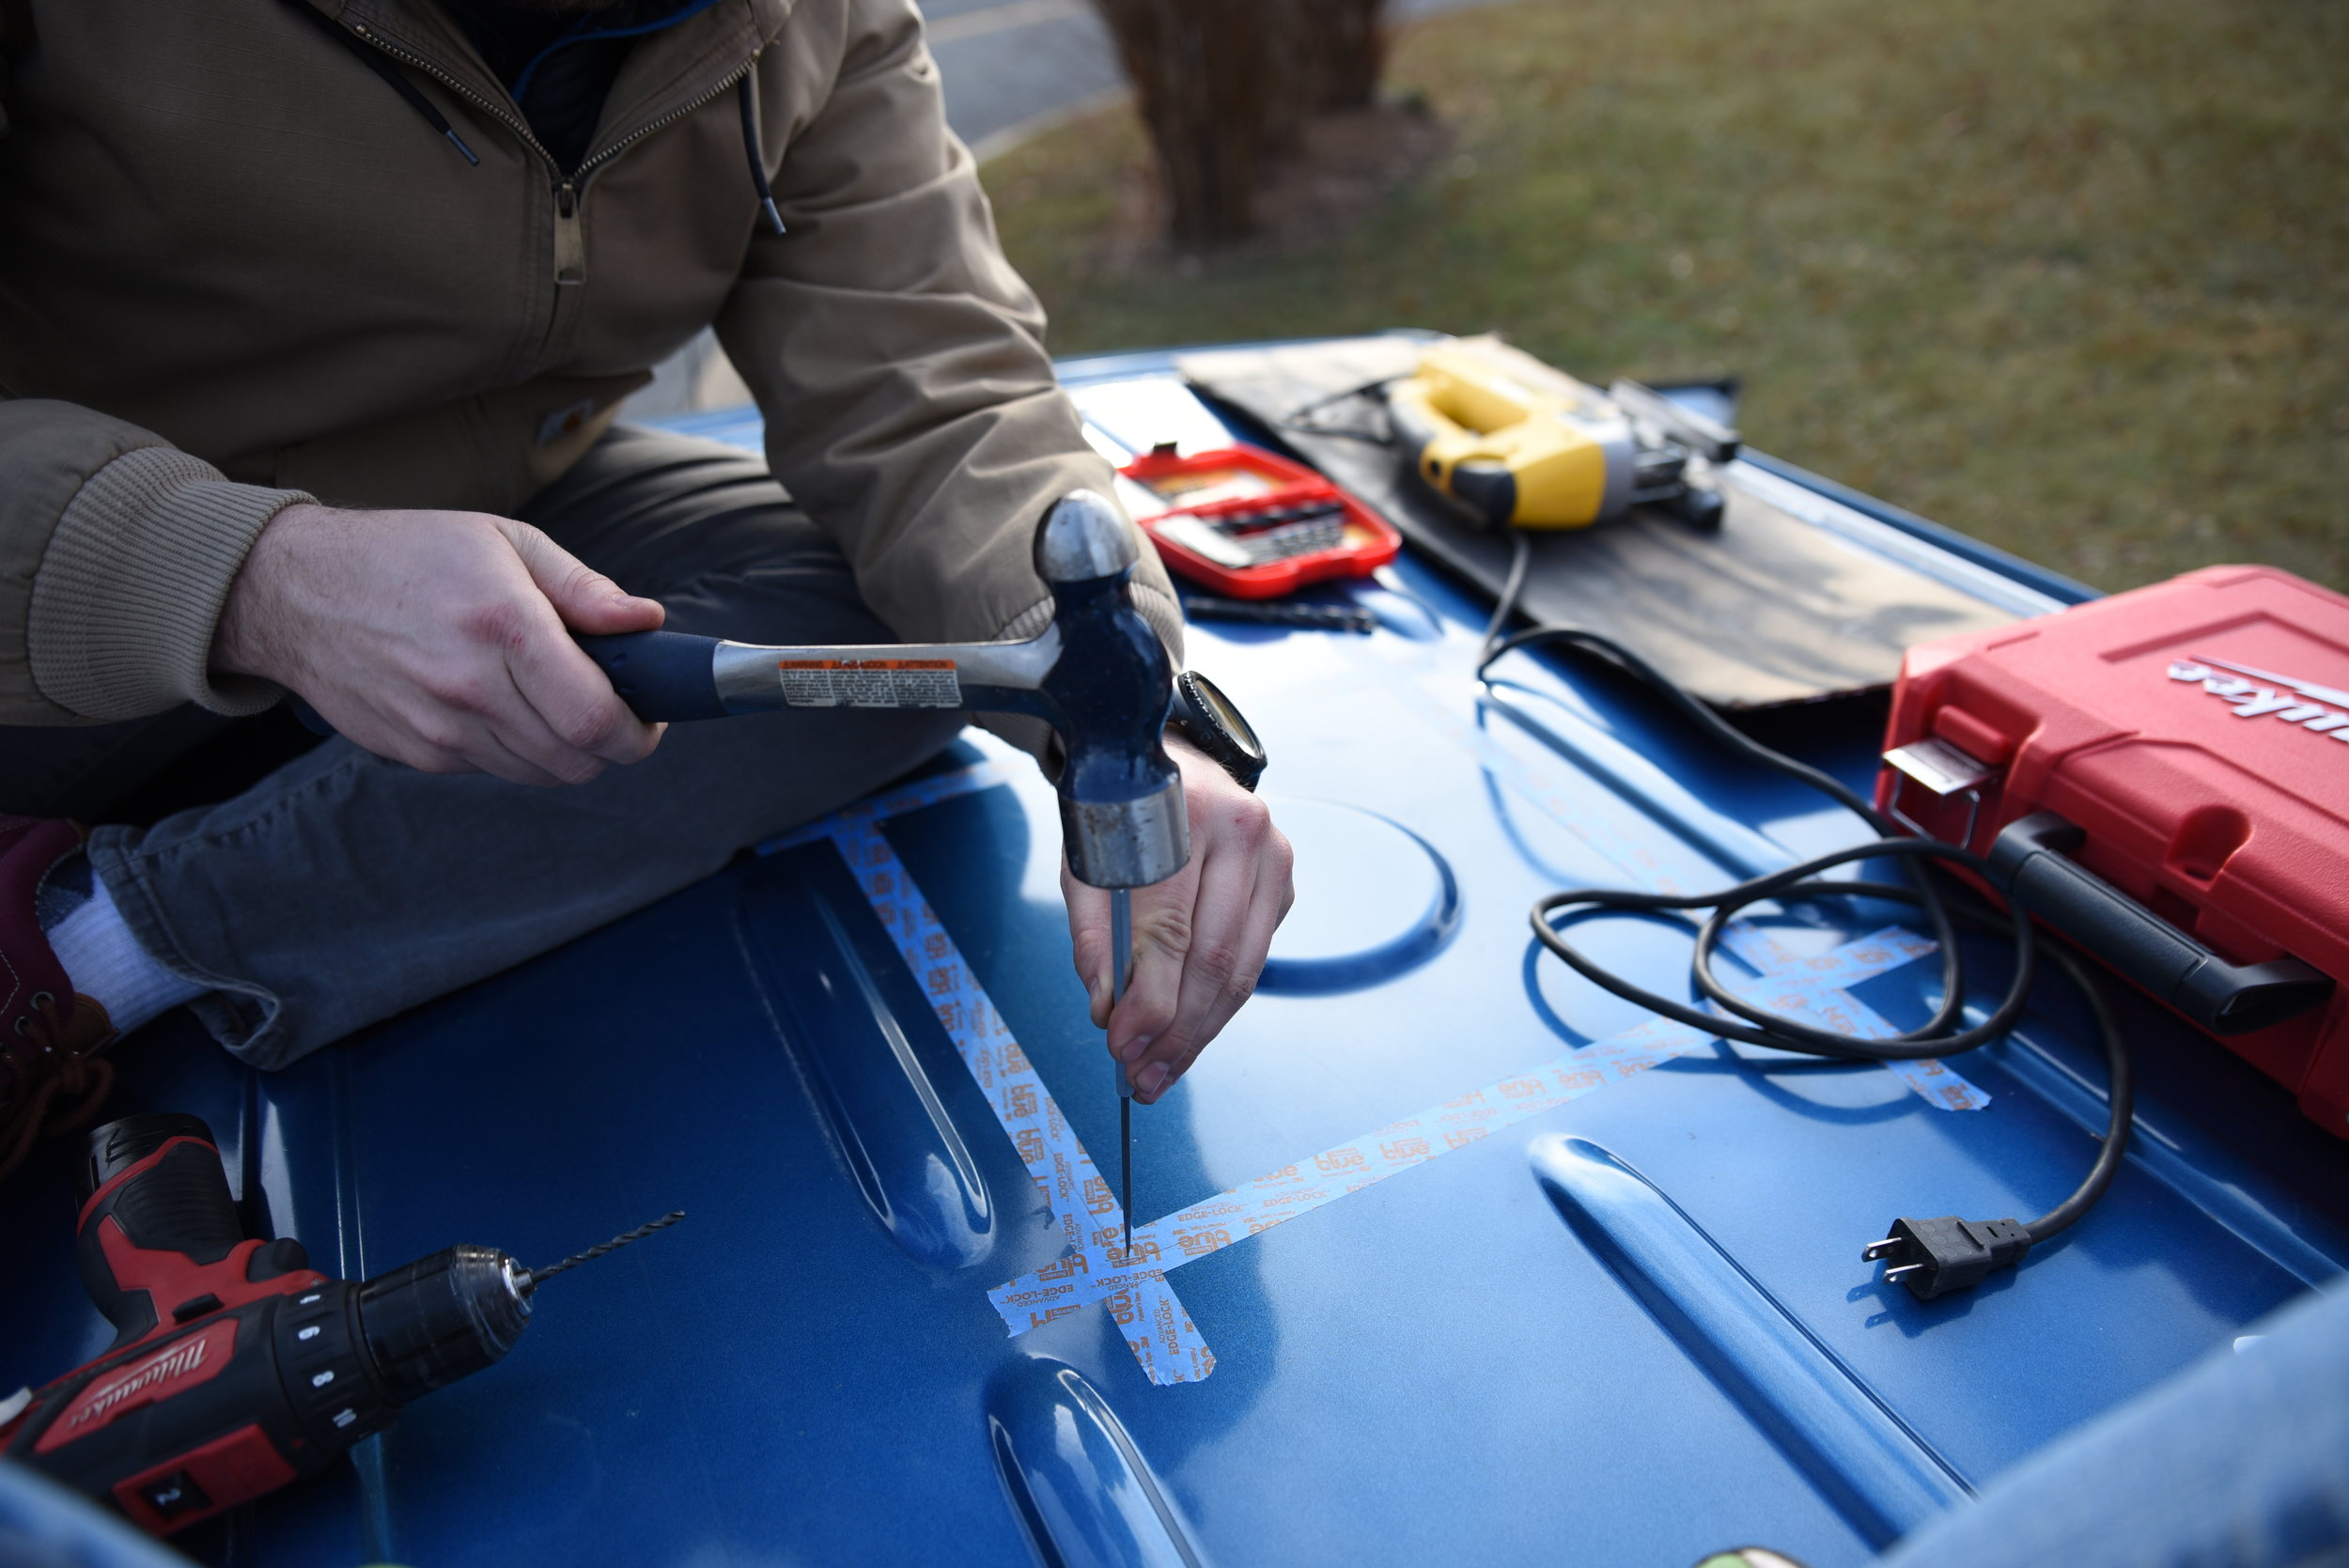
Ian uses a hammer and awl to make an indentation to allow the drill bit to gain purchase on the slippery roof of the van.

Ian begins the drilling with a small drill bit.
You don't need any special type of drill bit for drilling into sheet metal. Regular drill bits can handle it just fine. Drilling slowly will reduce the heat though and keep your bits sharper longer.

Ian about to use the largest drill bit in our van roof.
Once we had a hole large enough for the jig saw blade, Ian cut the sides one at a time. After we had cut three sides we attempted to tape the piece of metal up so that it wouldn't fall down into the van, but it still went flying down into the van and clattered out the door. So don’t stand underneath.
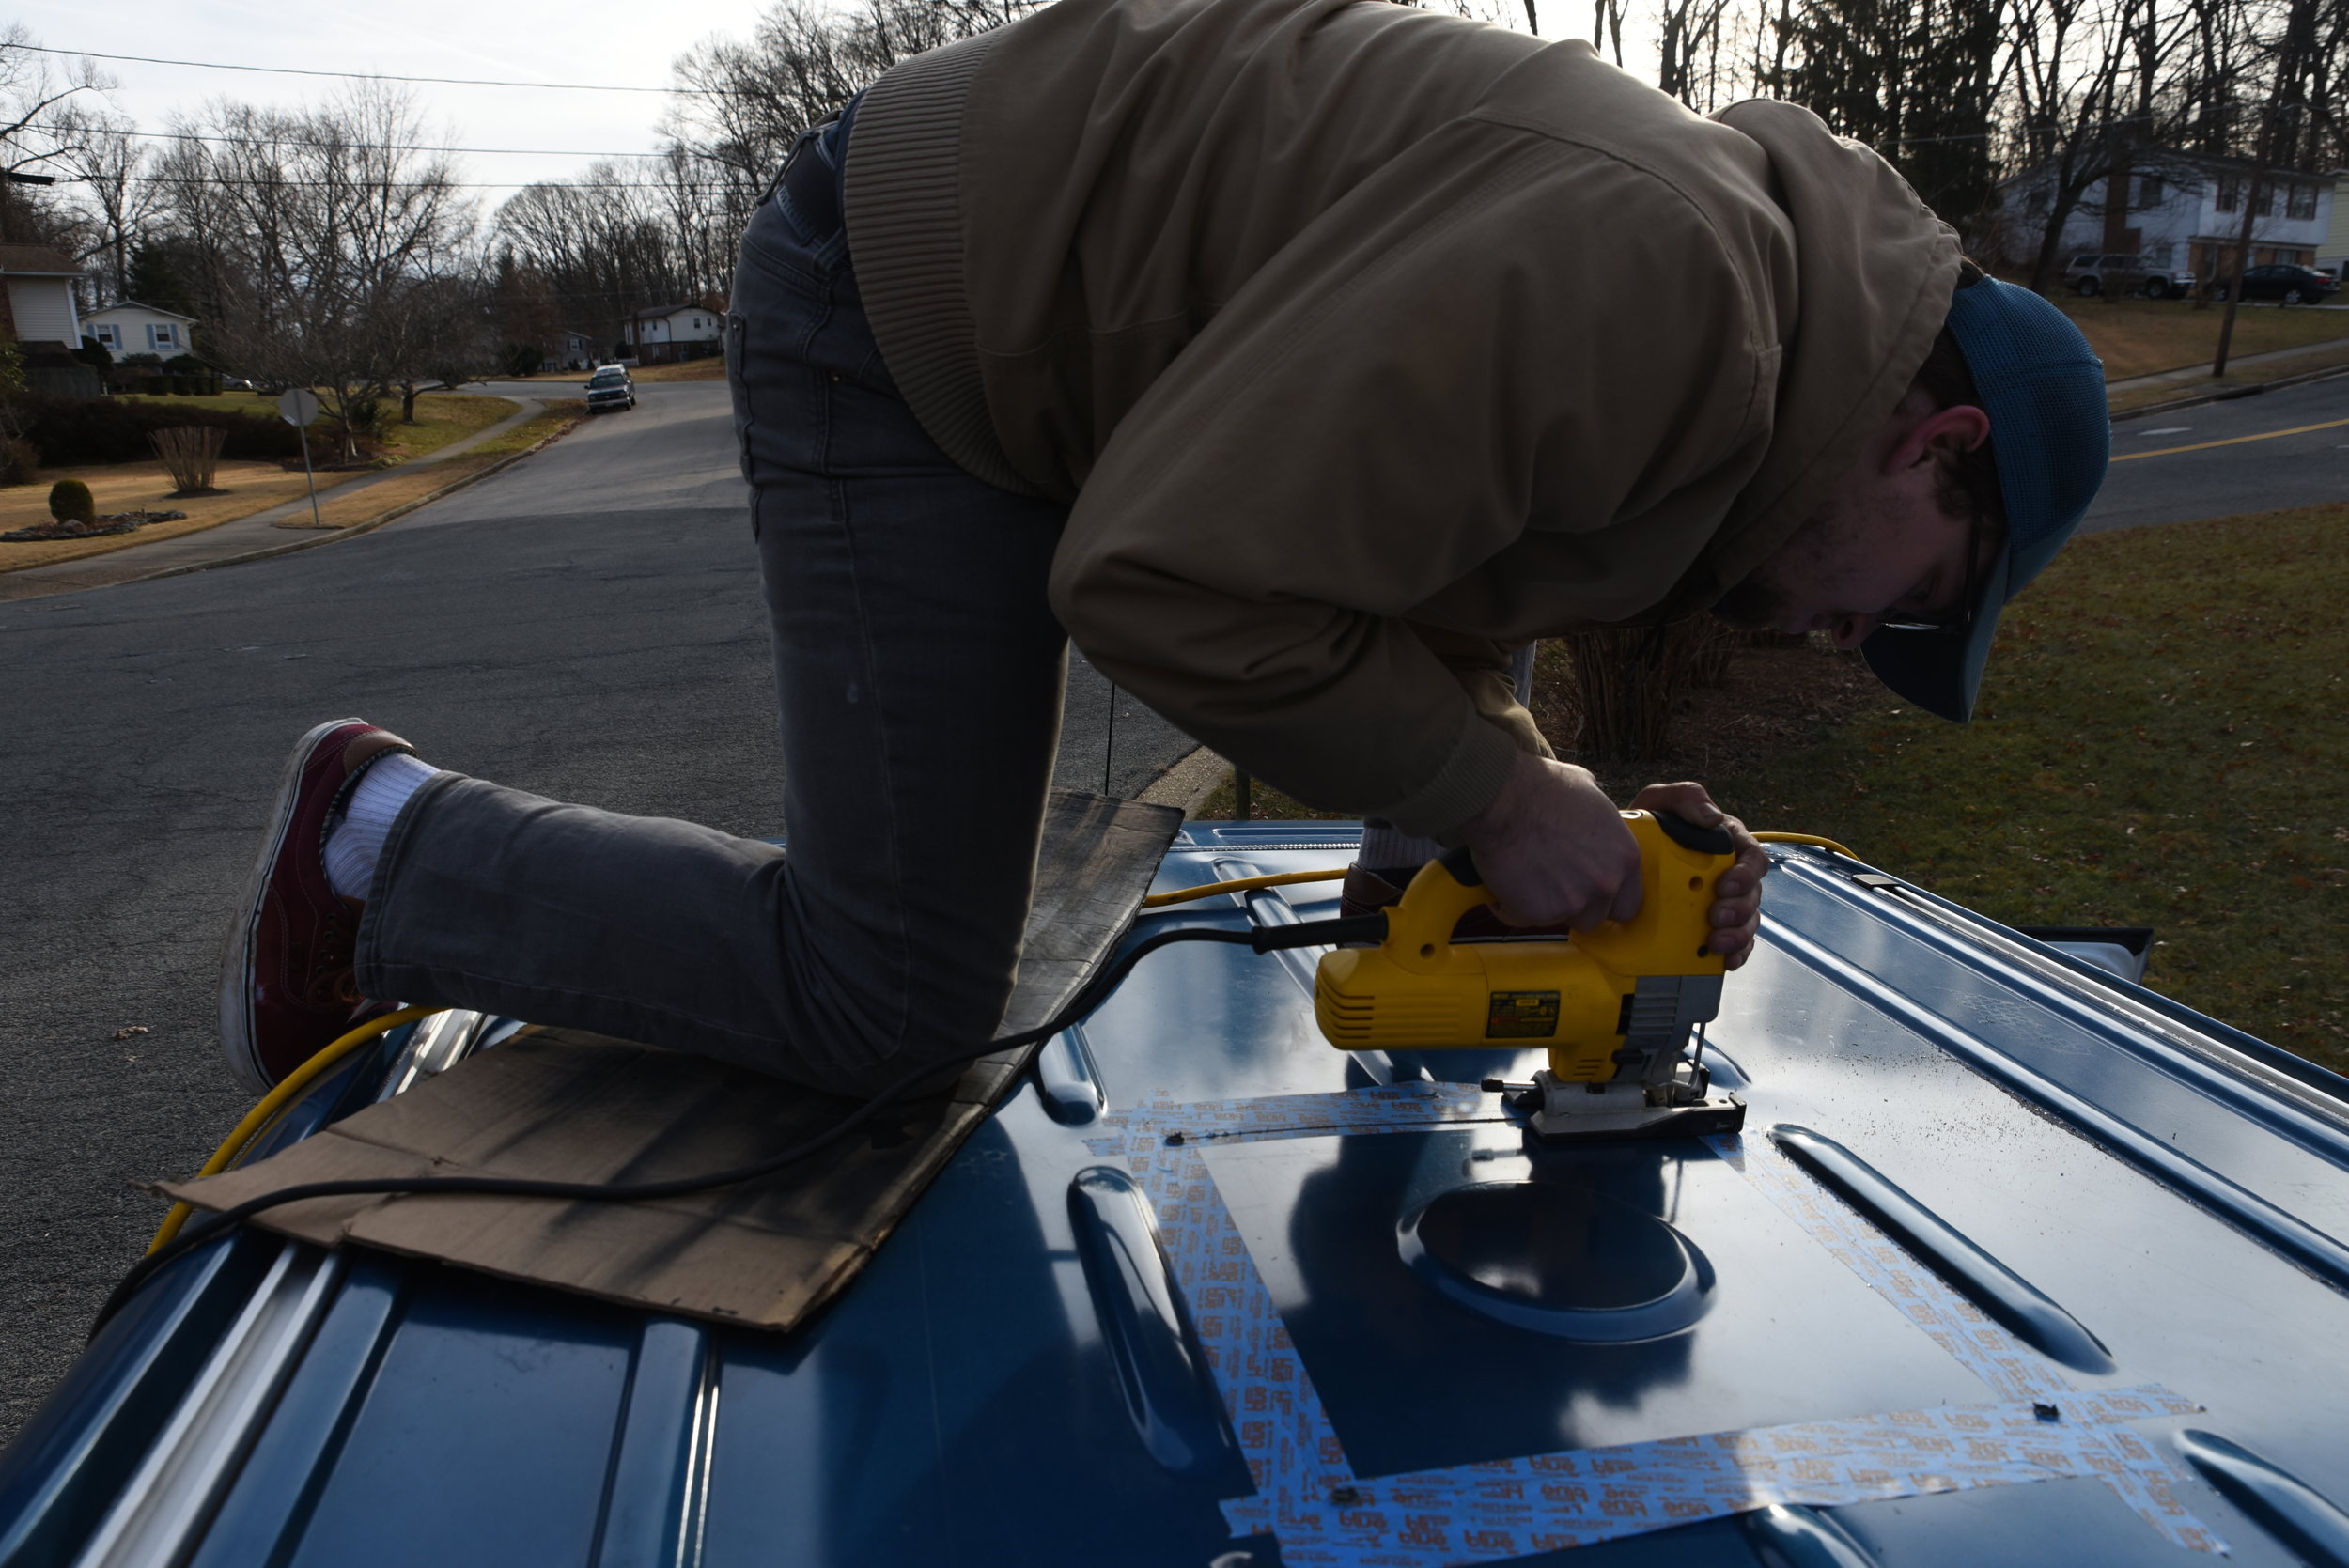
Ian cutting the first side of the hole through the blue painters tape.

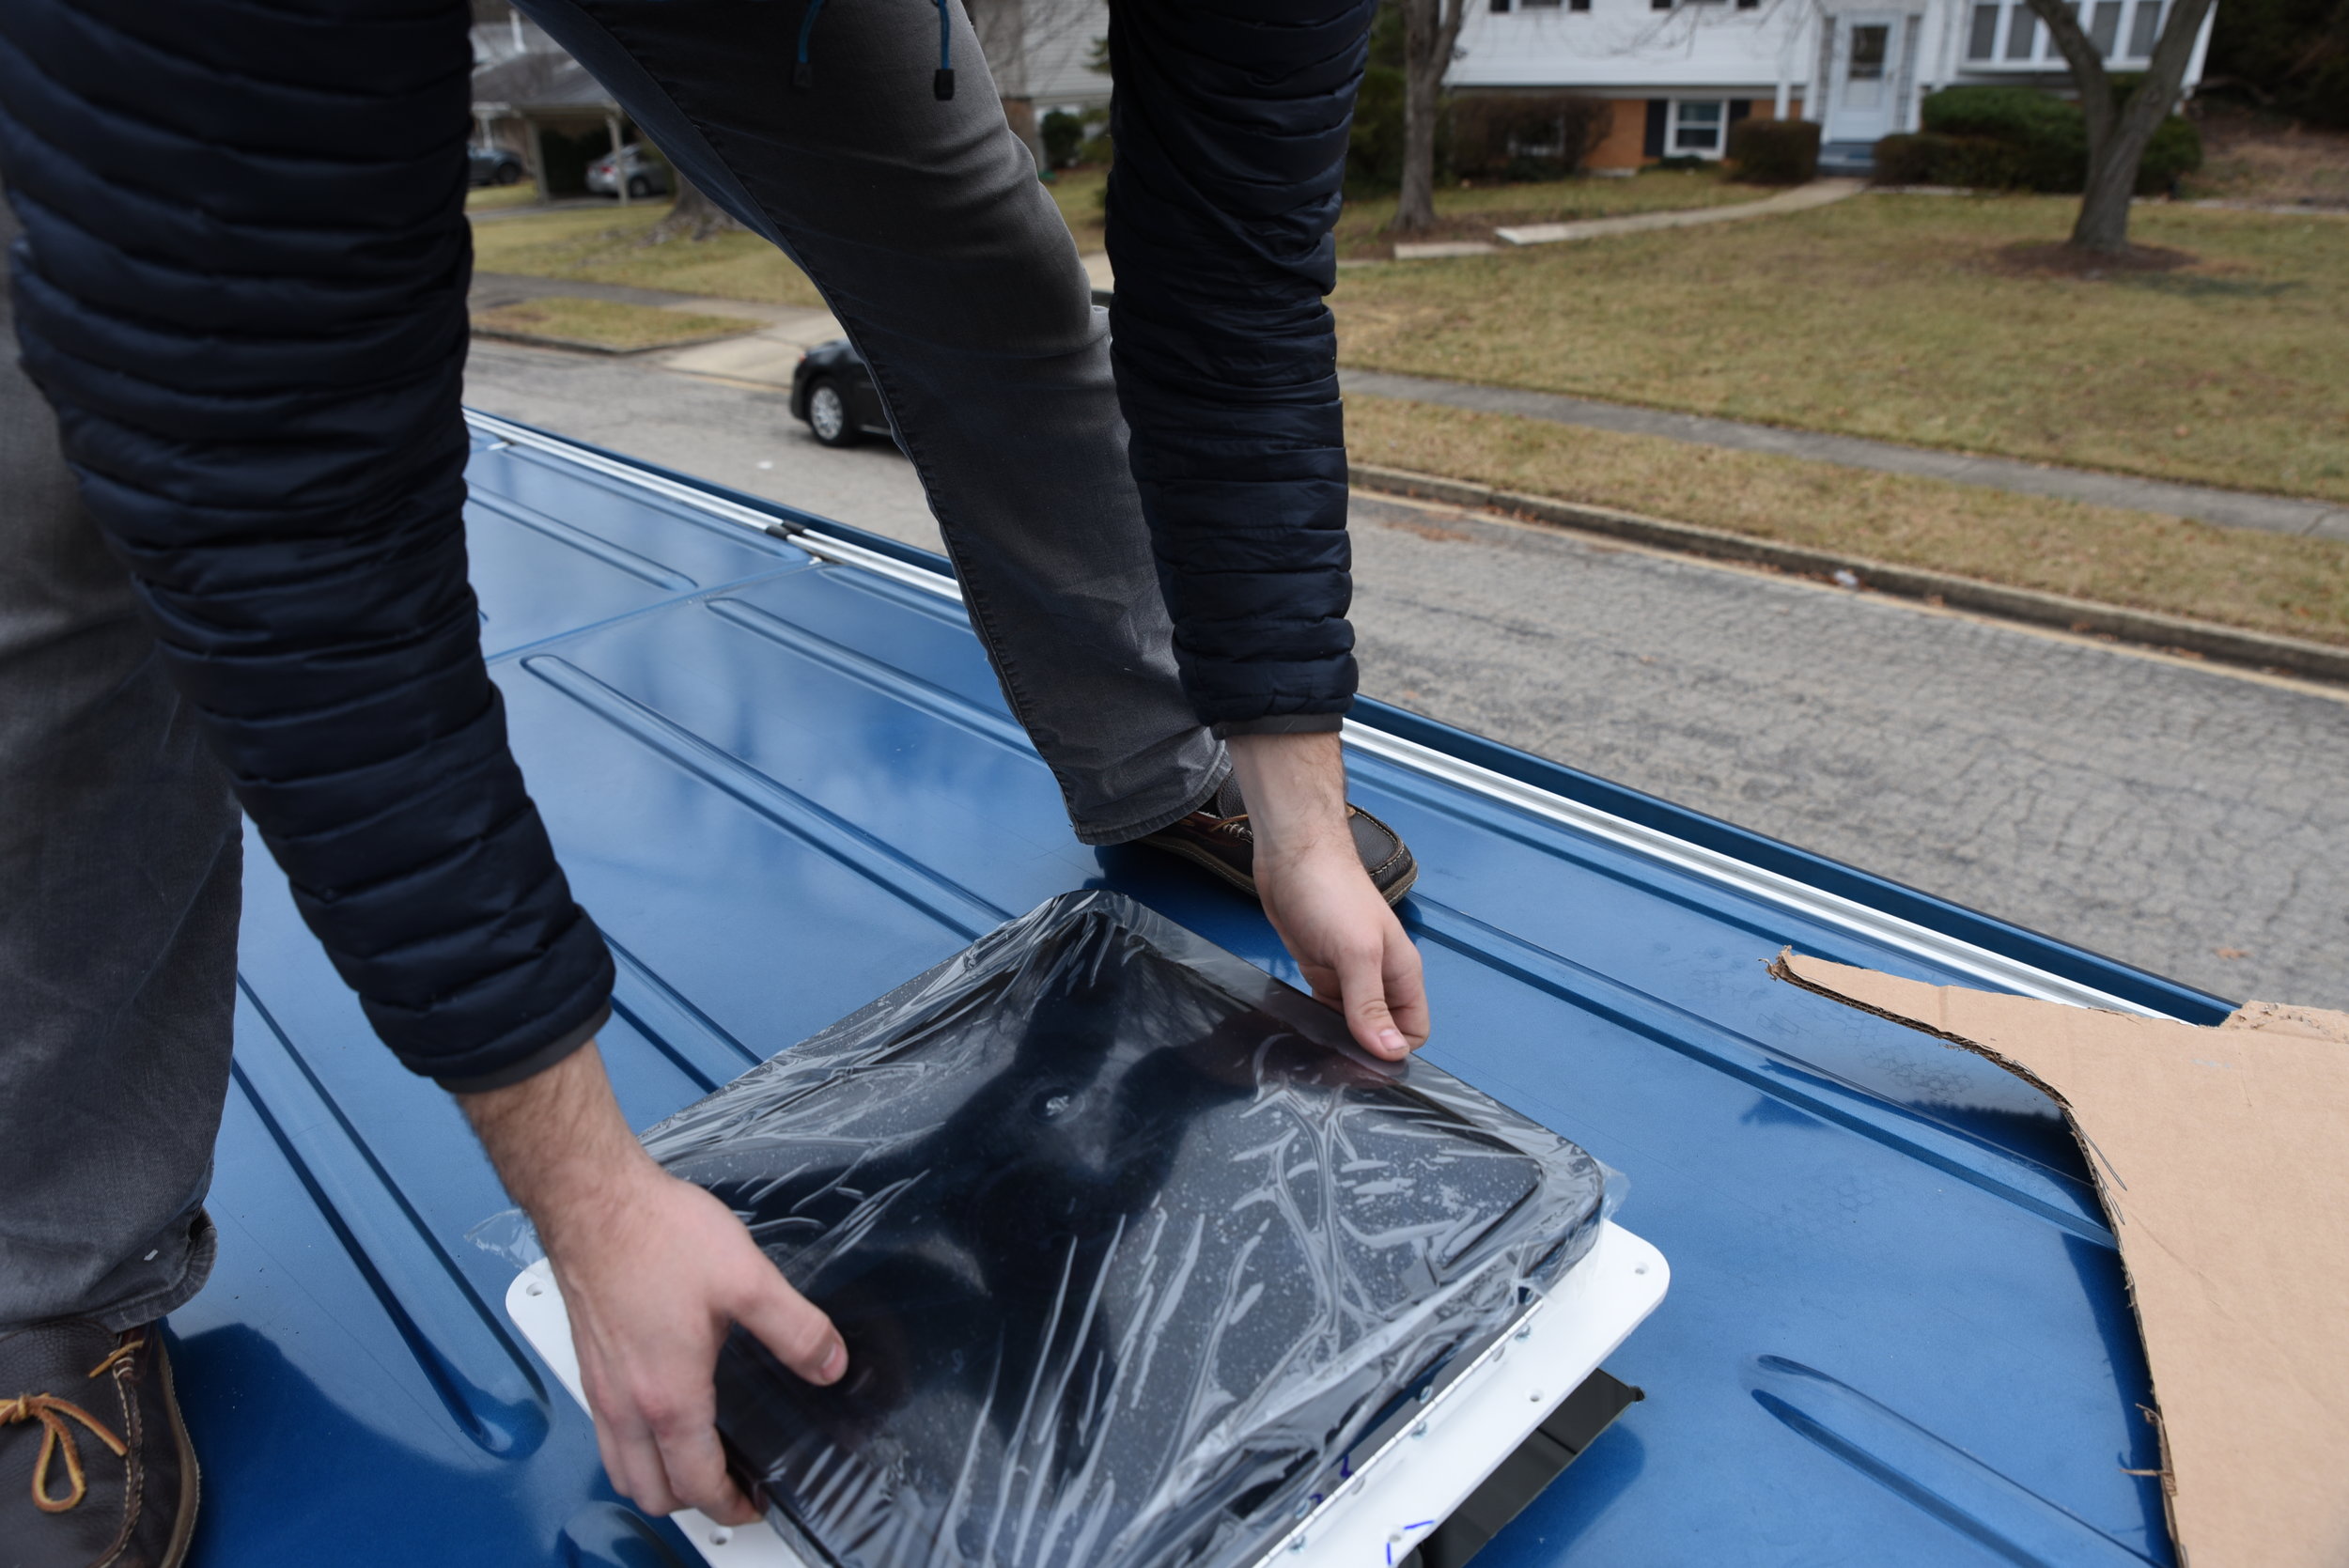
Looking through the completed hole for the fan in the roof of our van.
Once the hole was totally cut, we test fit the fan. The ridges on the roof of the fan in front and back of the hole just butted up against the edge of the flange on the van. We used a Dremel tool to trim a small notch into the fan's plastic edge in these places so that it would sit flush against the roof.
Then we peeled the painters tape off and sealed the edge with a primer to make sure it wouldn't rust.
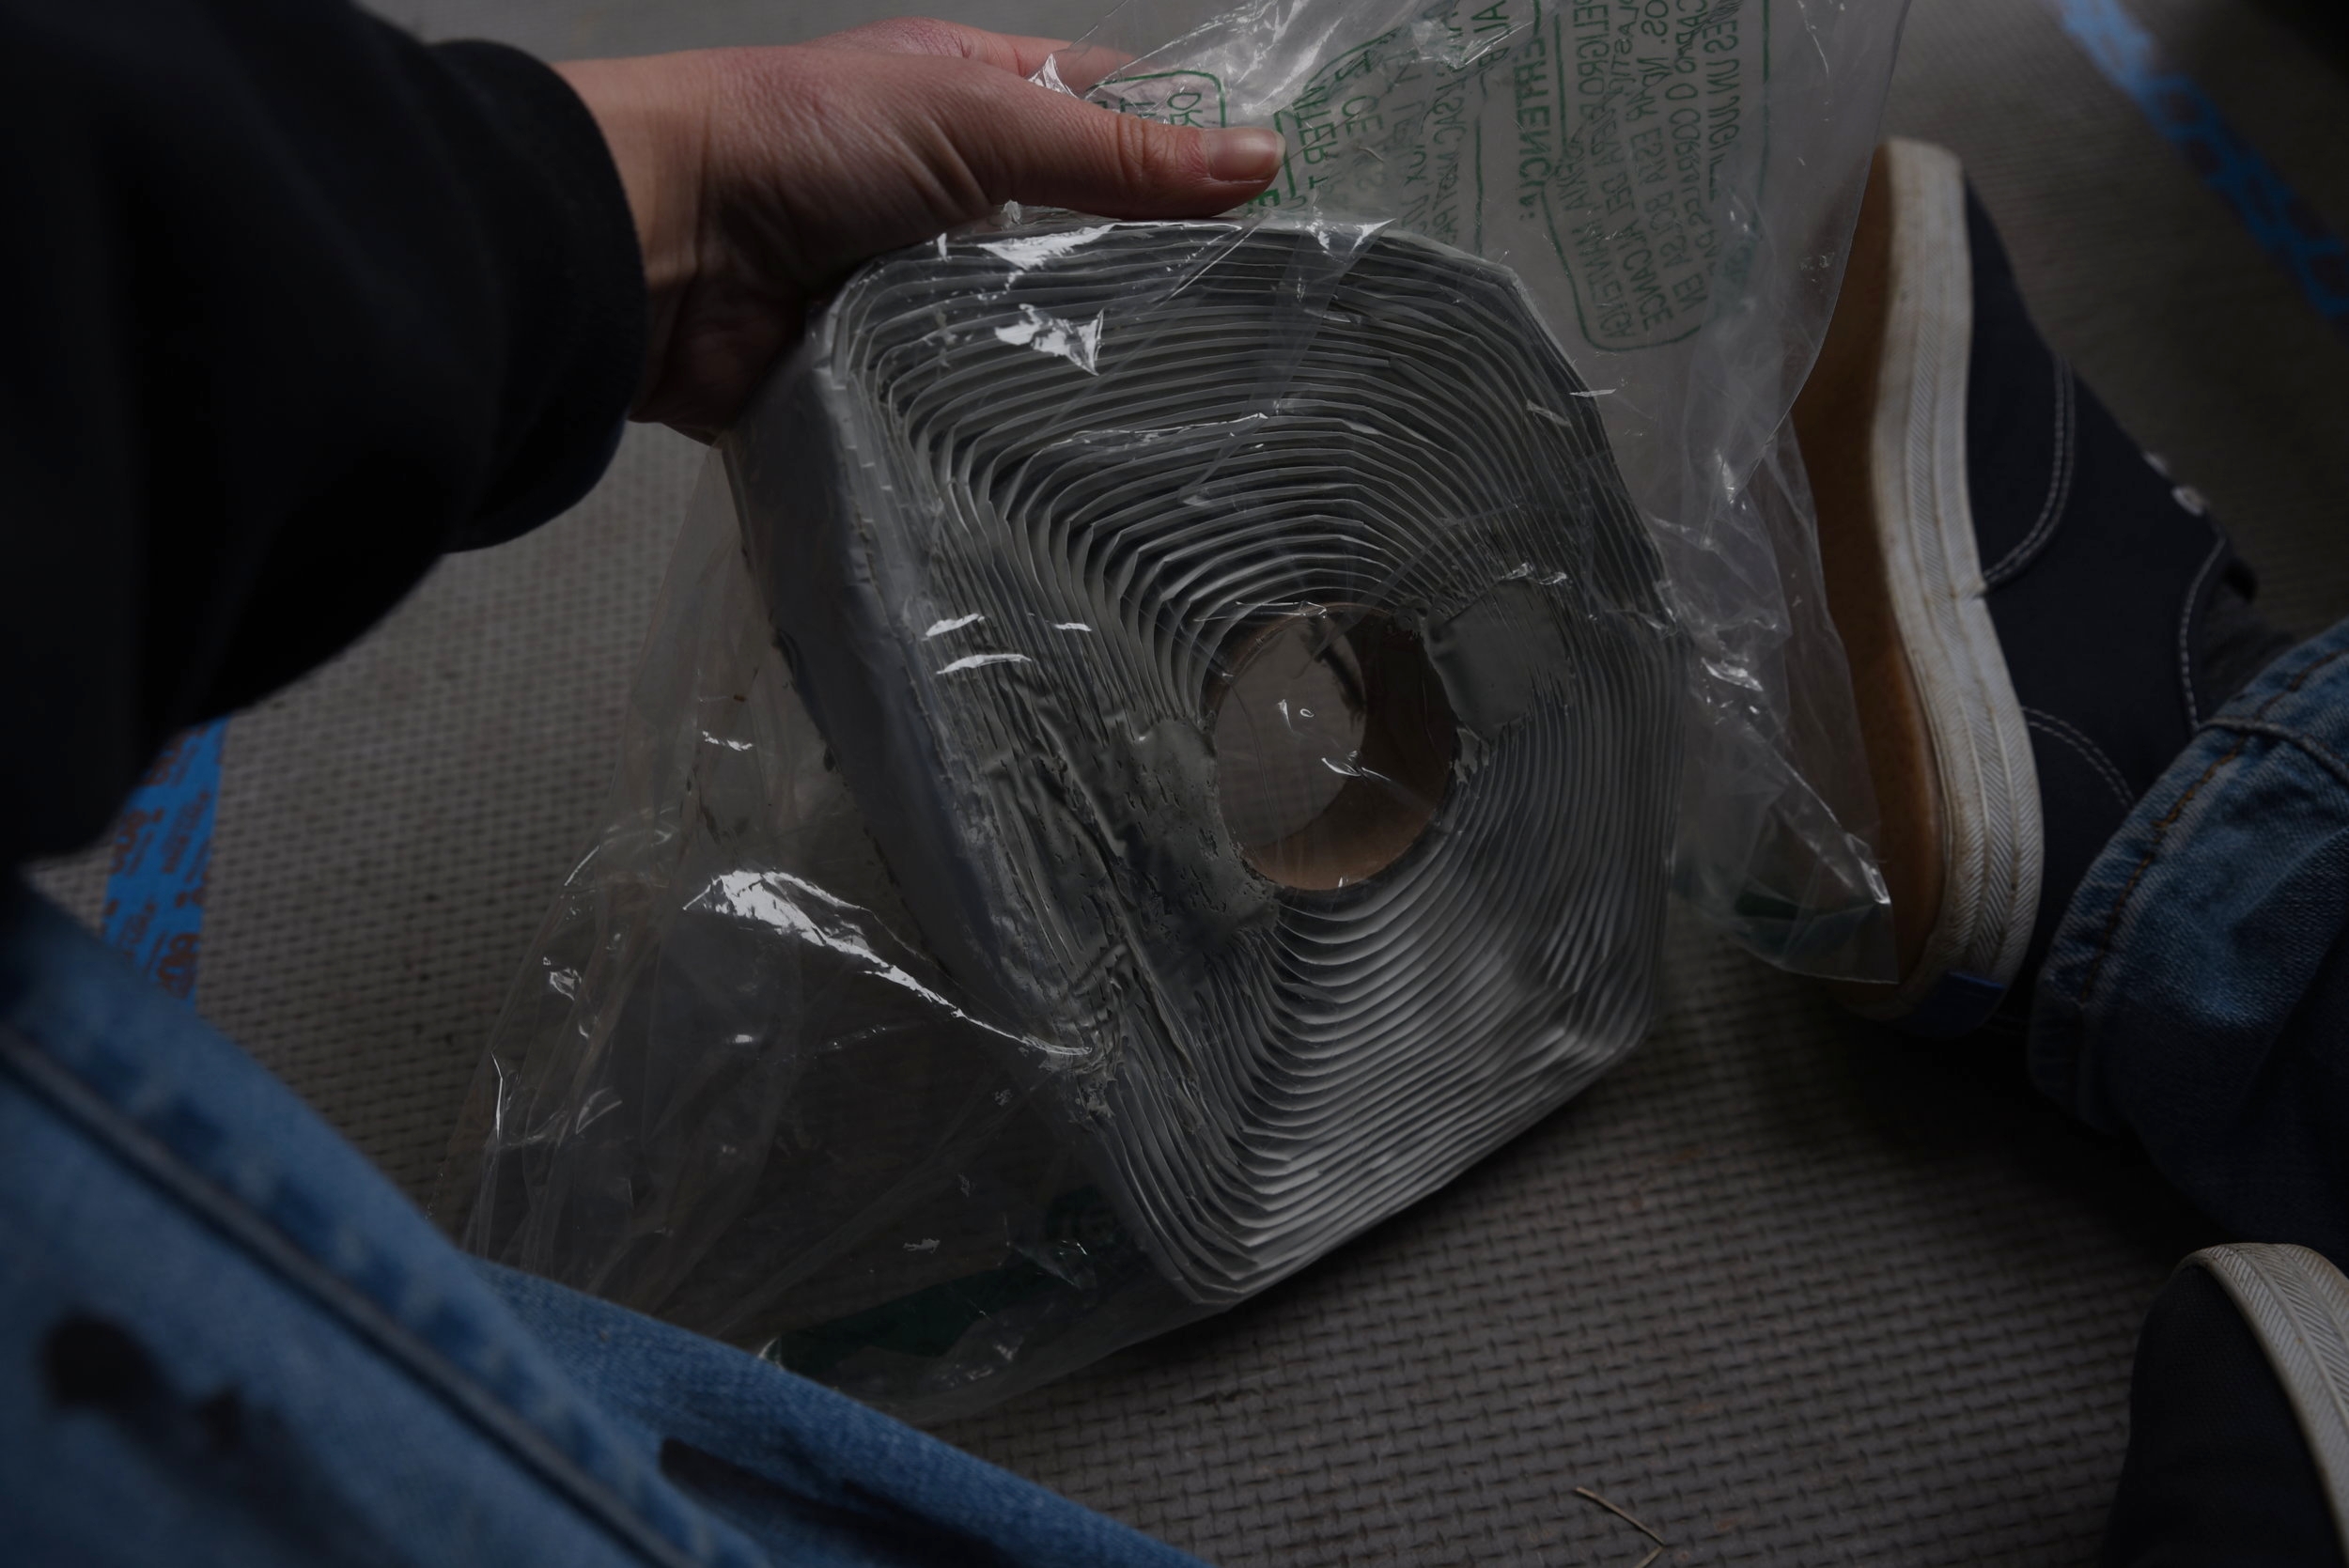
Butyl tape is a really stick putty like tape that will hold your fan in place and create a seal against the van.

Ian presses the butyl tape into place on the fan before removing the wax paper.
The next step was to apply the butyl tape. Butyl tape is this sticky putty that comes on a roll with wax paper.
Since the roof of the van was curved we used two layers of butyl tape to build up the two sides of the fan resting where the van roof slopes away.
You can shape the putty with your fingers, but once you place the putty down, you can't pull it back up. So make sure you have it positioned correctly the first time. It's also easier to press the butyl tape onto the van and shape it before removing the wax paper because your fingers don't stick to the tape as much.
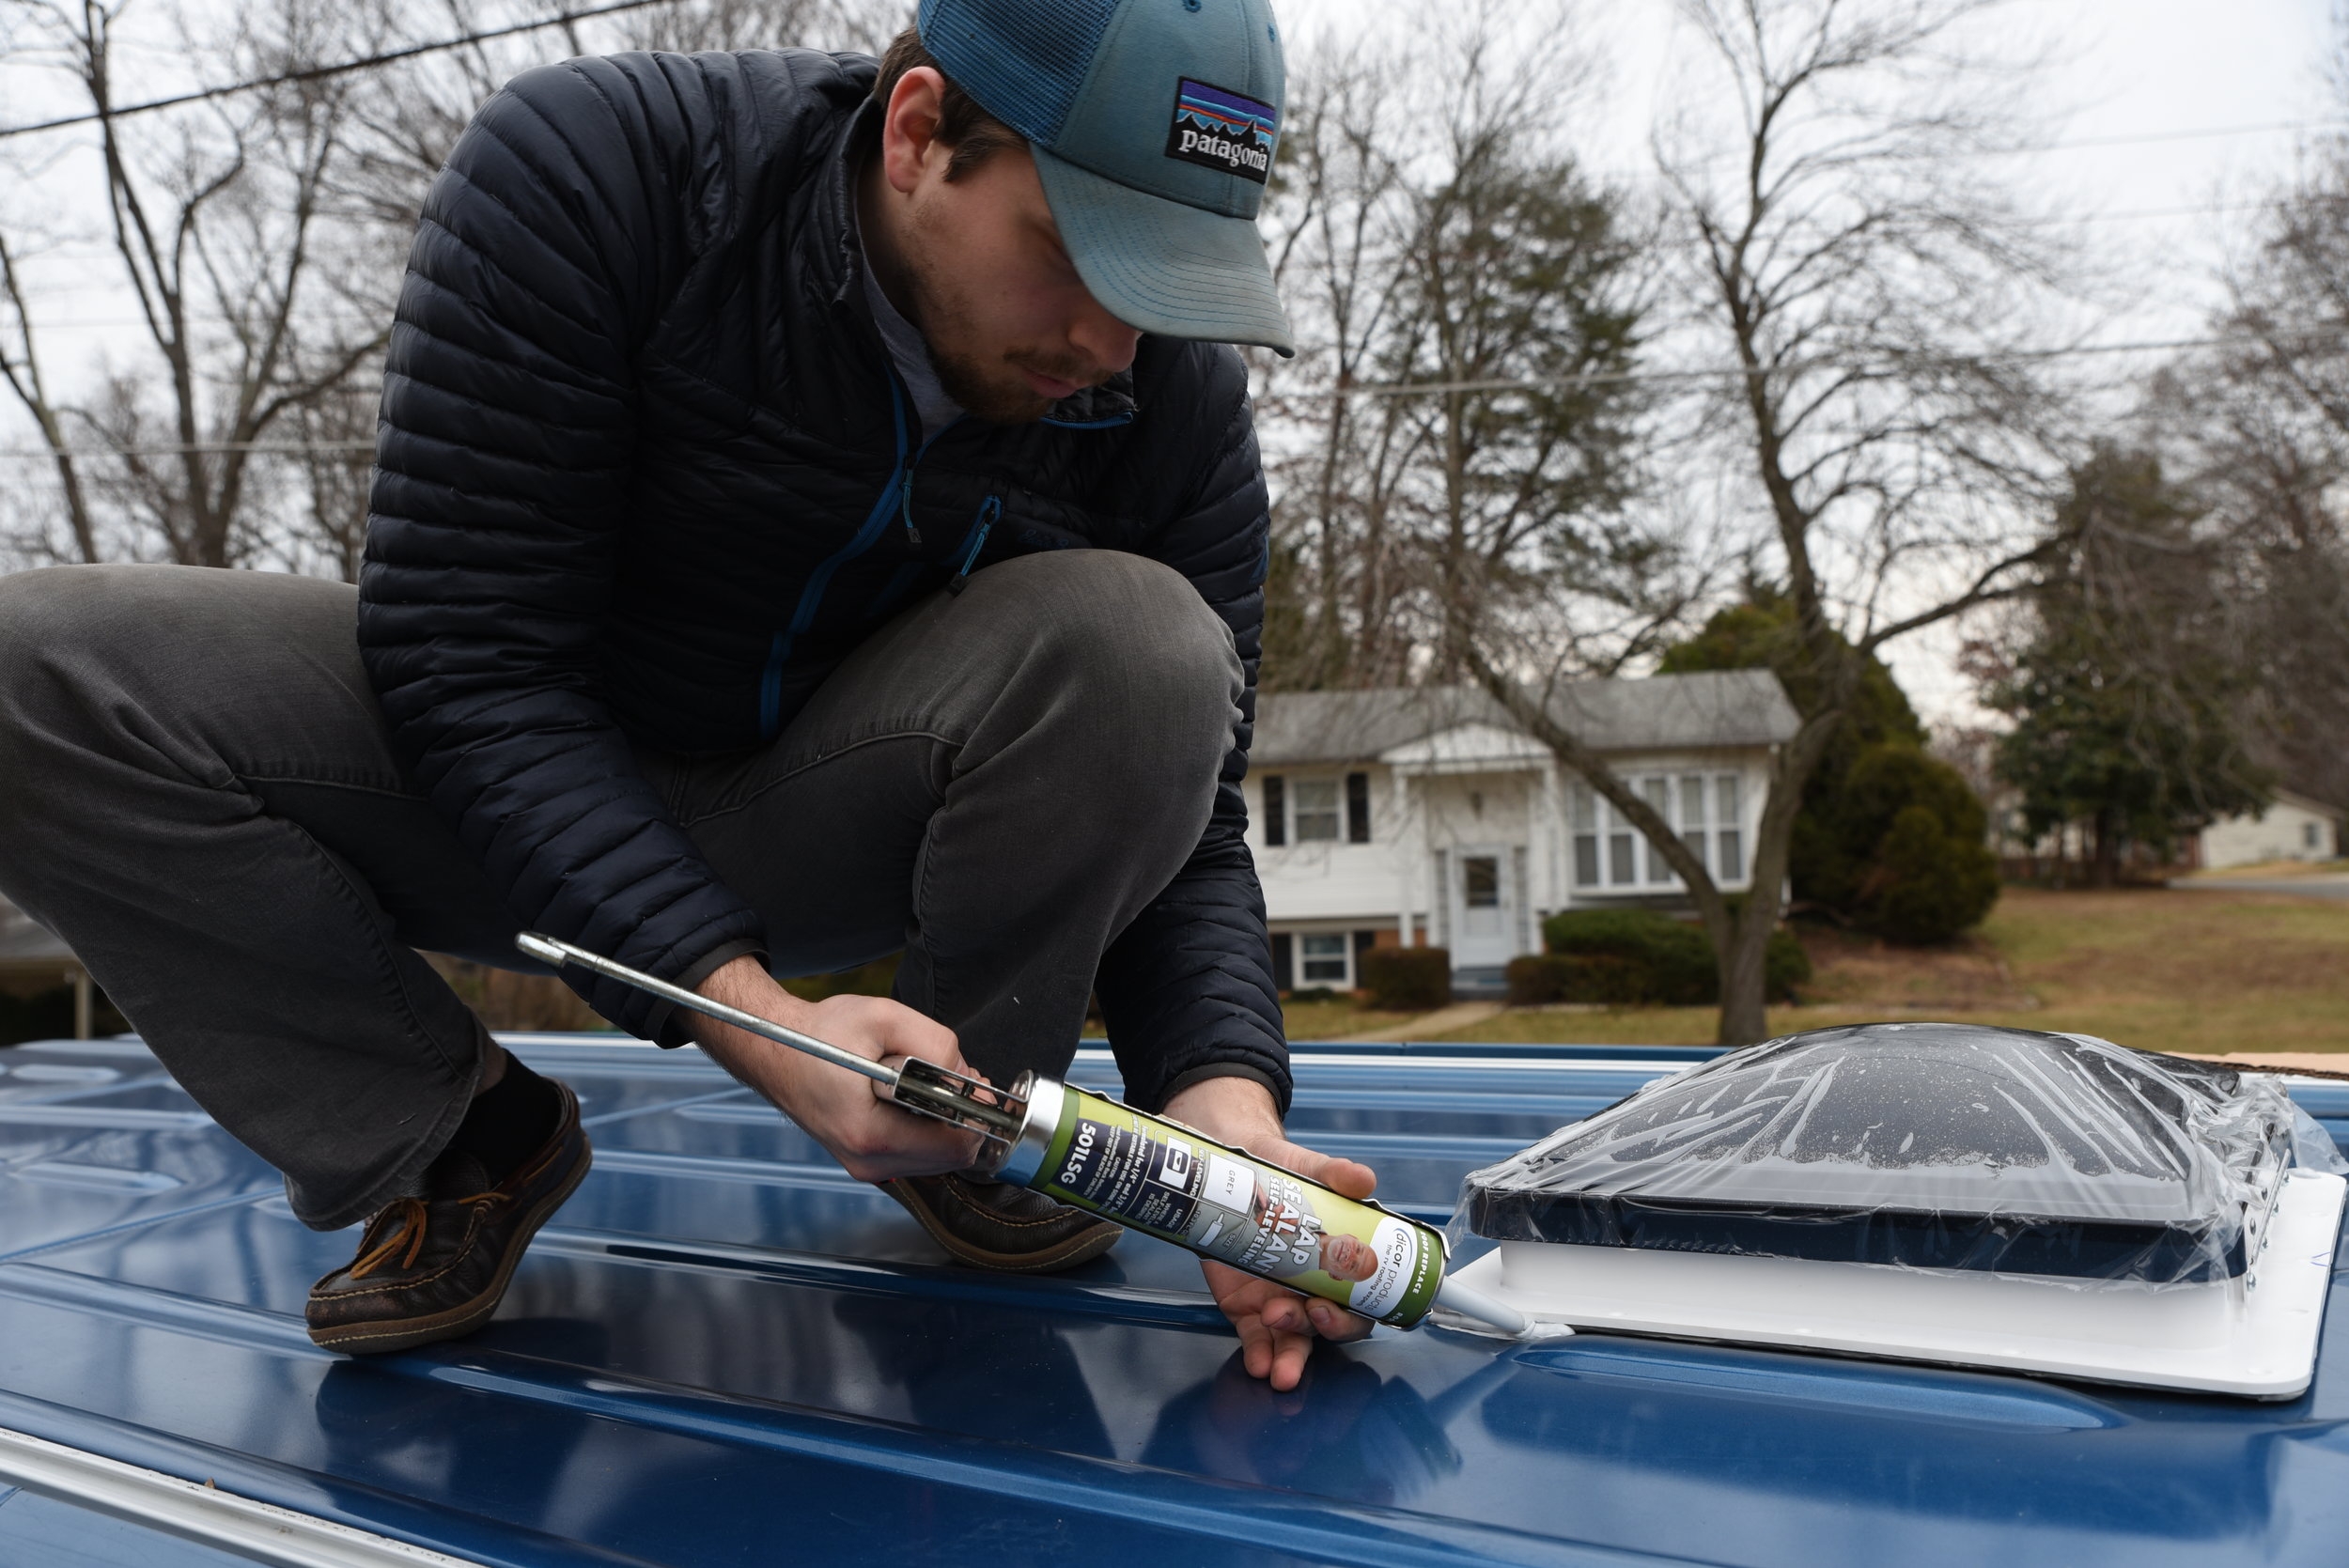
The lap-sealant is applied with a normal caulk gun, but it's a lot more fluid than a silicone caulk.
We wiped down the surface around the hole, and placed the fan in. You can't really adjust the fan after you put it in the hole because of the butyl tape, so make sure it's straight the first time.
Then we sealed it with Dicor self-leveling lap sealant. This is a product specifically made for RVs. While it was tempting to go with a cheaper sealant or caulk, we decided to go with the RV-specific product because of all the movement of the van and fluctuations in temperature to which the seal will need to hold up. One tube of the sealant was plenty for the sealing the fan, so it didn't actually end up being that expensive.

Ian screws the fan’s frame into the ribs of the van roof.
Finally, we added a wood frame around the fan. This frame gave us something to screw into when we installed the trim around the fan when finishing the ceiling. (Read about that in our article “Paneling Our Walls and Ceiling”.) We just used some scrap 2x2s and 1-5/8”-inch self tapping sheet metal screws to attach the frame to ribs of the Sprinter. We recessed the screws as well so that the heads of the screws would not prevent the ceiling paneling from laying flush against the frame of the fan.

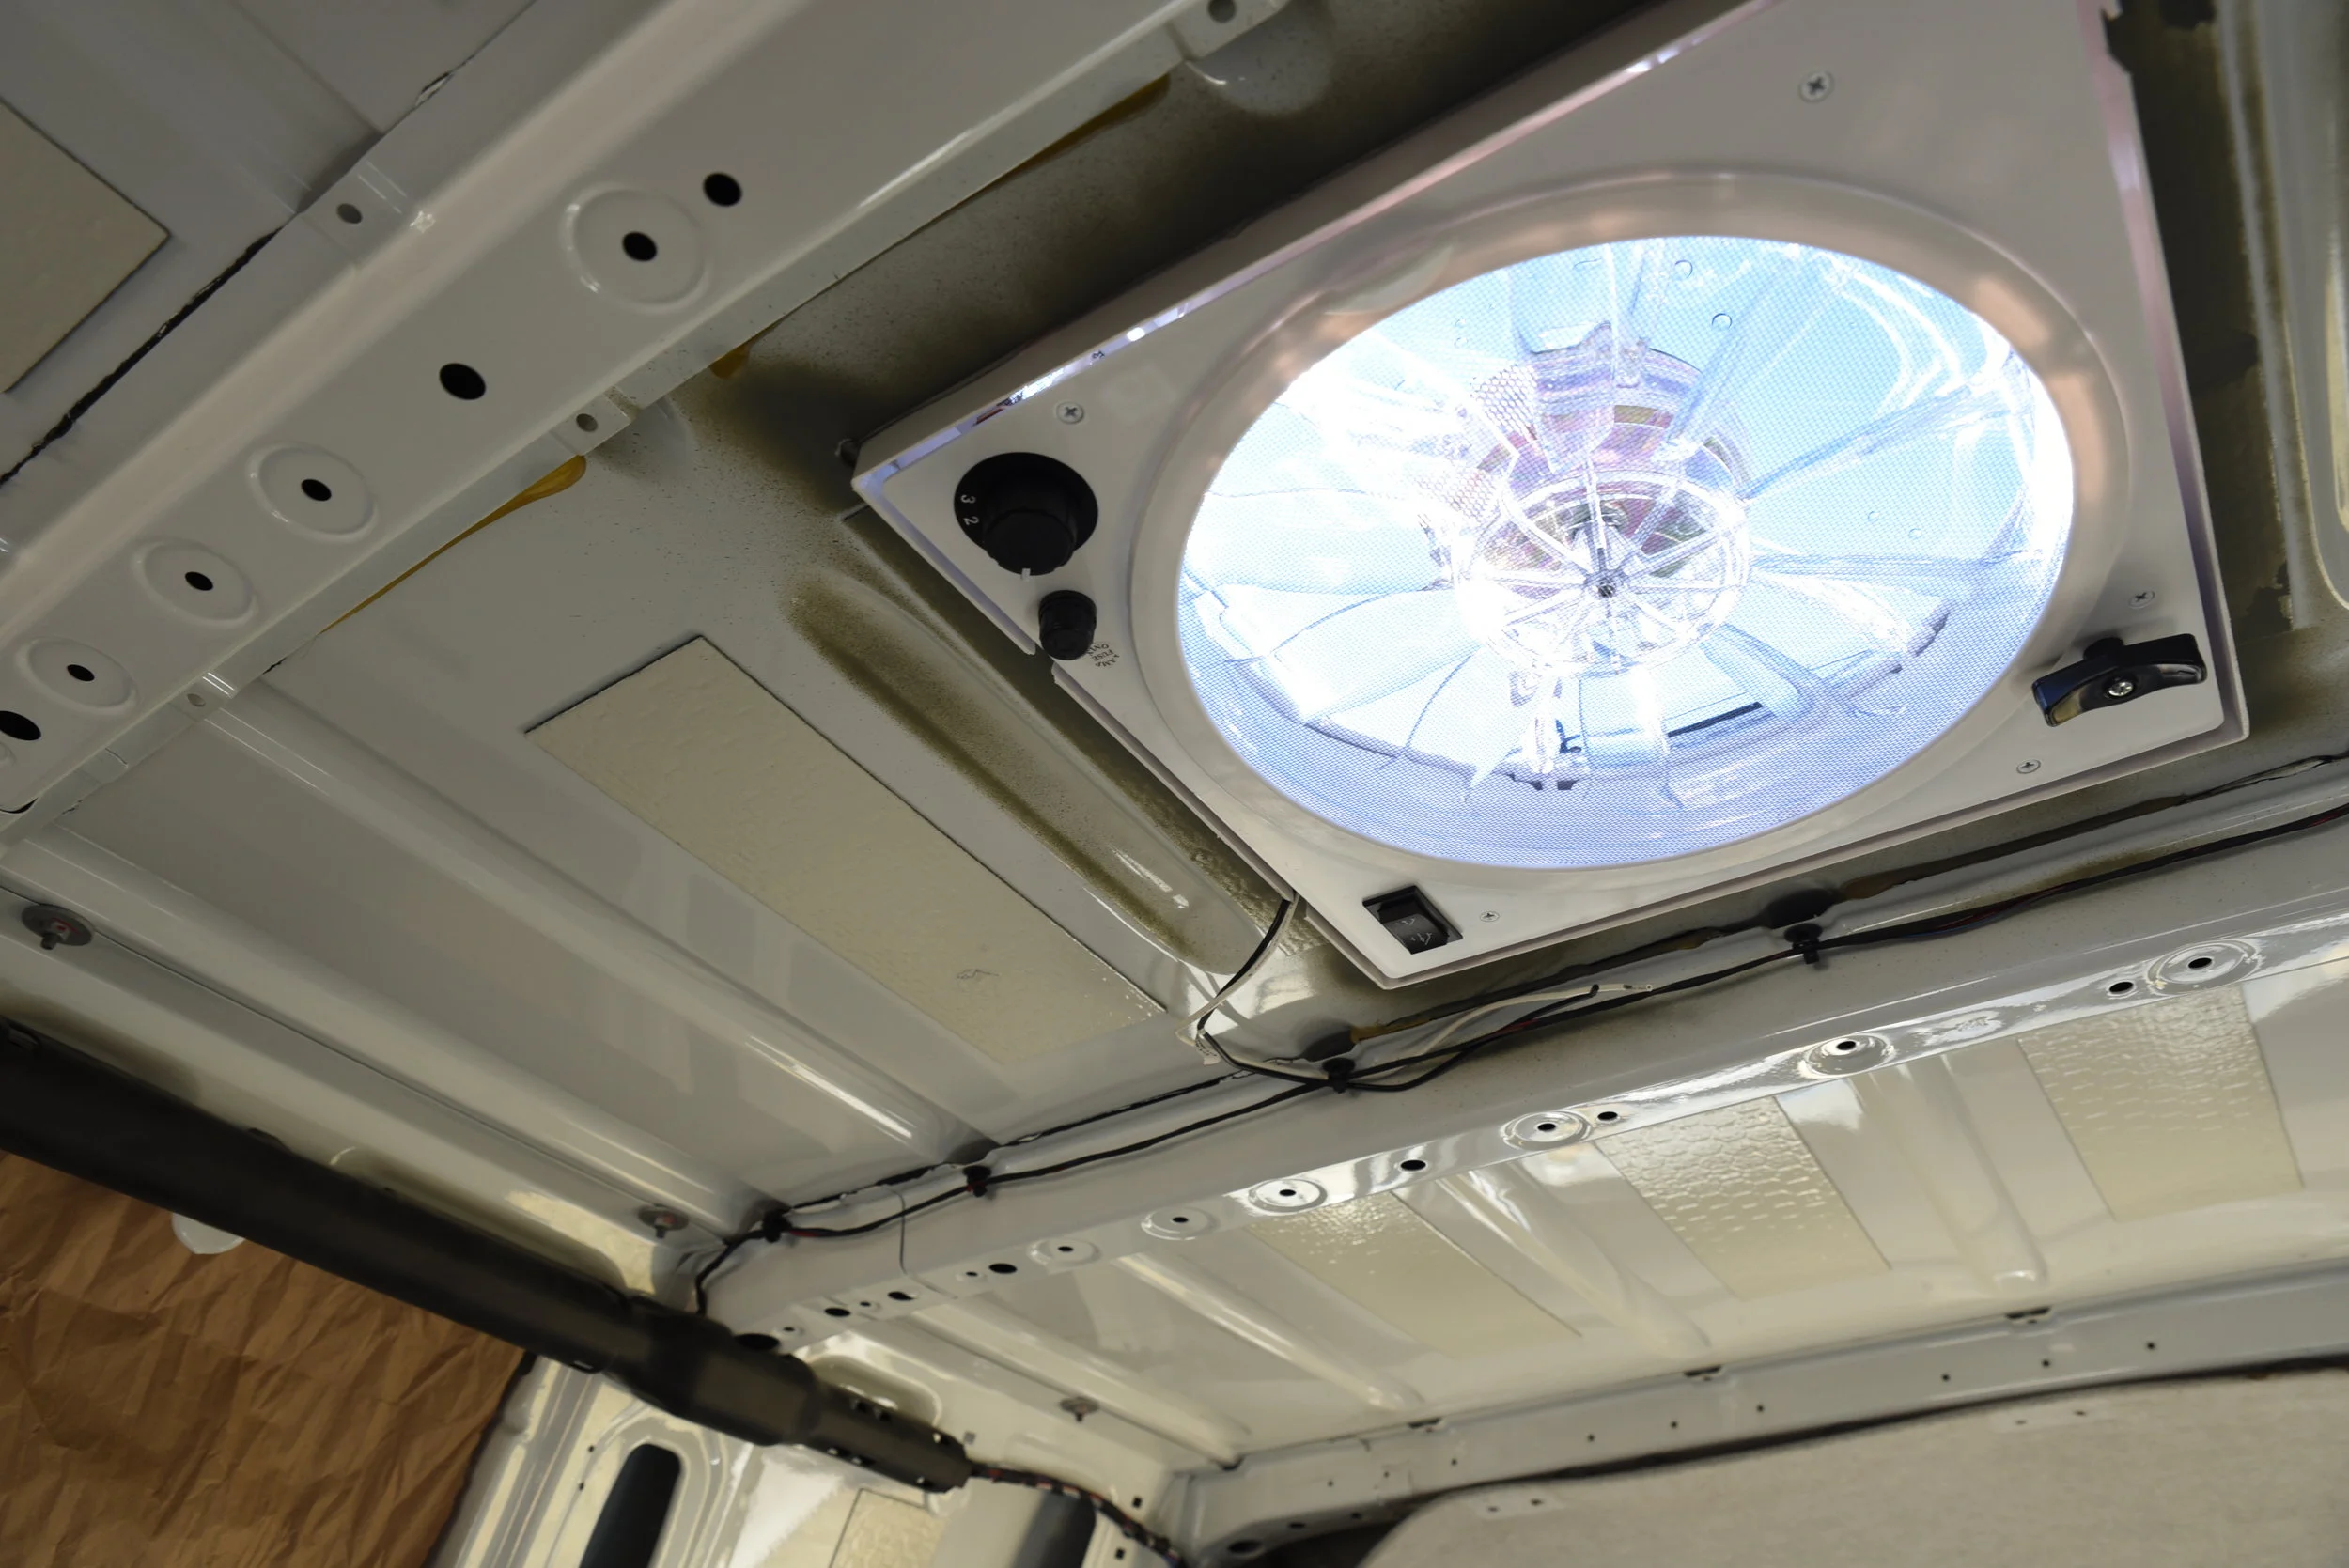
The finished fan installation in the roof of the van with the wooden frame around it.
Here's what the fan looks like totally installed. This fan does a great job ventilating our kitchen, and it helps a lot with moisture control. It also keeps us fairly cool, but it does a much better job exchanging air if we have the back door cracked. Unfortunately that’s not always an option due to mosquitoes or if we are in stealth mode or parked at a Walmart. If we were to do it over, we’d install two fans, one in the front and one over the bed so that air could be exchanged more easily.