Insulating the Van
In our travels across North America, we have had a lot of hot days and cold nights. When building our van, one of the first steps we took to make our van comfortable was add a thorough layer of insulation. We have lived in our van in the summer months when the temperatures were in the 90s and 100s, and we were able to stay relatively cool and comfortable. We’ve also slept in the van on winter nights when the temps were in the single digits. We don’t have any heating system in our van, and while the van was by no means warm, we were able to keep the temperature about 20 degrees warmer inside. Our insulation method allowed us to create a comfortable home without losing too much space.
Tools
Work gloves, masks, goggles, and protective clothing
Bread knives or insulation knife
Materials
Reflective bubble insulation (4'x25' roll)
1/2-inch XPS rigid foam insulation (2 sheets)
Large sheets of cardboard
2-inch Polyiso insulation (1 sheet)
1-inch XPS rigid foam insulation (3 sheets)
Duct tape (1 roll)
R-13 Kraft-faced fiberglass insulation (2- 15'x32' rolls)
Great Stuff spray foam insulation (5 cans)
Scrap wood and screws
Insulating Our Floor
Our van came with a plywood floor already in it. We used this layer as a subfloor underneath our finished flooring. Originally the plywood flooring had two tie down rails in it, but we left those out in order to reduce the weight, since they are very heavy.
We insulated underneath the sub-flooring and on top of it. The plywood sub-floor has strips of wood lath stapled to the bottom which hold it a bit above the metal floor of the van. The floor of the van also has ridges in it creating a lot of spaces.
A lot of van lifers, futz around and fill in these spaces with little pieces of foam or insulation, but these natural gaps make the floor the perfect place to use Reflectix insulation.
Reflectix insulation is a reflective bubble wrap insulation that provides a slight conductive benefit and also creates a radiant barrier. A lot of van life blogs and videos will tell you to cover your entire van in Reflectix. Unless Reflectix has a gap between the space where it's insulating and its reflective surface, it won't work as a radiant barrier. So if you install Reflectix directly against your van wall and then put fiber glass insulation right on top of it, it won't work the way it's supposed to. Bubble wrap from Staples would probably have about the same R-value as that! (As a conductive insulation, Refectix only has an R-value of 1.1.)
Since the metal floor of the van has ridges in it there is a gap small gap underneath it. There is larger gap between the Reflectix and the plywood subfloor, so Reflectix is an okay choice for below the subfloor. This insulation seems to have the greatest effect when we are parked on hot asphalt; it helps reduce the amount of heat that comes into our van from below.

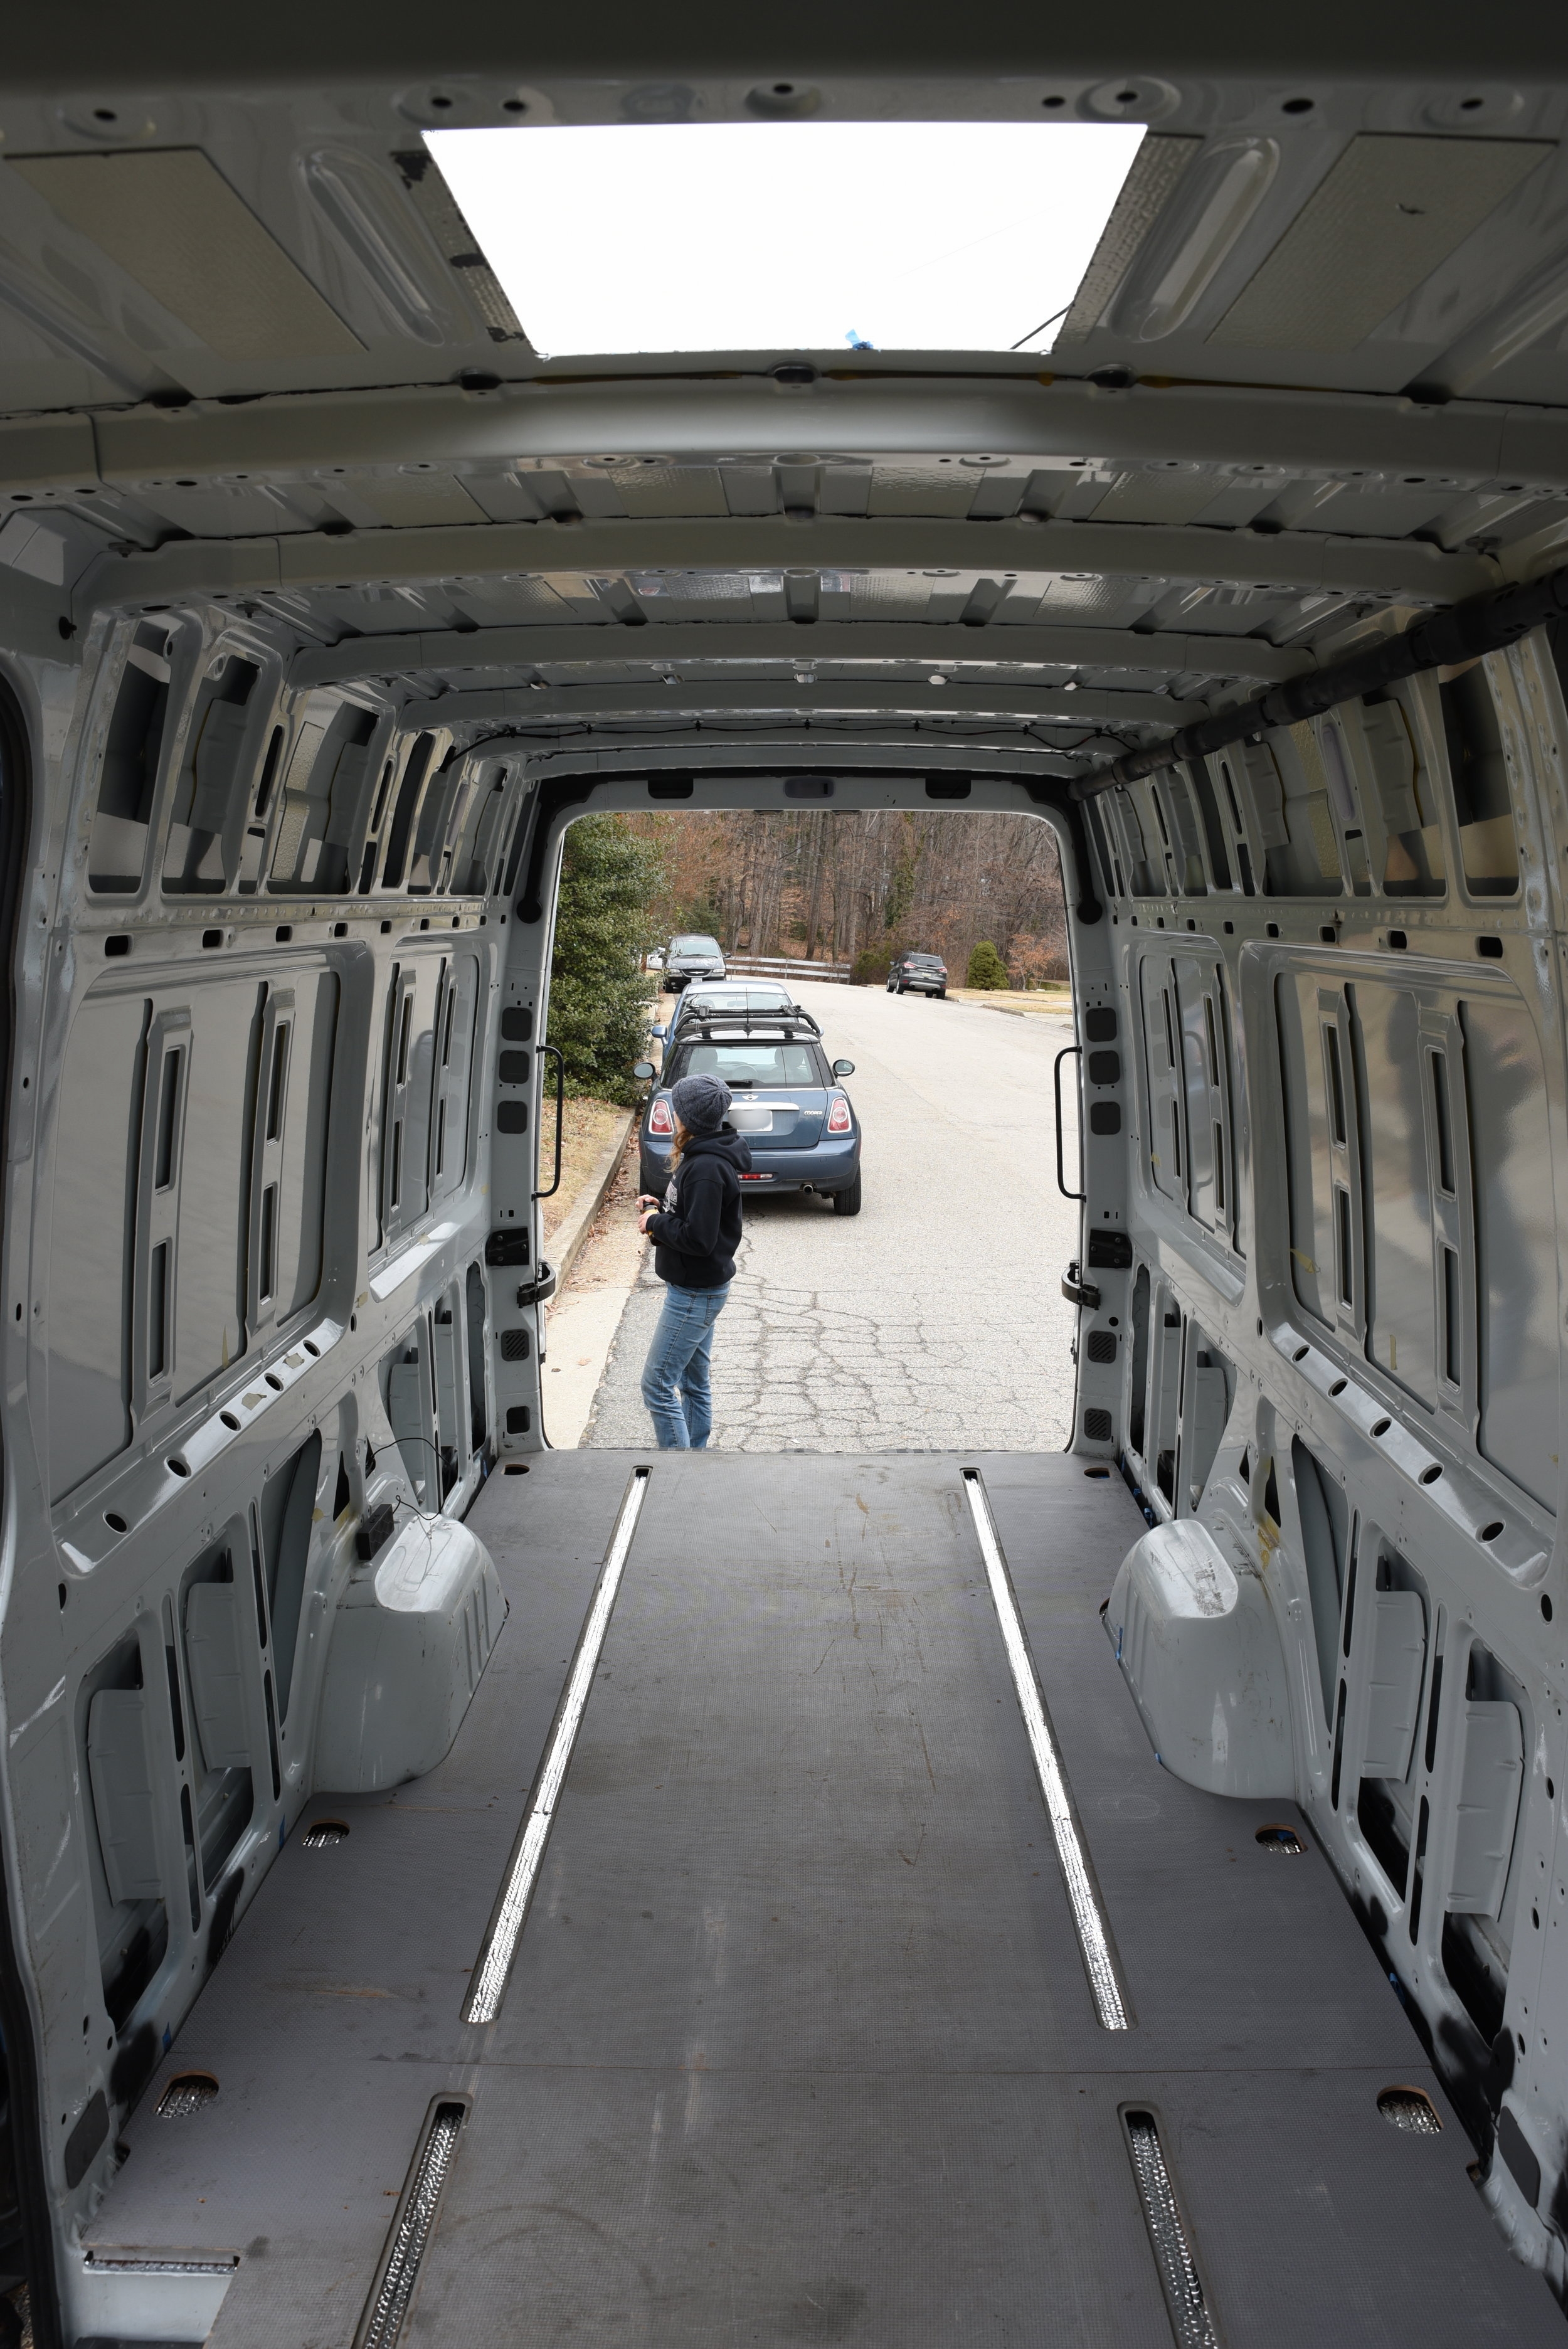
Kaylee measures the Reflectix using the van floor as a template.
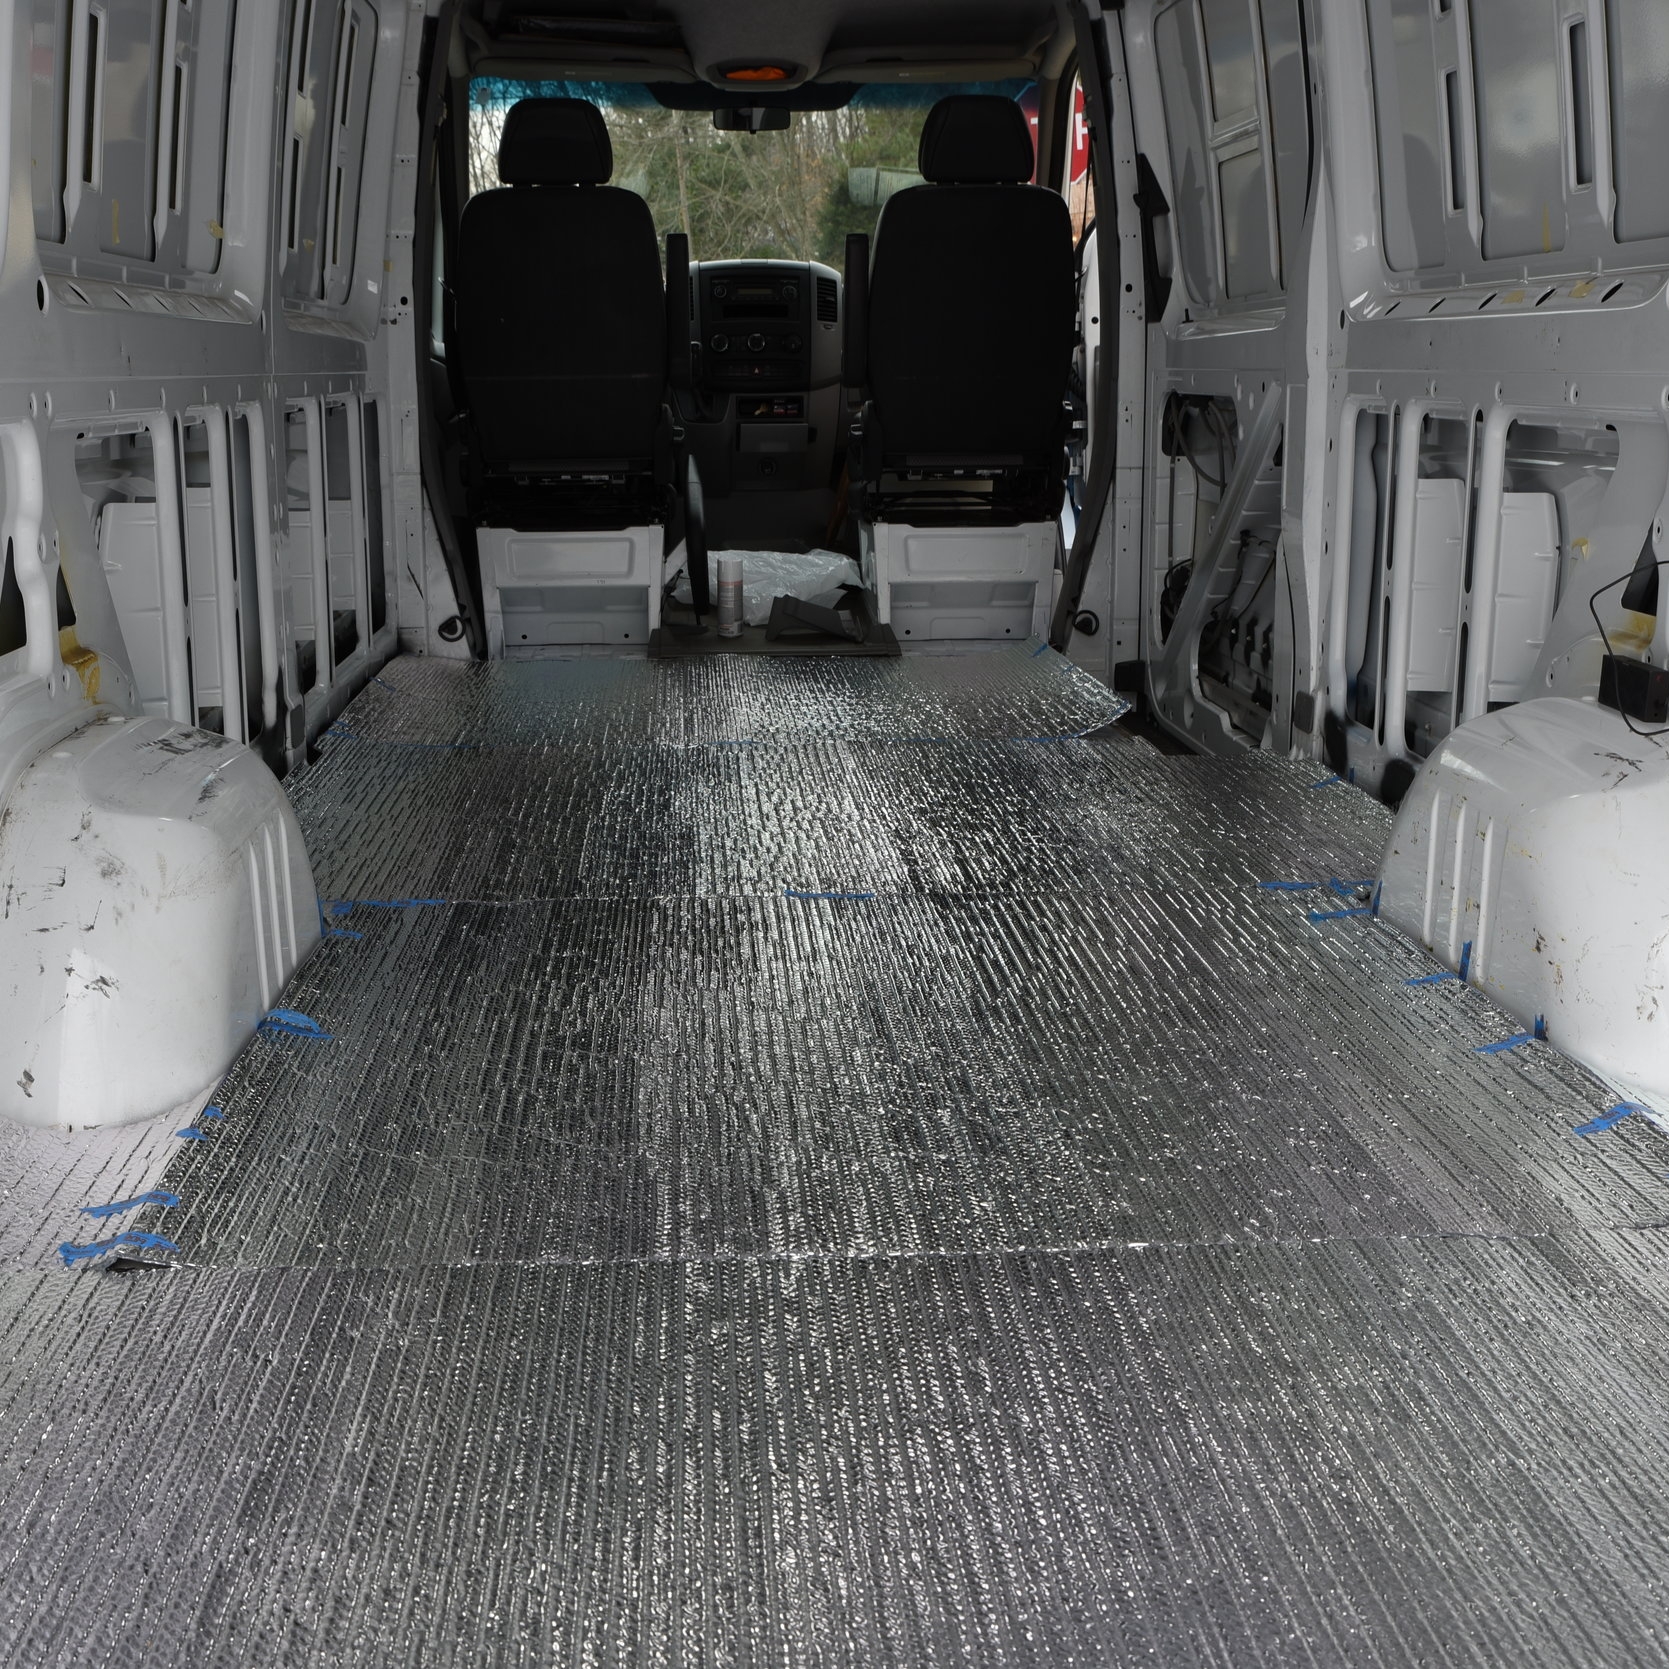
Our van with the Reflectix installed in the floor.
We started by laying out the floor in the street to use it as a template for cutting the Reflectix. We simply tacked the Reflectix to the plywood with tape, and then cut it to the right shape using a utility knife. We found that laying the roll width-wise created the least amount of waste. We used the extra Reflectix to create window covers for the cab of the van and in the curtains on our rear windows.
Then we laid the Reflectix in the bottom of the van. We didn't use anything to adhere it to the floor, because the weight of the flooring, bed, and cabinets will hold it in place. Finally we put the sub-floor back in.
Here is the subfloor with the Reflectix showing through underneath it.

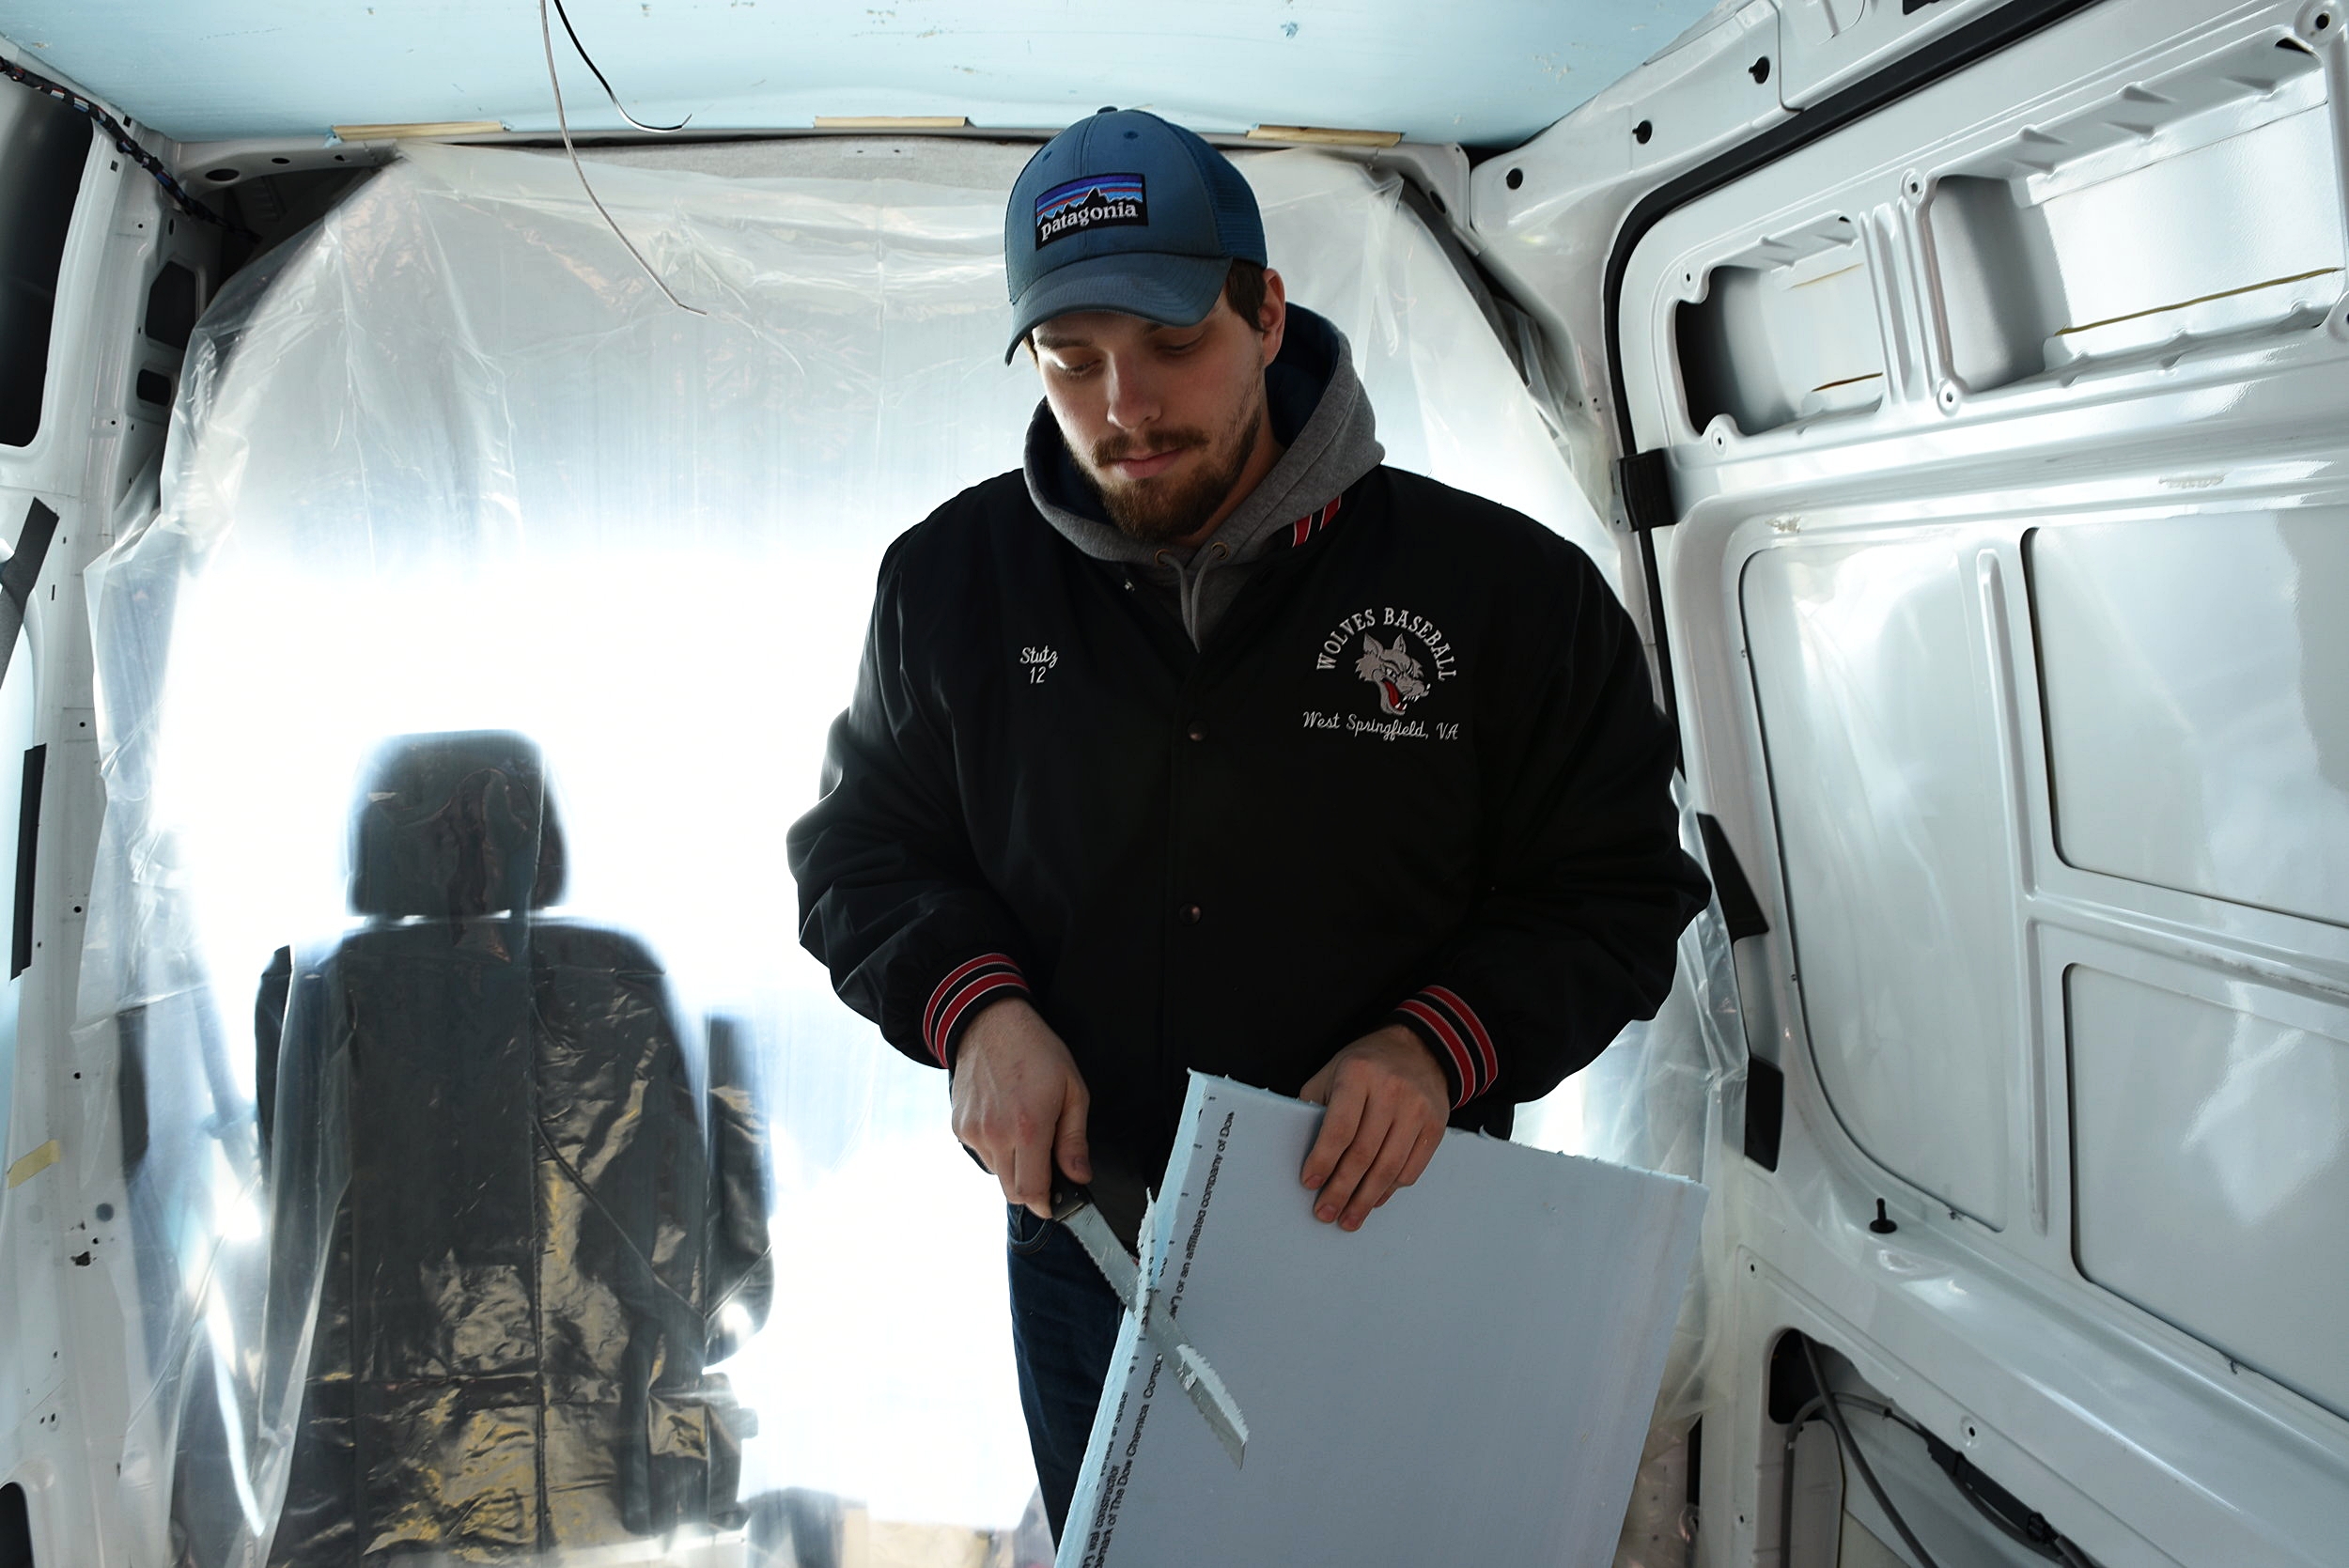
Ian measures and cuts the floor insulation for our main kitchen and living space.
The floor underneath our bed platform in our storage area won't have any more insulation than the Reflectix, but the floor under our living space is further insulated with half-inch pink foam board. This will add another R-3 to the floor where we will be walking around to help keep our toes warm in chilly weather.
Cutting the foam board for the floor was simple. We first cut the boards to the width of our floor--about 70 inches. Then we cut out any areas where where we needed notches in the foam for the pillars on the sides of the van and for the step area. To cut foam insulation you can use a utility knife or bread knives also work really well.
We also insulated the floor underneath the seats and underneath the floor mats in part of the cab. This brought the level of the floor mats up to the level of the floor, and it will hopefully keep us a bit cozier.

Ian cuts the foam for underneath the floor mats under the seats.

Adding a half inch of XPS will keep our feet warmer without losing too much headroom. Here is a view of the floor foam cut out for our step area.
Insulating Our Walls
The walls of the Sprinter have metal ribs running along them and up and down them, creating these three different levels of "pockets." The segments on the top and bottom are deep but small, while the segments in the middle row are large but shallow.
In the top and bottom pockets, we used fiberglass insulation, while in the middle row, we used rigid foil-backed polyiso insulation and extruded polystyrene insulation (XPS).
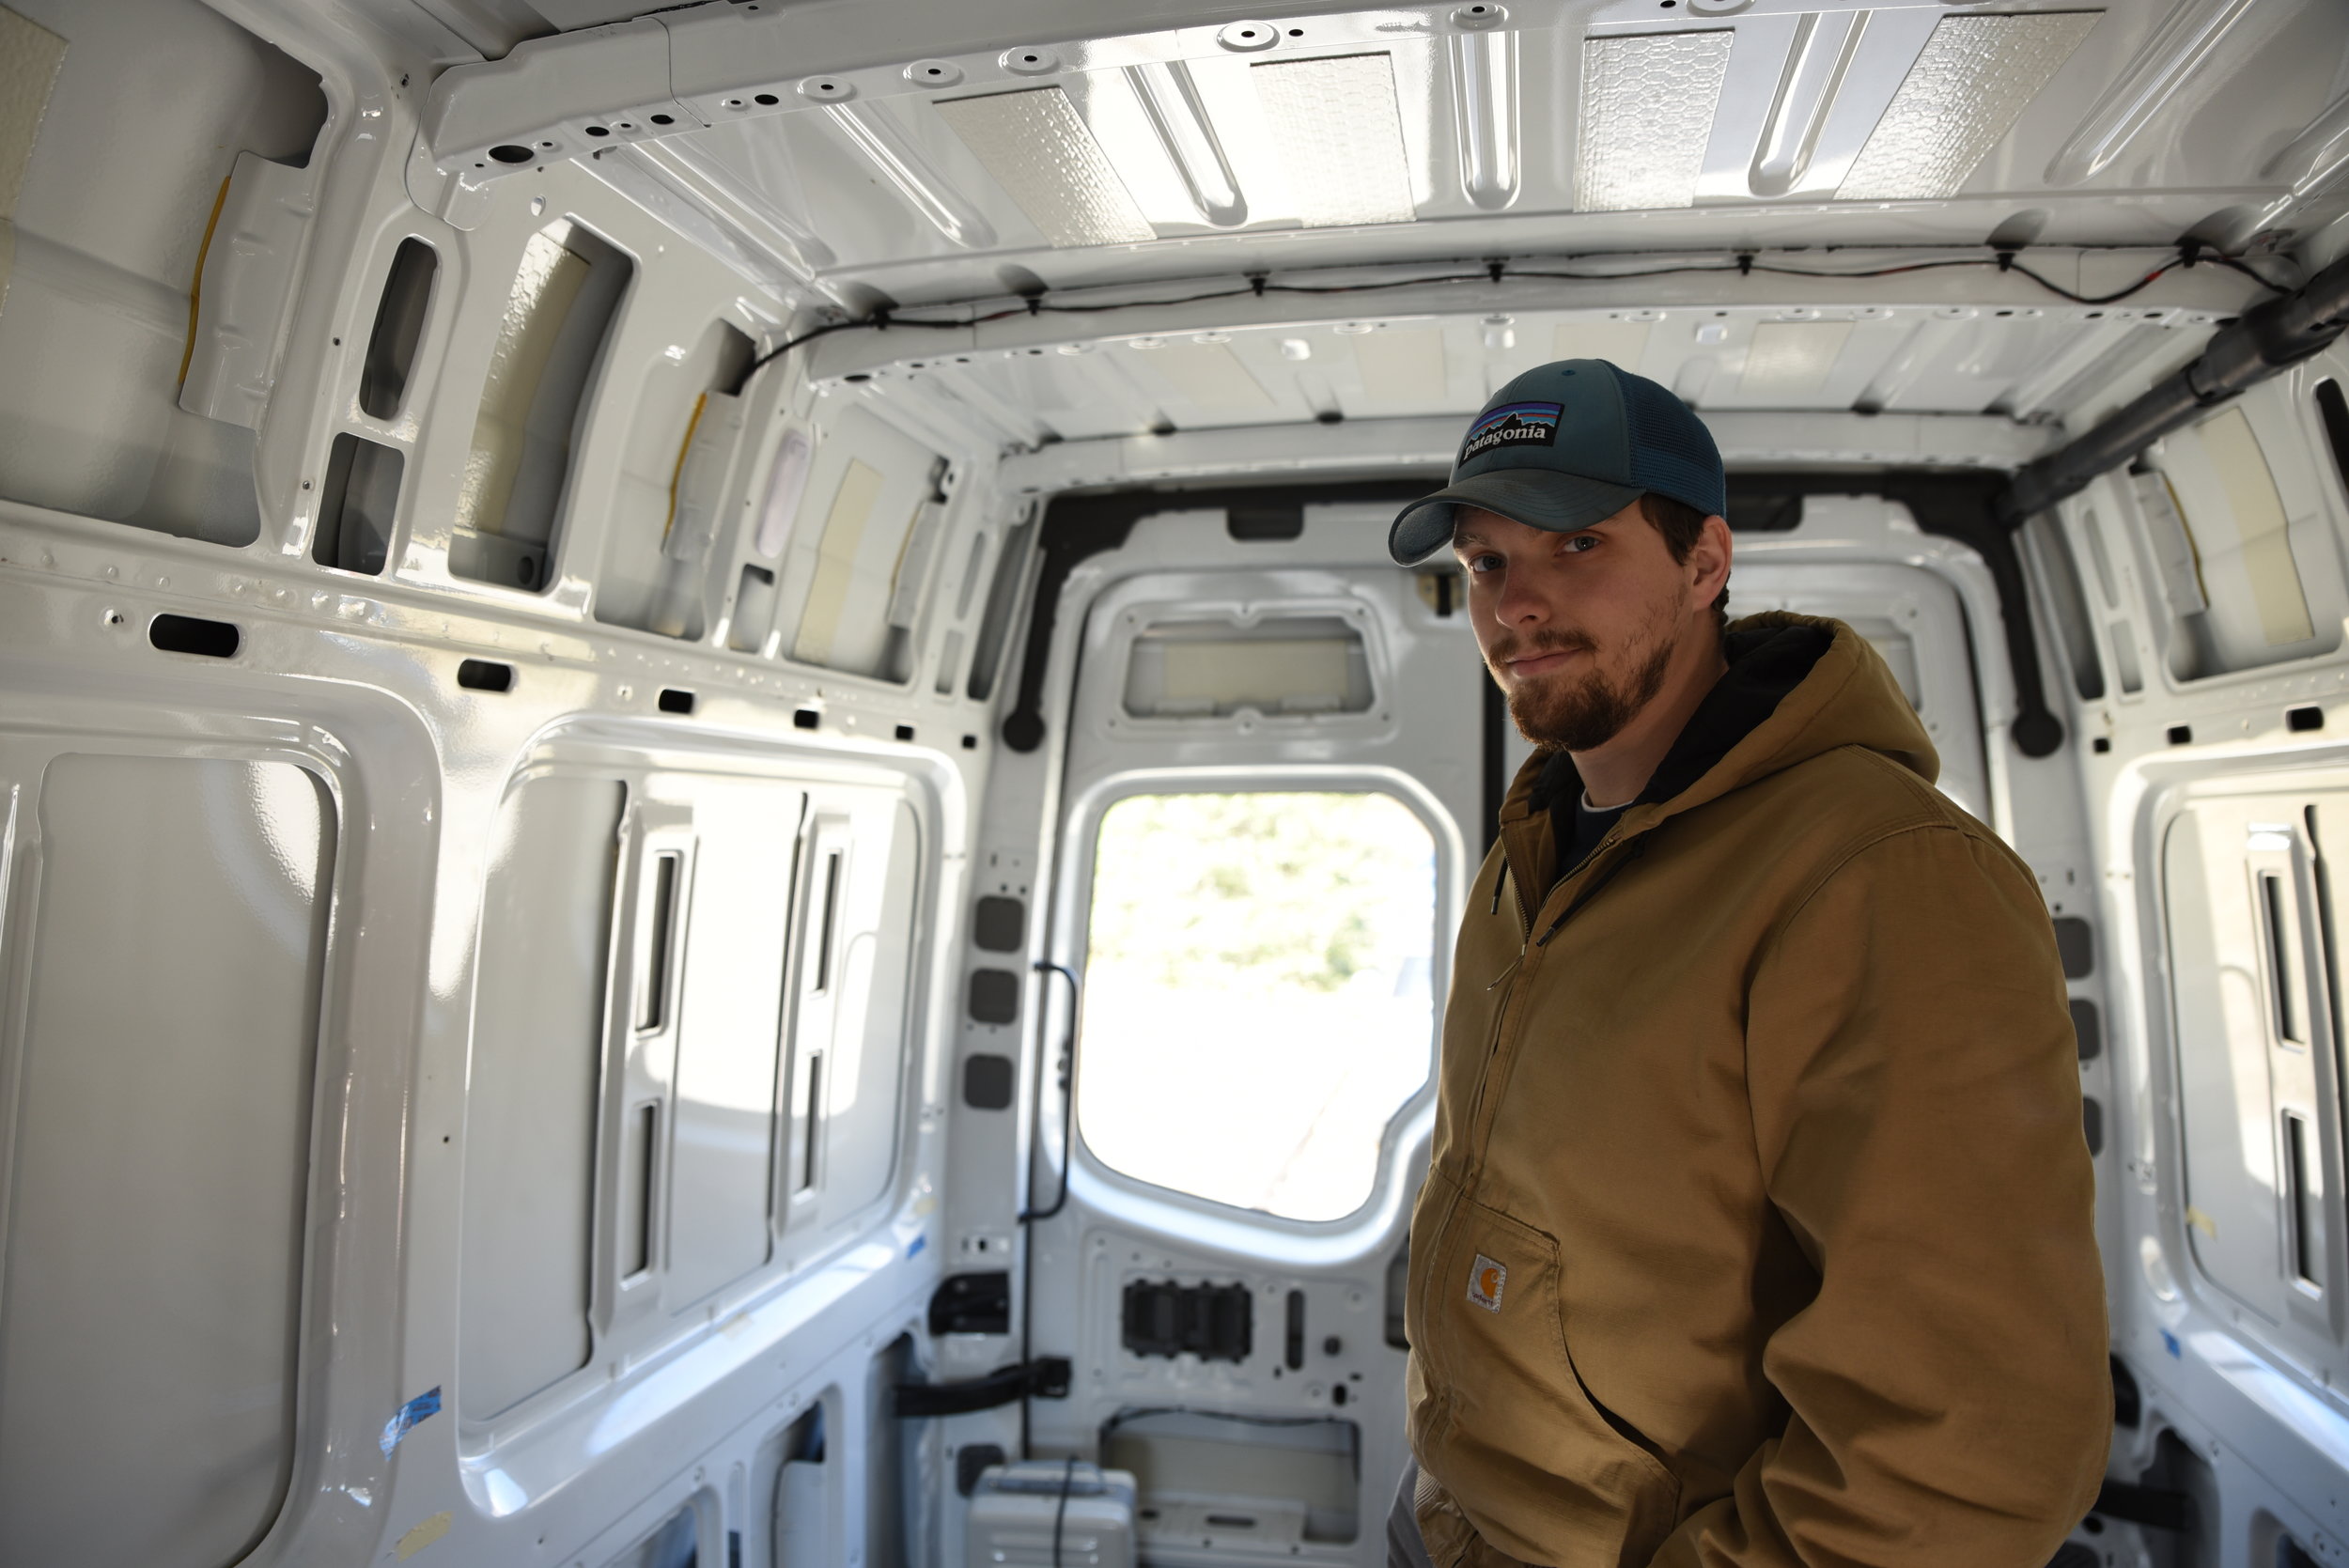
In this photo, you can see the shallow areas in the middle of the side panels and the deeper panels that run along the bottom and top of the walls.

Anywhere there would be cabinetry, we had to put wood "studs" in the walls to support the weight of the cabinets and attach them to the wall.
We began by insulating the shallower middle panels of the wall with rigid foam. Prior to insulating, we installed all of the "wall studs" that would be needed later for securing the bed platform, our cabinetry, paneling, and ceiling. (For more on this, see "Framing our Van.")
We used both foil-faced polyiso insulation and blue board rigid insulation. We had initially planned to use only the foil-faced polyiso insulation, but we ended up getting some of the blue polystyrene board for free so we used that as well. Here's quick explanation of the difference:
Extruded polystyrene rigid insulation (XPS) is a very common type of rigid insulation that comes in blue, pink, green, or purple colors. It is a fairly inexpensive product at about $0.42 per square foot. With this product you are going to get about R-5 per inch. It's also extremely easy to work with.
Polyisocyanurate (ISO) has higher R-value than XPS at about R-8 per inch. It's also more expensive, about $0.70 per square foot. These boards are always faced, most commonly with foil to create a reflective barrier. We found that this type of rigid insulation was more difficult to work with than the blue polystyrene.

Kaylee test fits the template inside the van.

Make sure to write which panel the template is for on each side of the template, because they will likely look very similar.
The very first step to insulating the walls is making cardboard templates that could be traced on the rigid foam insulation. Pro-tip: the template from one side of the van wall is a mirror image of the template needed for the other side.
Next we carefully traced our templates onto the rigid foam. It's best to plan out how you are going to trace them first, especially considering that the panels that have studs, so that less material is wasted.
A great way to cut Polyiso is with an old bread knife. They sell special knives for this job, but why buy an insulation knife when you probably have just the thing in your drawer at home.
The best way to cut the blue board was with a utility knife, by scoring it and then breaking it where we wanted it cut. There are hot knife insulation cutters that you can purchase for cutting this material that work like a dream, but we just stuck it out with the utility knife since we didn't have that many cuts to make.

We used this old tomato knife and a larger bread knife to cut the polyiso insulation.

Using a utility knife and then snapping the foam is the best way to cut the XPS insulation.
After cutting each piece, we test fit them in the van, shaving anywhere that the pieces didn't quite fit the contours of the van.
The back two panels of the van taper and become narrower, and since we began by using two inch foam, fitting these panel on the driver's side was essentially a nightmare. We had to shave the down the back side of almost the entire piece of foam to get it to fit flush to the ribs of the van. If we were to do it again we would just use the one inch blue board on each side.
Once each piece fit snugly, we taped the pieces into place with duct tape.

A view of the polyiso insulation. Fitting the back panel with the 2-inch poly iso took a lot of carving and shaping.

Using the one-inch blue board on the other side was much easier than carving down the polyiso.
To insulate the top and bottom of the walls, we used fiberglass insulation. A few notes about fiberglass insulation:
Fiberglass insulation works by holding tiny pockets of air within the fibers. These pockets of air prevent the conductive transfer of heat through the solid wall of the van, preventing heat from escaping in cold weather and preventing heat from entering in warm weather.
The thinnest fiberglass insulation is R-11 or R-13, which is about 3.5 inches thick when used correctly. If fiberglass insulation is compressed it's R-value drops significantly. Occasionally you will see people converting vans peeling layers off the fiberglass in order to make it the right thickness for the walls of the van. Since peeling the layers of fibers releases large amounts of the glass particulates in the air, it's wise to use it only in areas of the walls that are truly at least 3.5 inches deep. In other shallower areas of the walls, using a rigid foam product will get you a bigger bang for your buck and it will be easier and safer to work with.
Handling the fiberglass insulation took some preparation and planning. While cutting and moving fiberglass insulation, the fibers become airborne and can settle on your skin and eyes. The fibers can also be inhaled and can cause damage if they reach the lungs.
Long clothes, goggles, and a mask should be worn when using fiberglass. When you are done, make sure to wash your clothes right away and run an extra rinse in the machine after the load is done. If you do happen to get any fiberglass on your skin or you can't get rid of that itchy feeling, put tape on your skin and peel it off to remove the fibers.
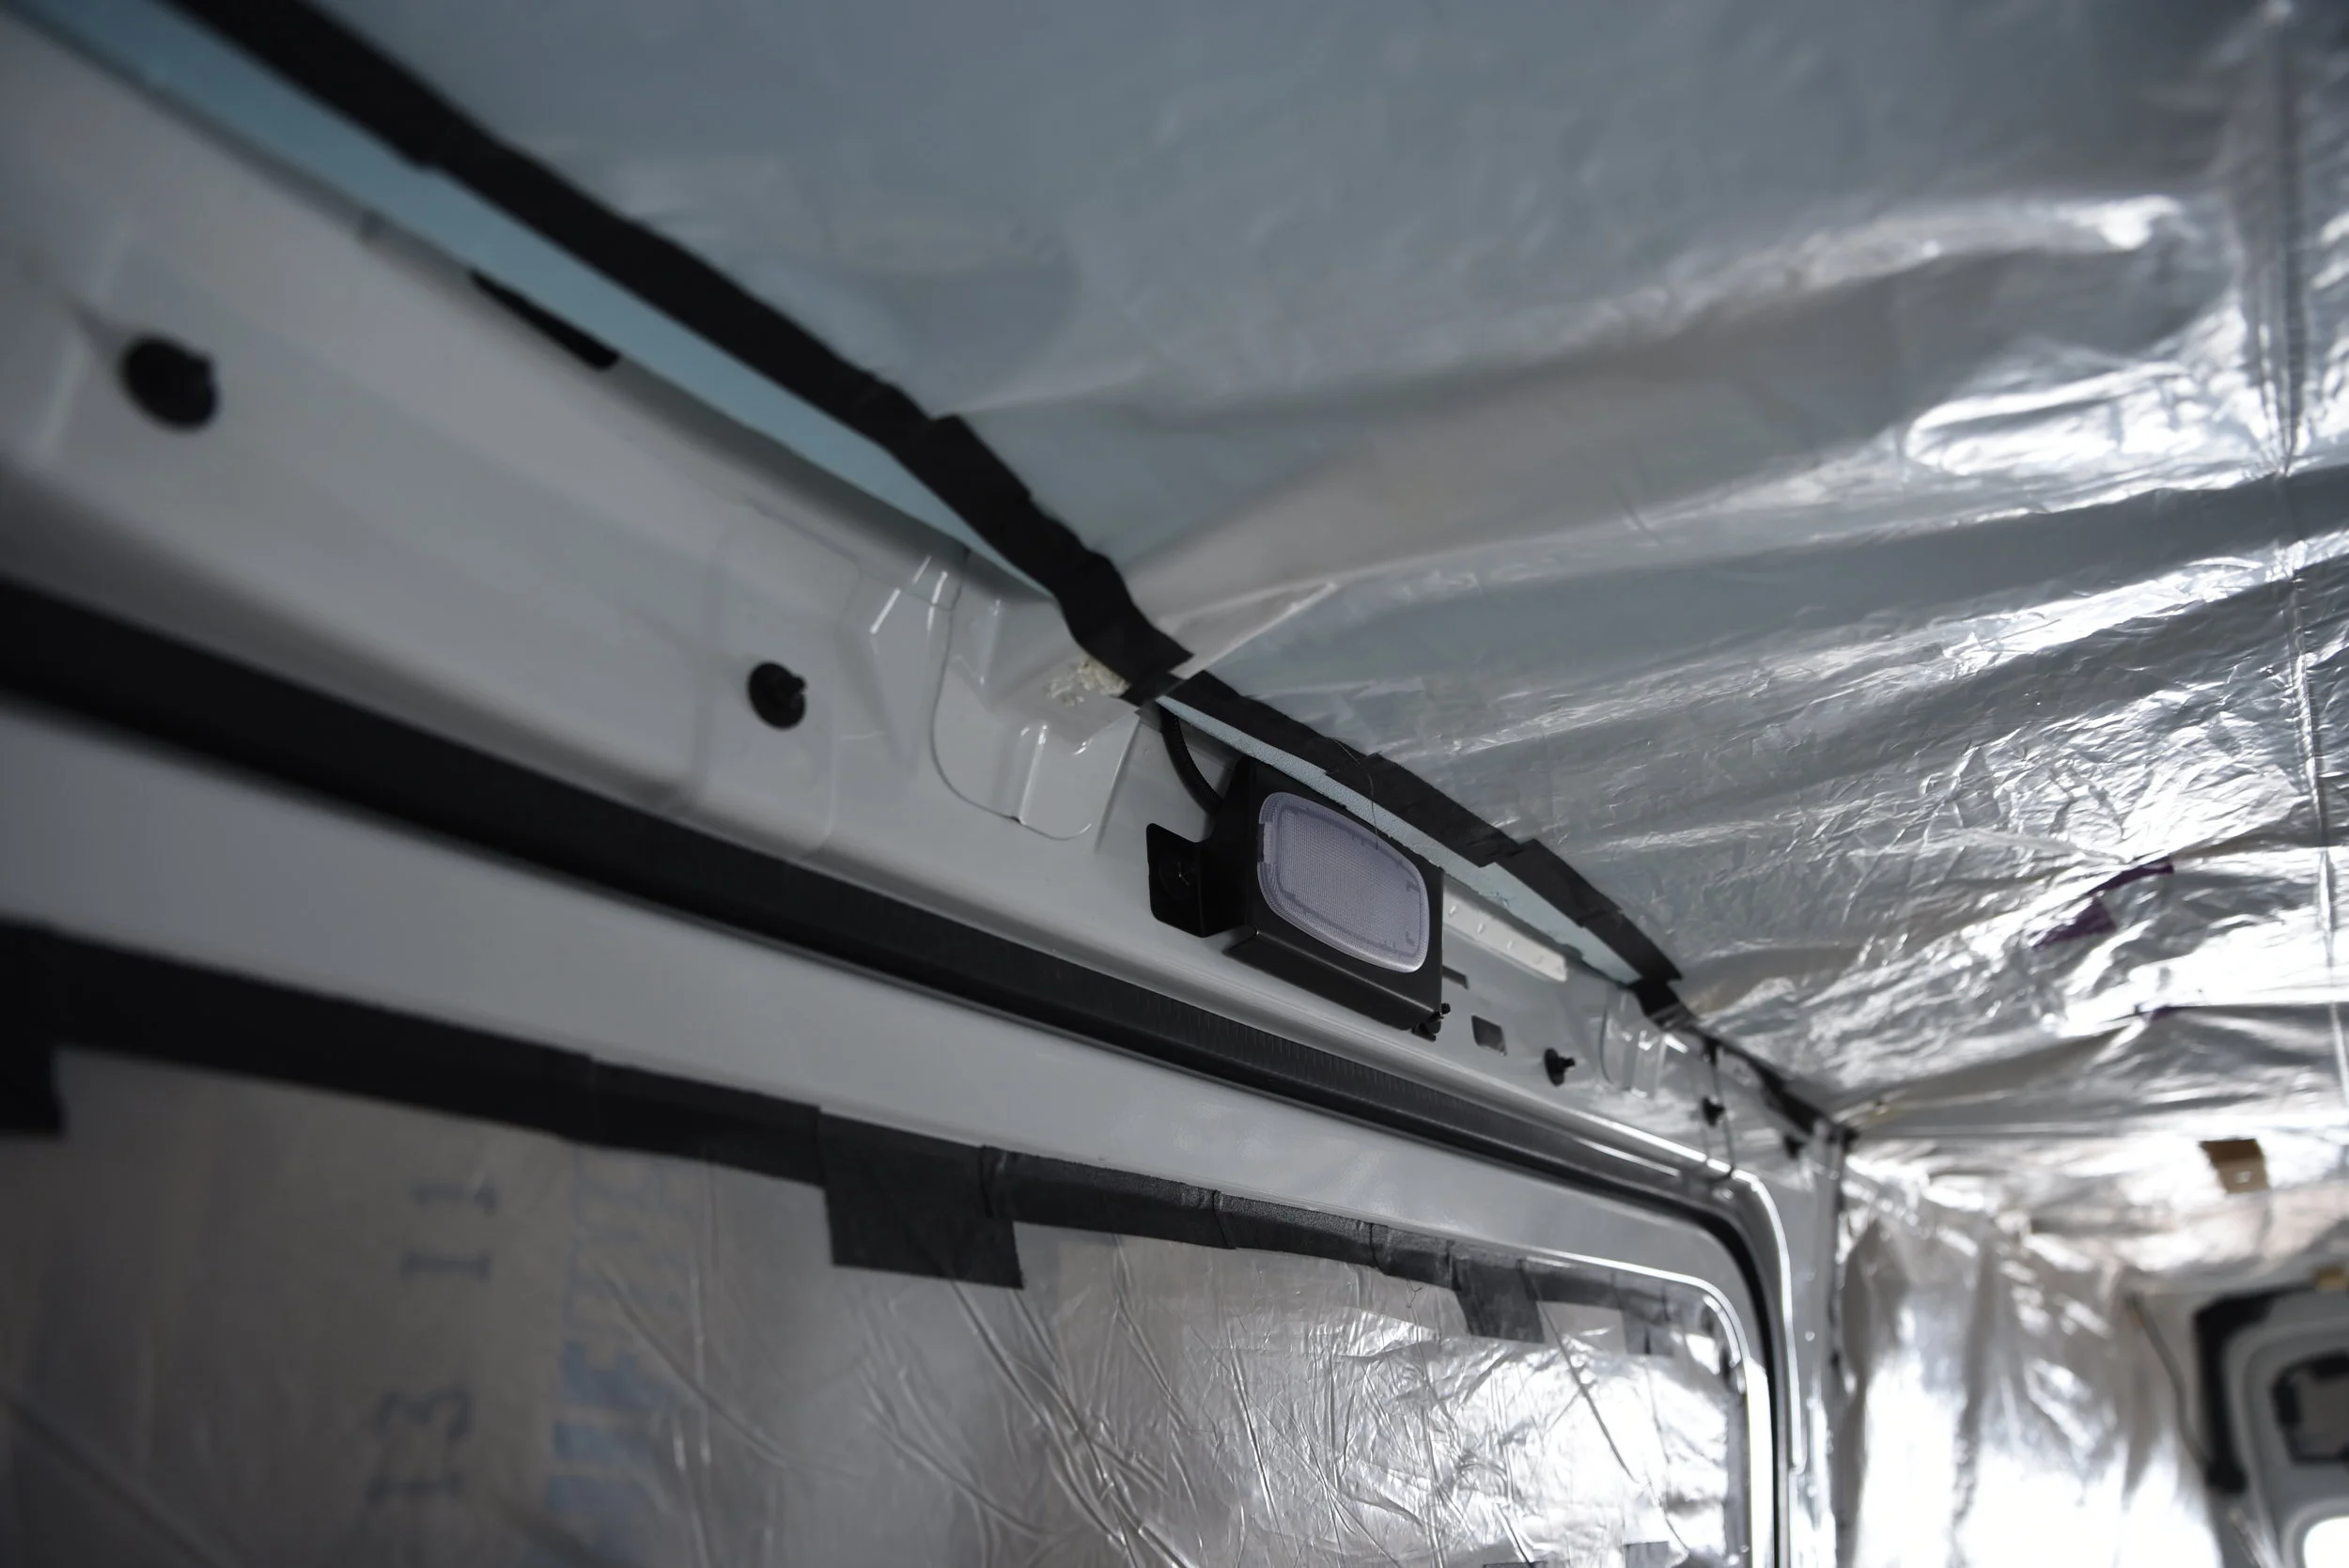
We also protected the areas of our van that would be difficult to clean following the insulation installation. We closed off the cabin area with a sheet of thick plastic.
We gathered all the materials we would need and made a plan for how we would do the insulation prior to opening the packaging, so that we could be handling the insulation for the least amount of time possible. We also got ready to put our plastic vapor barrier up shortly after we installed the insulation so that we could seal off the fiberglass from our work space right way.
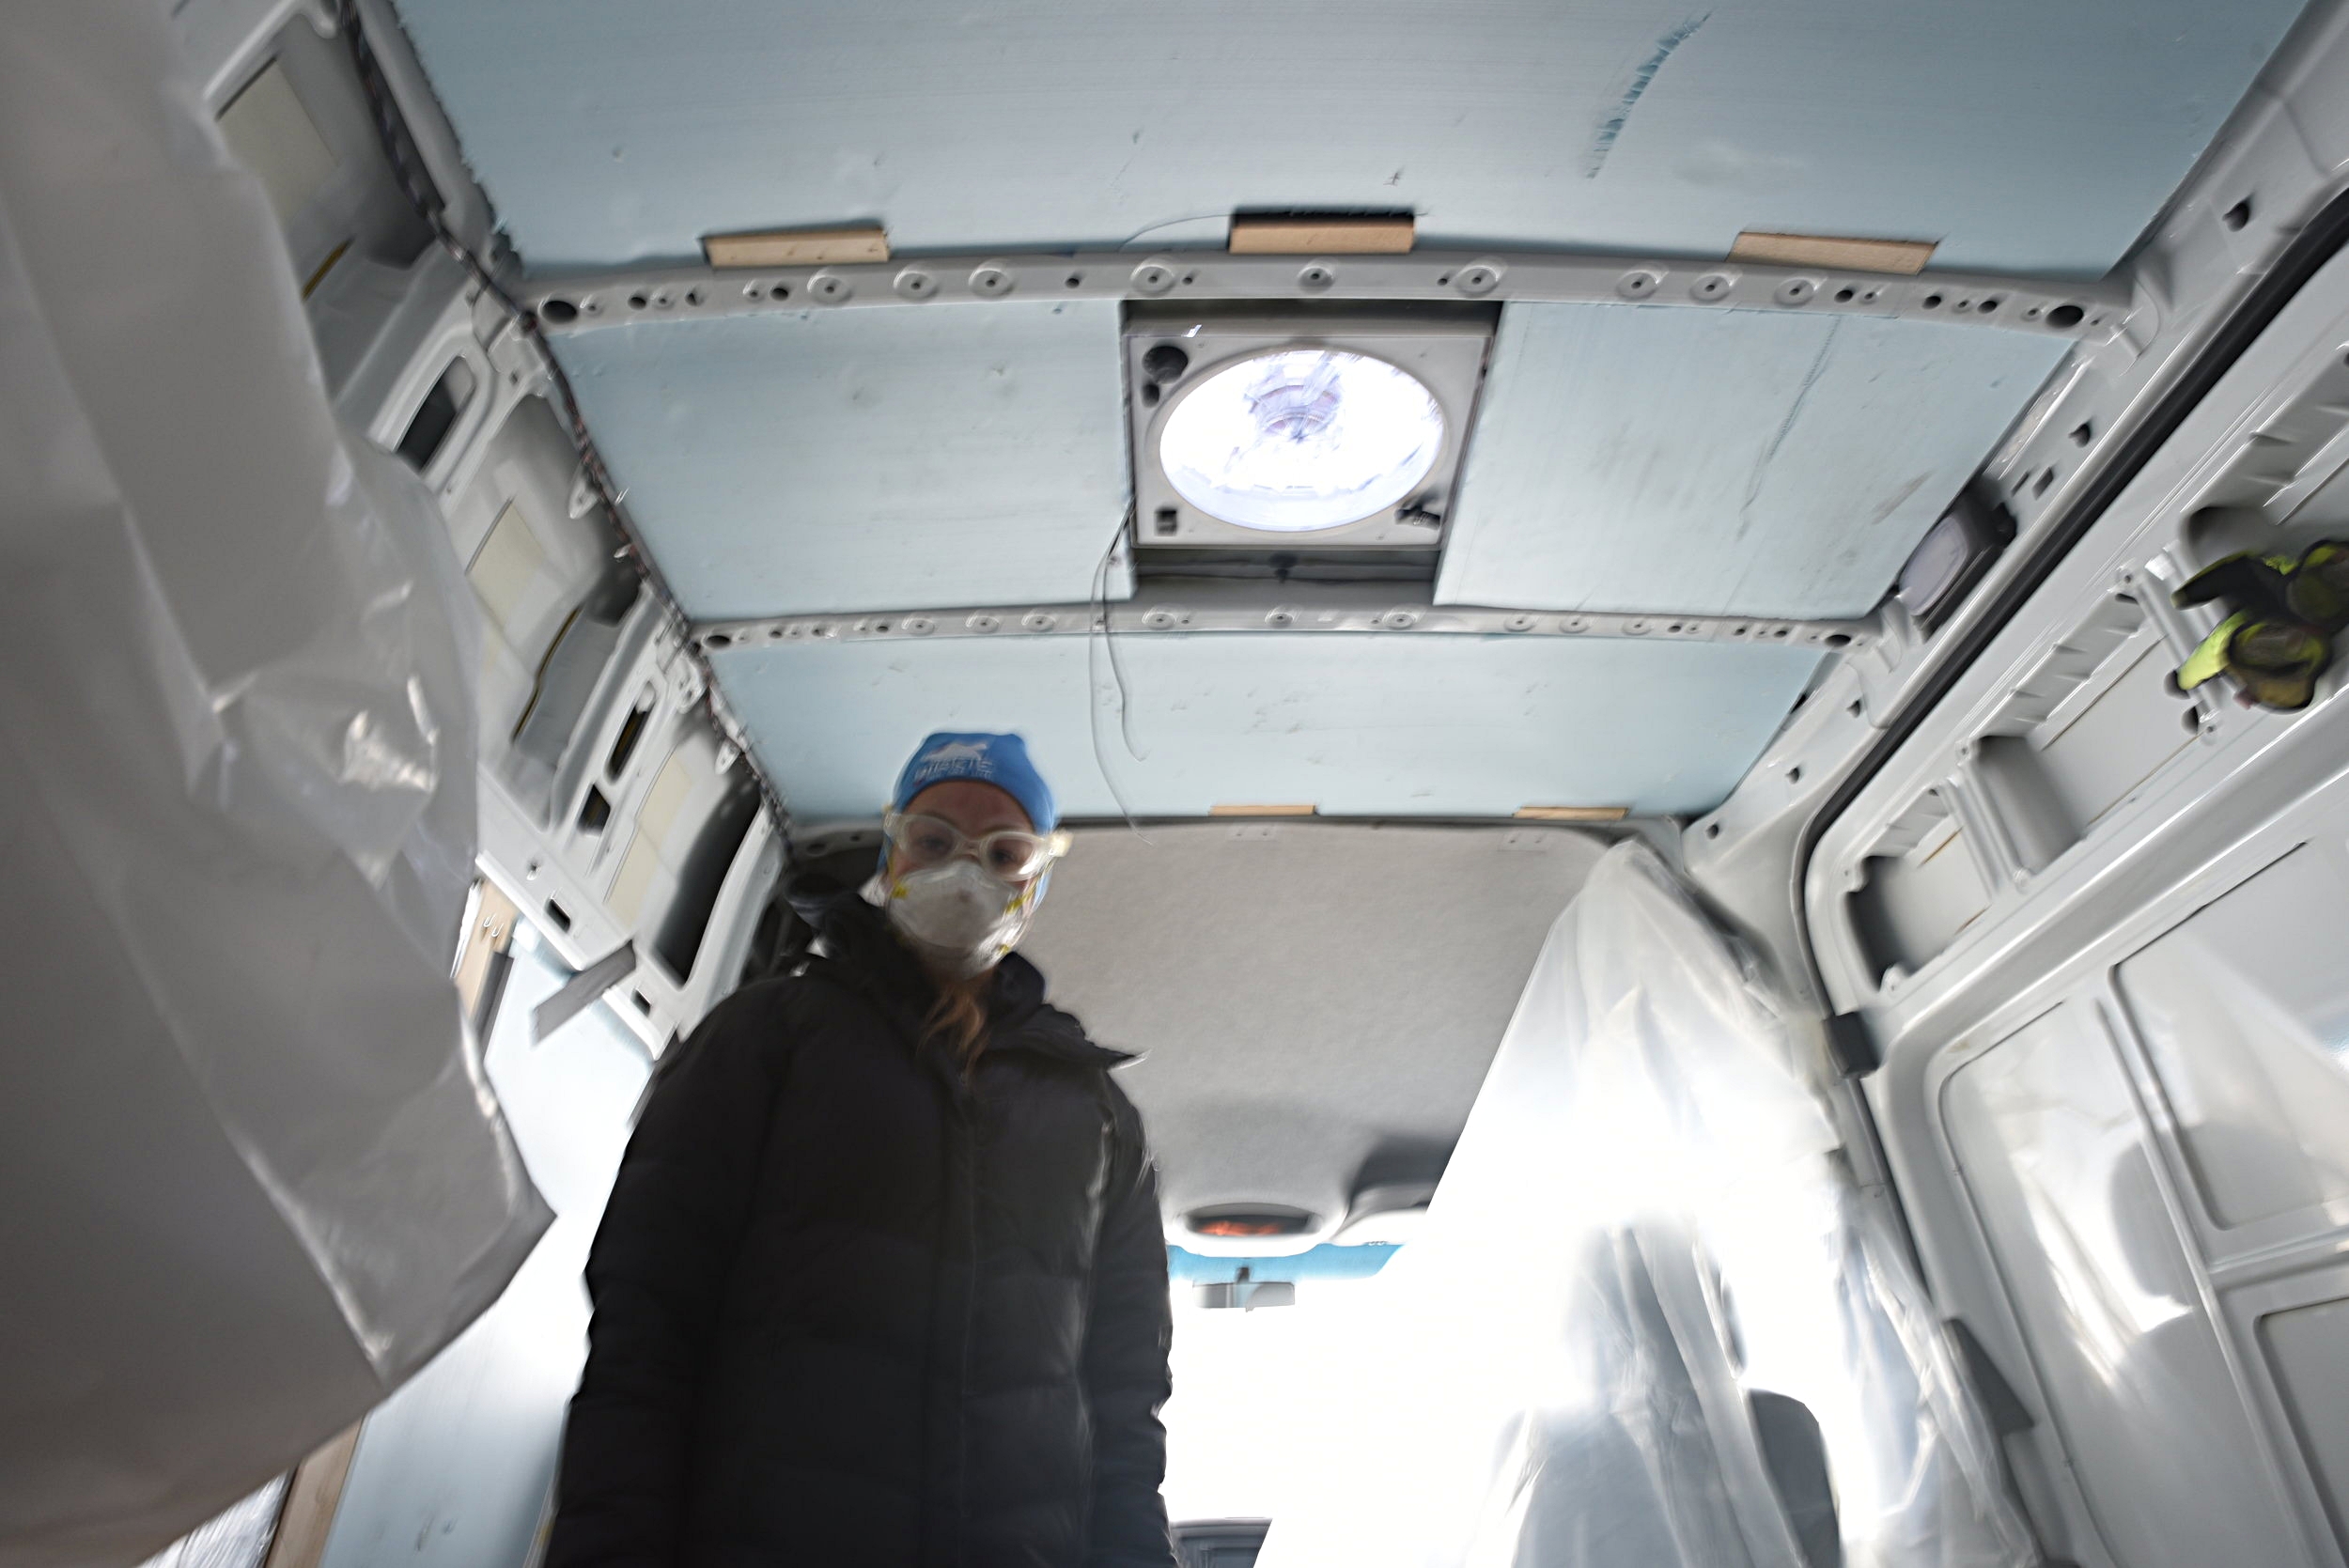
Kaylee dons protective gear...including swim goggles.

Ian unwraps our second roll of insulation. It's best to keep these things in their packaging until the moment you are ready to use them.
We found that a really fast way to do the fiberglass insulation is to create a sort of assembly line. First we rolled out the insulation along the wall of the van. Ian measured each pocket of the wall and cut the insulation to the correct size, while Kaylee pushed the previously cut piece into the wall.
The best way to cut the fiberglass insulation is by compressing it against a hard surface and then cutting through it with a utility knife. We chose the paper-faced insulation, because it is a lot easier to cut and it also was a lot easier to slide into place than the unfaced insulation would have been.
We didn't adhere the insulation in any way, because it stayed in place in the pockets on its own. We also found that we could run thin strips of the insulation into the larger ribs pillars of the Sprinter van. This really cut down on the amount of spray foam we needed later on, in addition to reducing the amount of empty space inside the walls.

Ian cuts the fiberglass insulation with a utility knife.
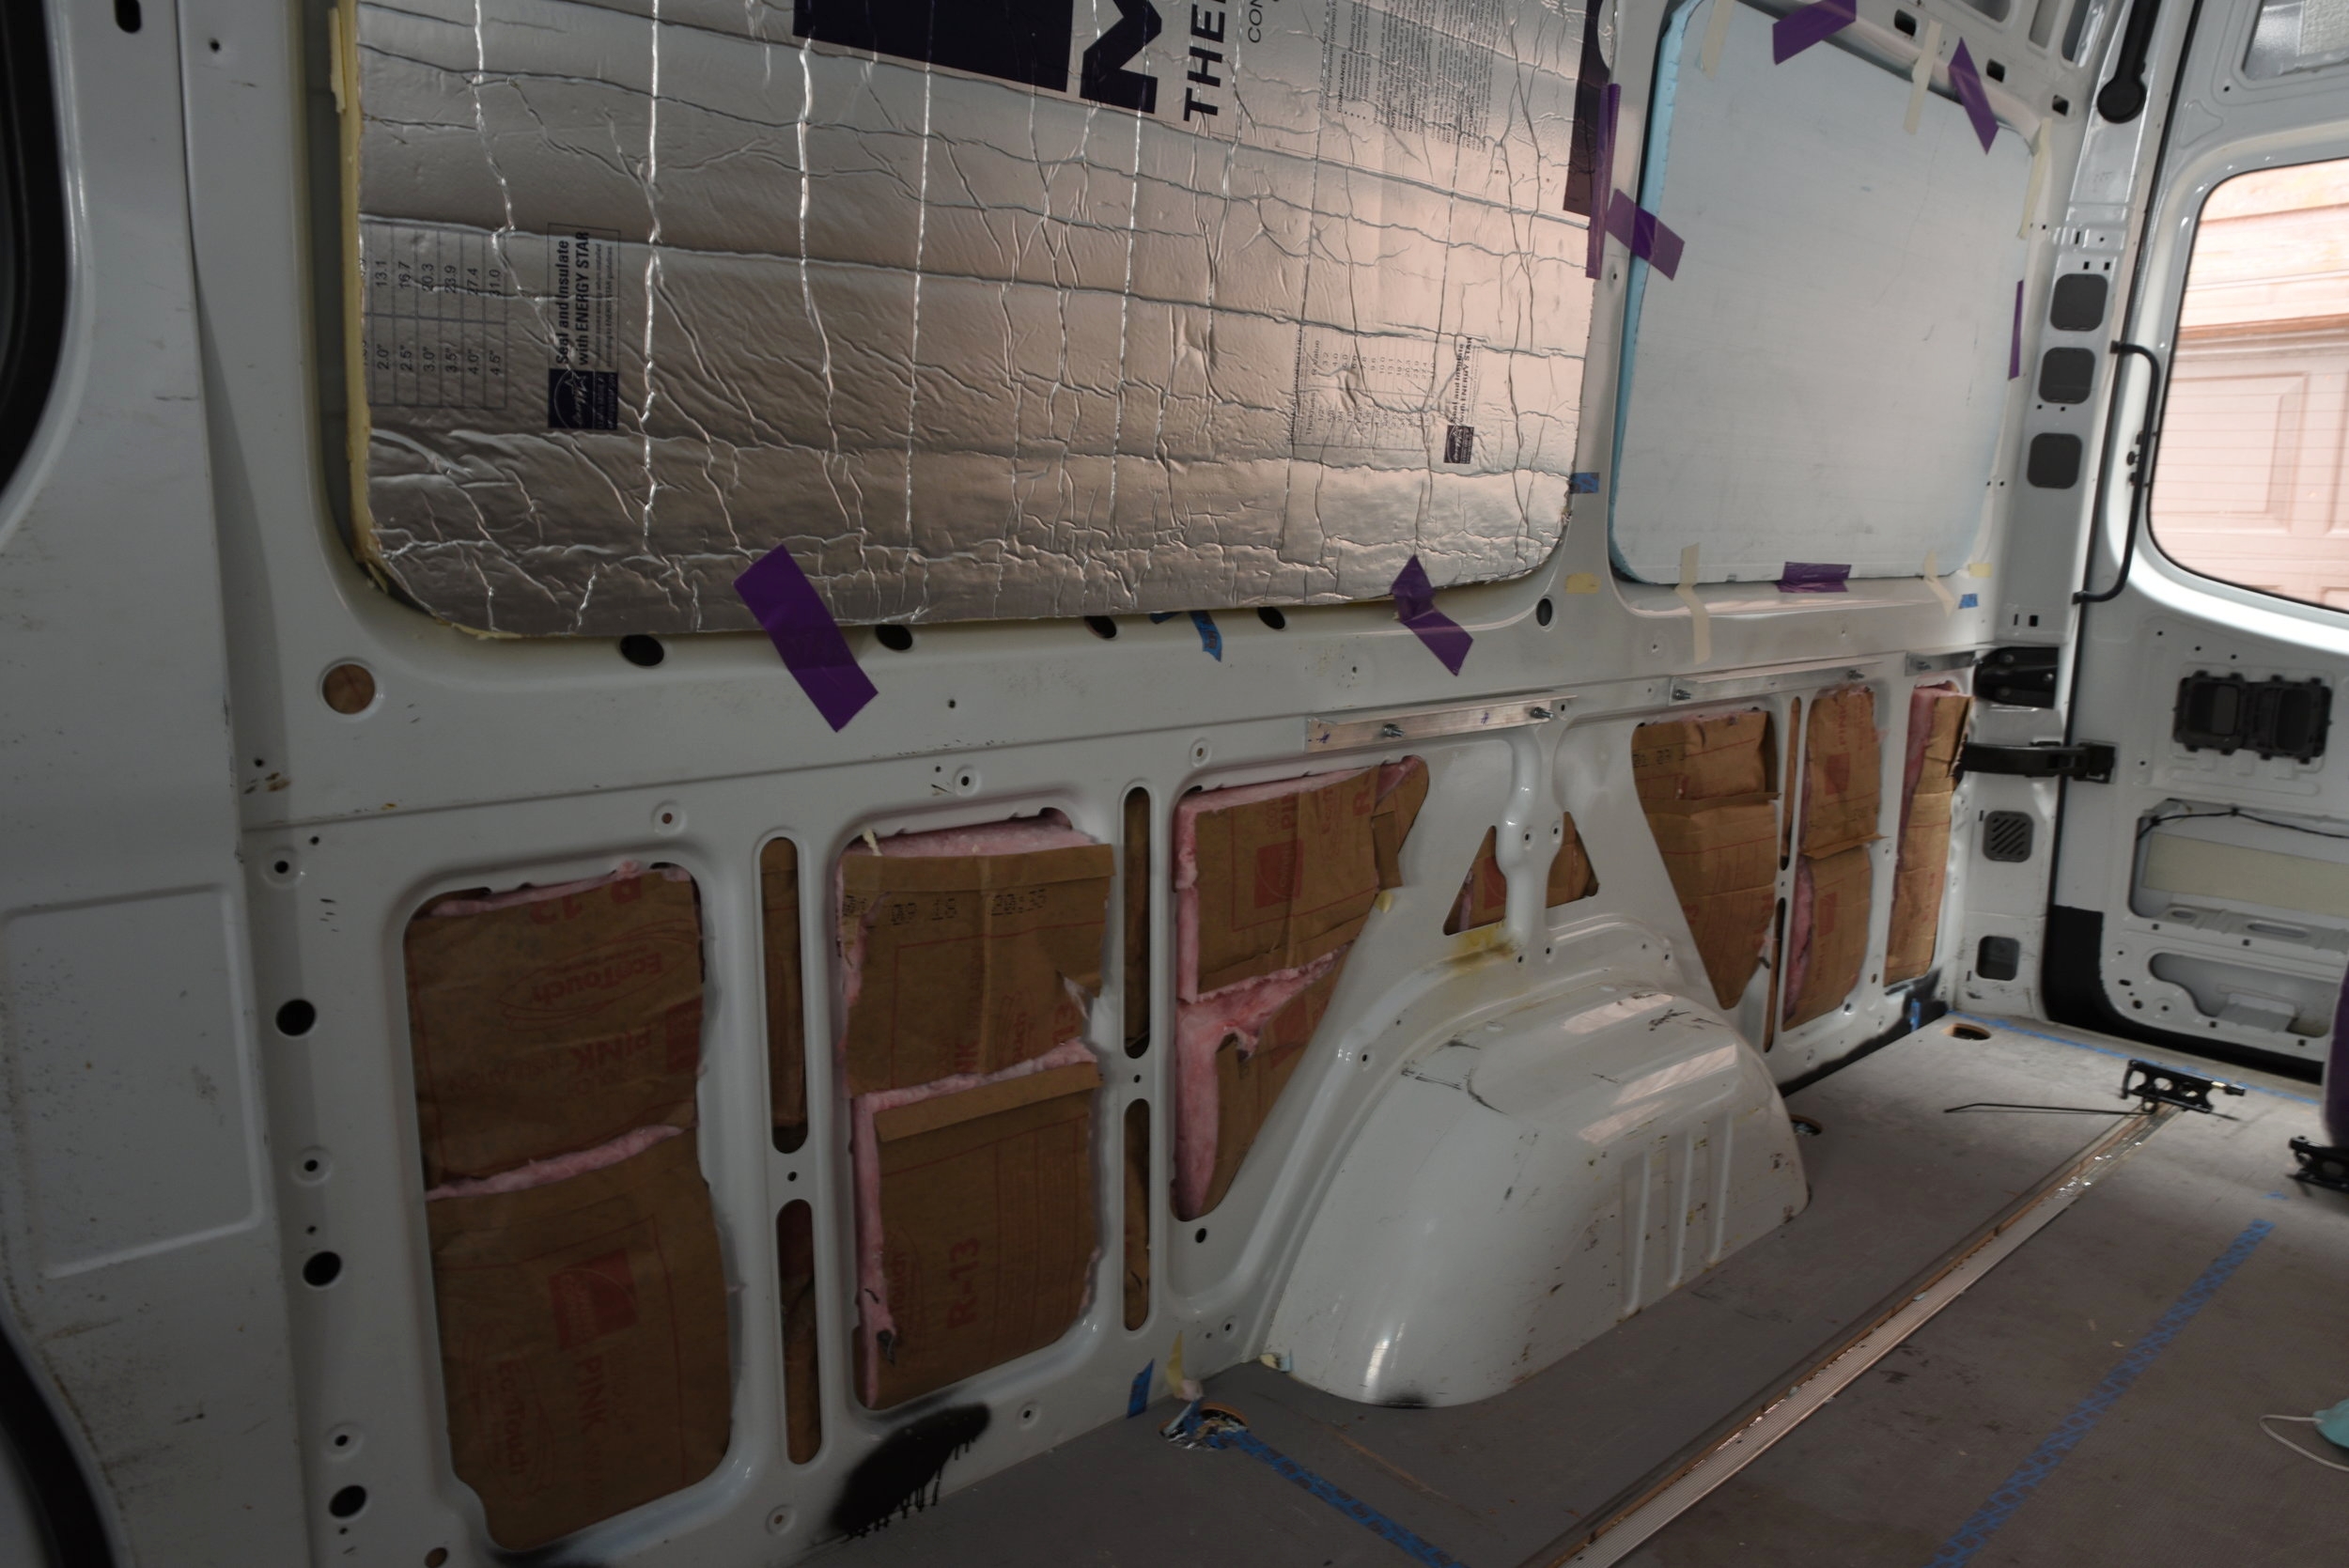
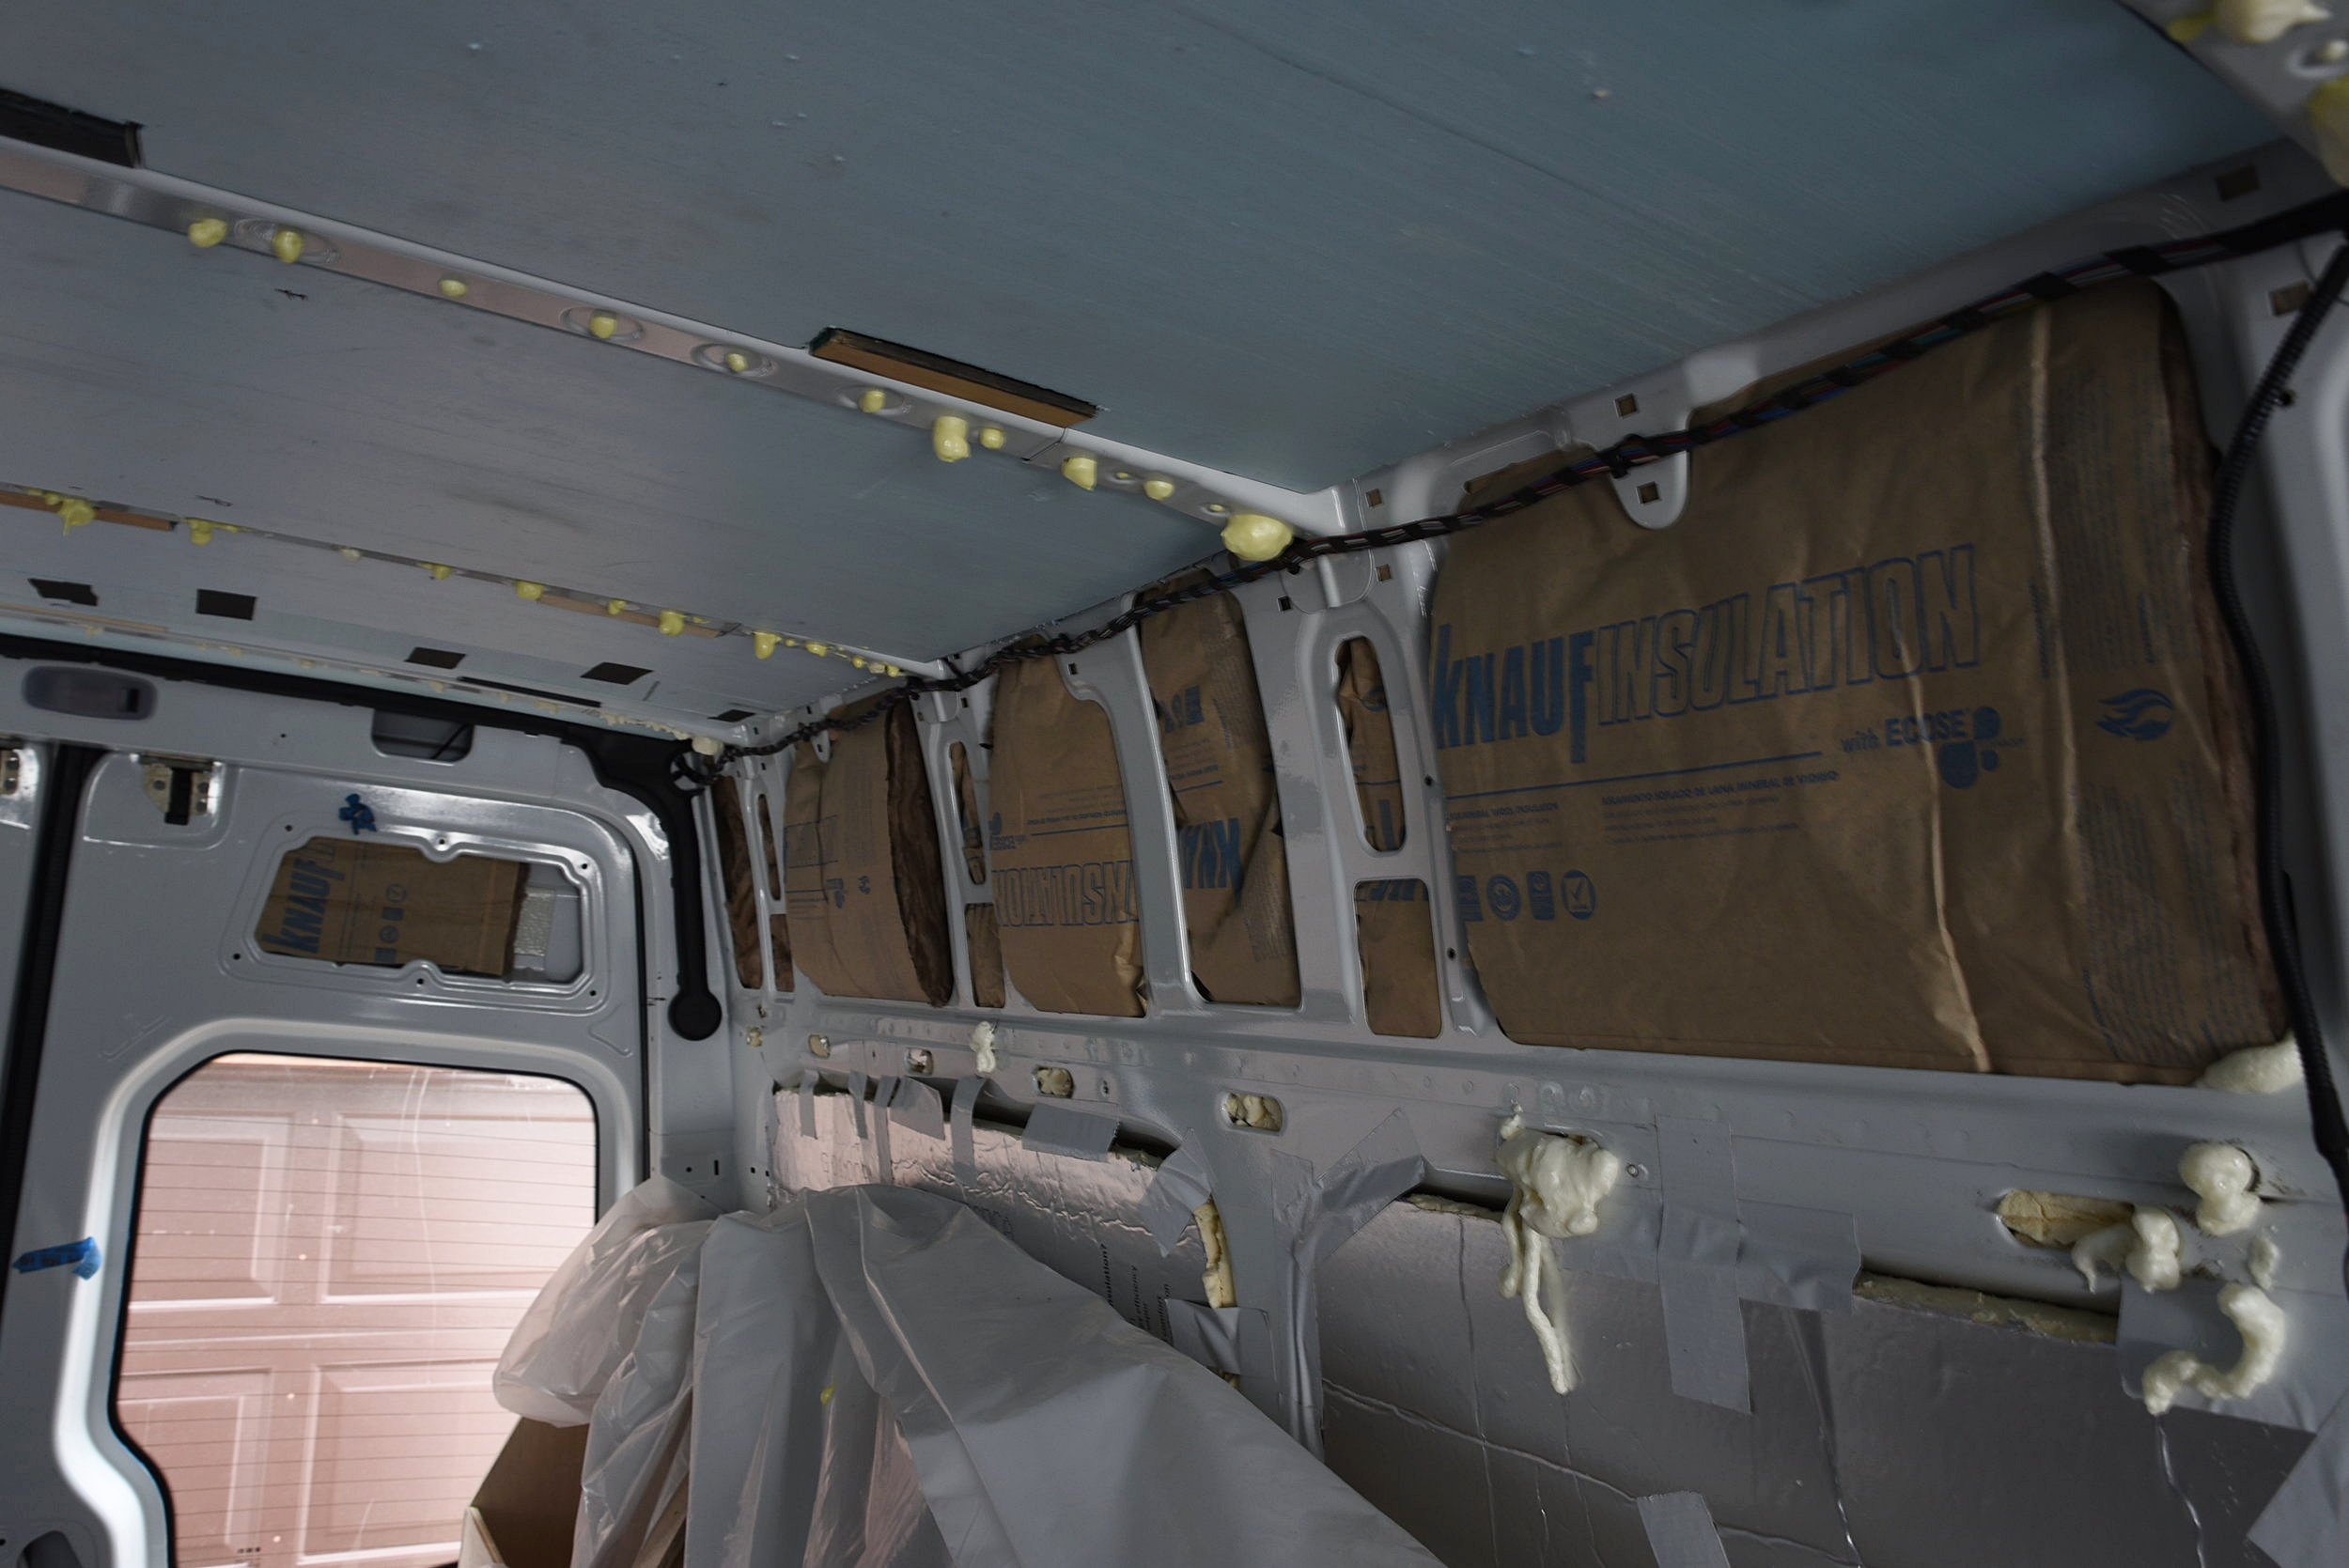
Here's the finished insulated wall. As you can see, the insulation is not compressed. There is also insulation inside the ribs as far as we could reach it.
Insulating Our Ceiling
Insulating our ceiling was probably the most straightforward part of the insulation process. We used one-inch rigid foam on the ceiling, which will get us about R-5 for the ceiling, without losing any space. The boards fit snugly within the ribs of the ceiling.
Cutting the foam was easy. We simply measured the length and the width between the ribs in the ceiling of our Sprinter. A utility knife works the best for big cuts, but to get the size and shape we carved the foam with a bread knife.
Ian shaves off a bit of the foam with a bread knive to make it fit inside the ribs.
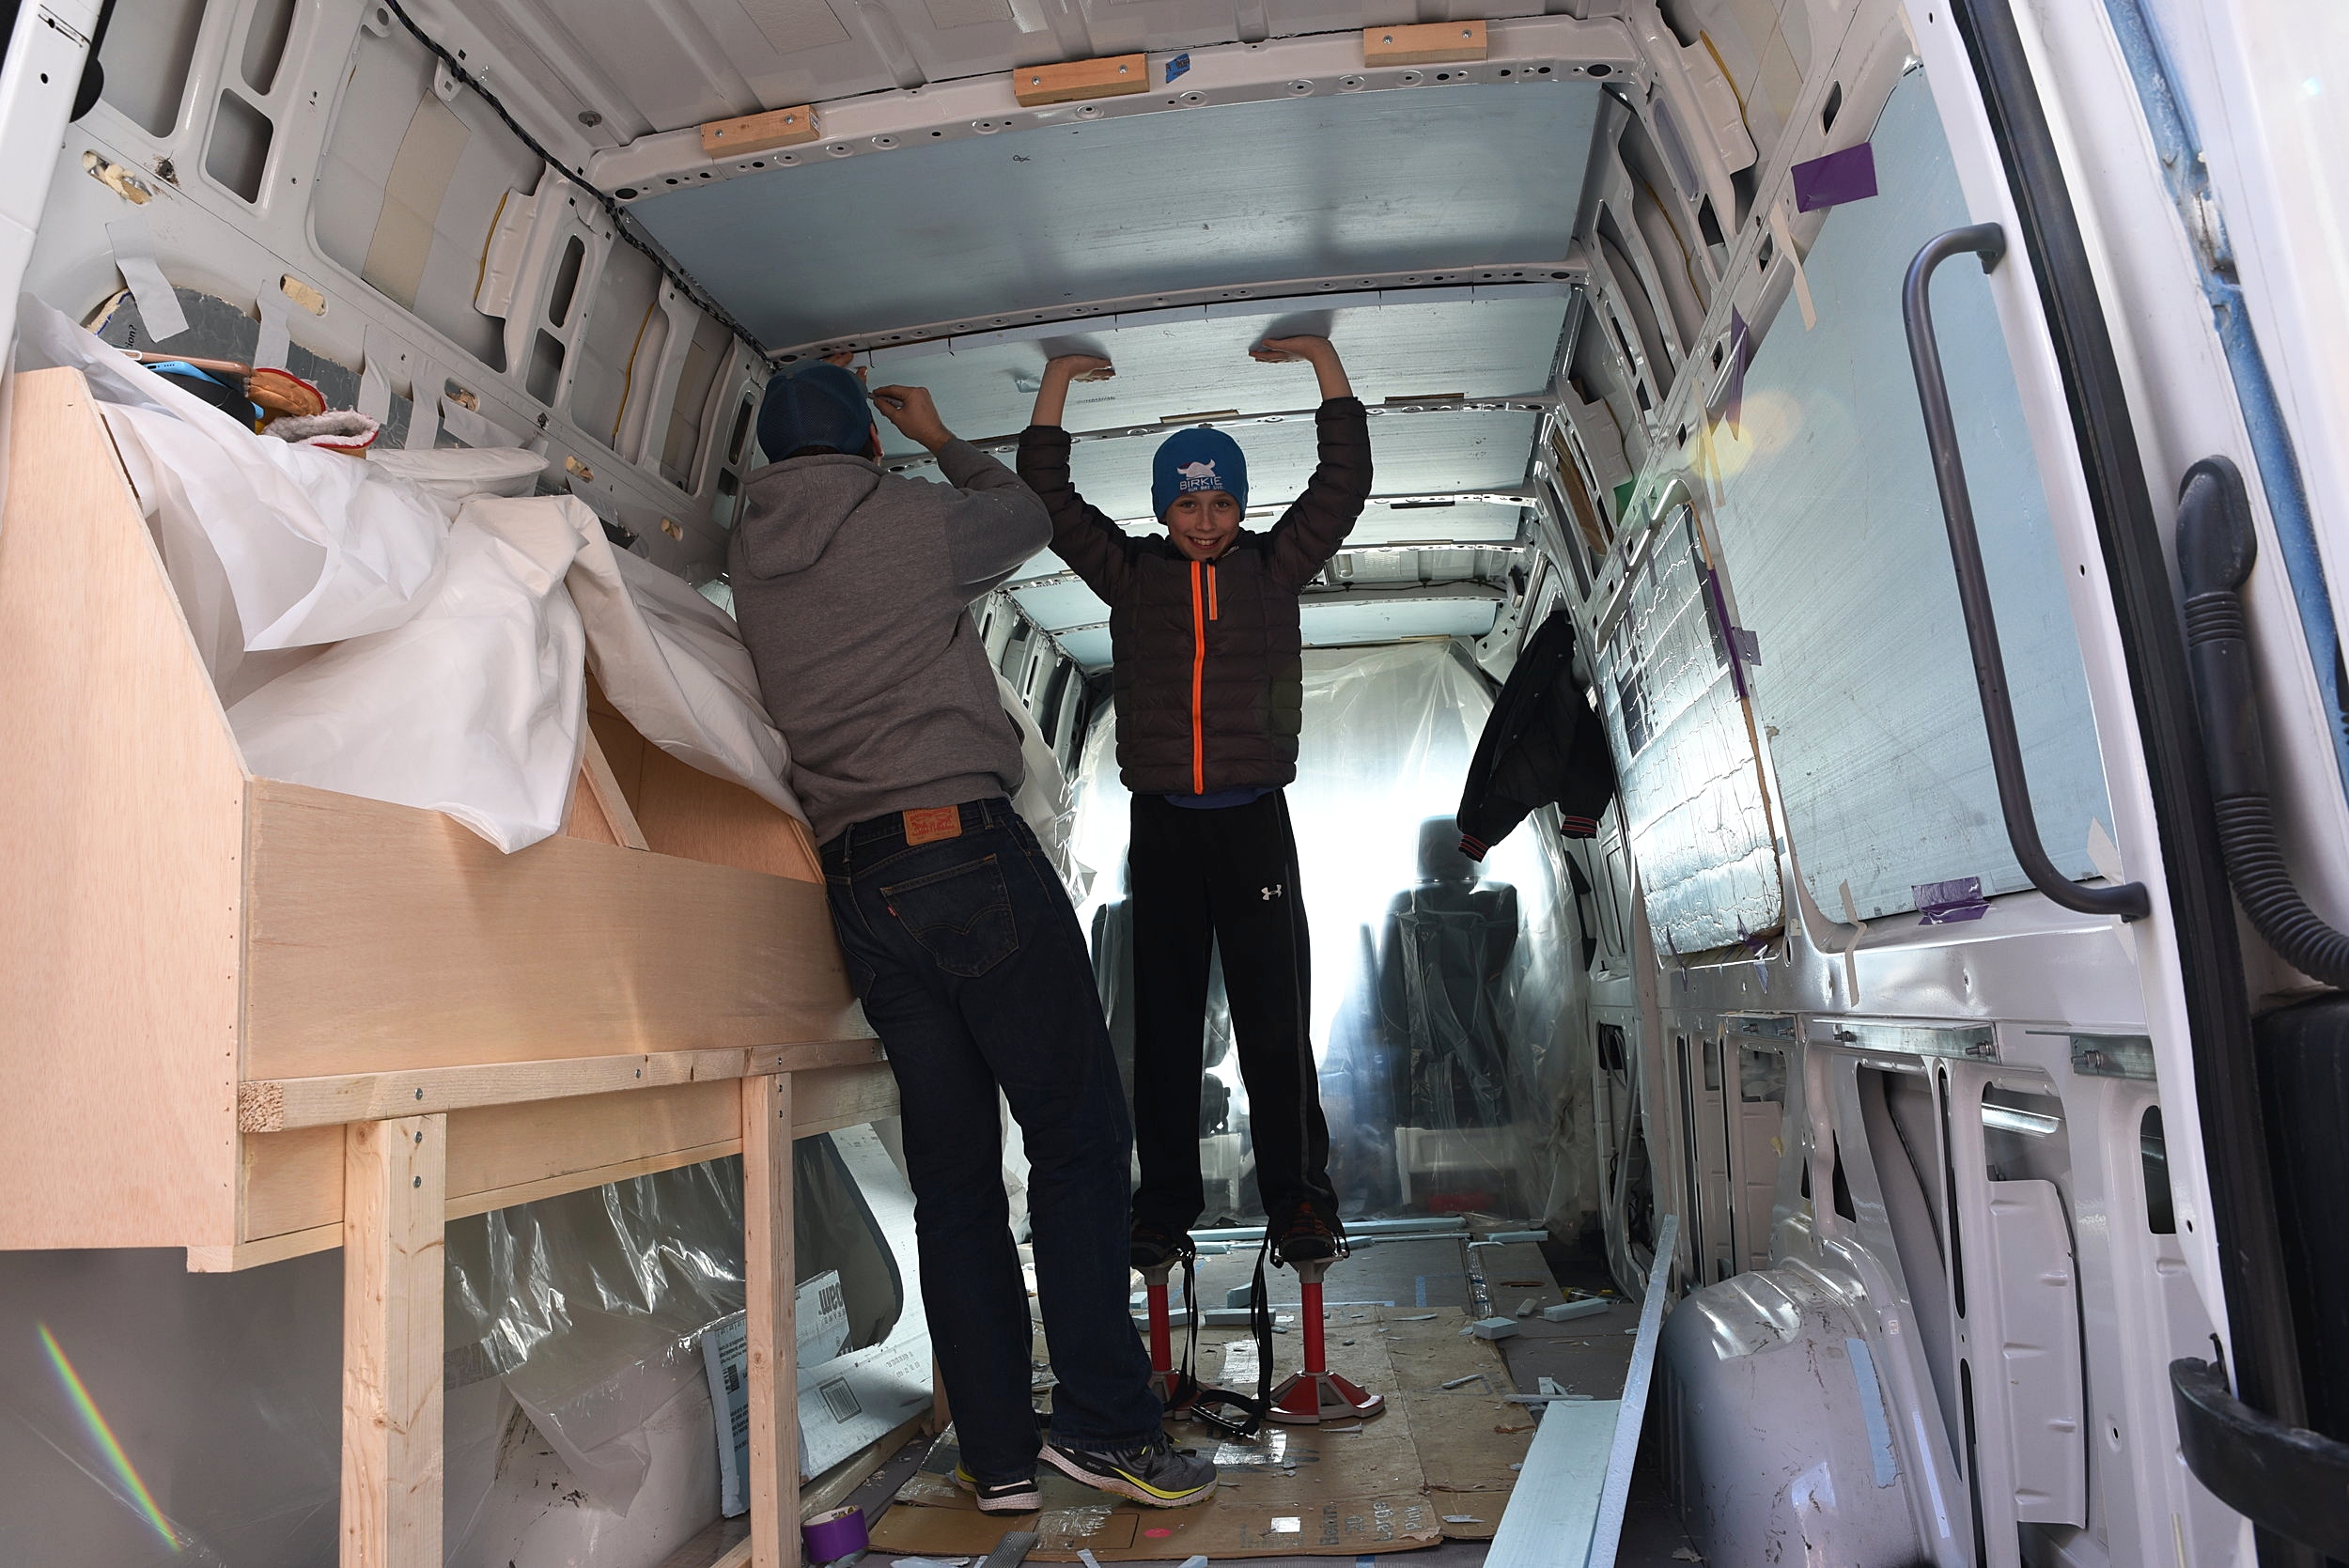
You need to make sure to get good help for insulating the ceiling--someone tall!
We also had to cut out all the notches for the small studs we installed in the ceiling for attaching the ceiling panels later on. While this did take a bit of time, it really wasn't too tricky. We didn't have to tape the foam into the ceiling because unlike the walls, the spaces in the ceiling were very square and the fit was tight enough that the foam held itself in place.

Ian fits the foam into the ceiling.

We had to cut notches out of the foam to fit around all of our wood studs in the ceiling.
Insulating the Ribs of Our Van
The final step before we could hang the vapor barrier was to fill the last of the empty space in the ribs of the van with spray foam. Spray foam is the least cost effective form of insulation, and it's pretty messy. We tried to use it in as few places as possible. As previously mentioned, we were able to slide strips of fiberglass into all the large ribs in the van. We also stuffed some of the ribs with the small scraps of polyiso to reduce the amount of space needing be filled. For the most part, the only places that required spray foam were in the ceiling.

Many of the gaps in the walls were stuffed with the scraps from the polyiso insulation.

We use the Big Gap filler since the areas we were trying to fill had quite a lot of space.
For our spray insulation we mostly used Great Stuff Big Gap Filler, since most of of the spaces we were trying to fill were quite large, but we also used some of the Great Stuff Window and Door. The Big Gap Filler did seem to go a bit further, but the Window and Door Filler was easier to control.
Since we are building our van in the middle of a Wisconsin winter, to use the spray foam we had to bring the cans and our van up to about 50 degrees using some milkhouse heaters, before it would work correctly. It just kind of dribbles out of the can at any lower temperature.
Once it was warm enough, we filled the ribs about half full of spray foam, because it will double in size as it expands. It's hard to tell how much you are filling the ribs, but you can gauge it fairly well by using the various holes that are in the ribs.

Stop spraying the foam well before where you want it to stop, because it will continue to flow for a good 15 seconds after you stop holding the trigger.

Our small graveyard of spent cans of foam.
Once you start spraying, the spray foam cans seal themselves shut after about two hours, so this was another task that we did all in one go. You would think that the foam would have the consistency of whipped cream, but it's really much more gooey. There is no directing it once you have sprayed it, so make sure that you have the straw exactly where you want it to go.
We used a total of five cans of spray foam insulation to seal the ribs in our ceiling and the smaller ribs in our walls.
We gave the foam 24 hours to cure, before we trimmed away the excess. We each used half of a hacksaw blade to carve away the foam stalactites from the ceiling. By bending the flexible blades upward, we could cut the foam totally flush to the surface of the rib easily and quickly.
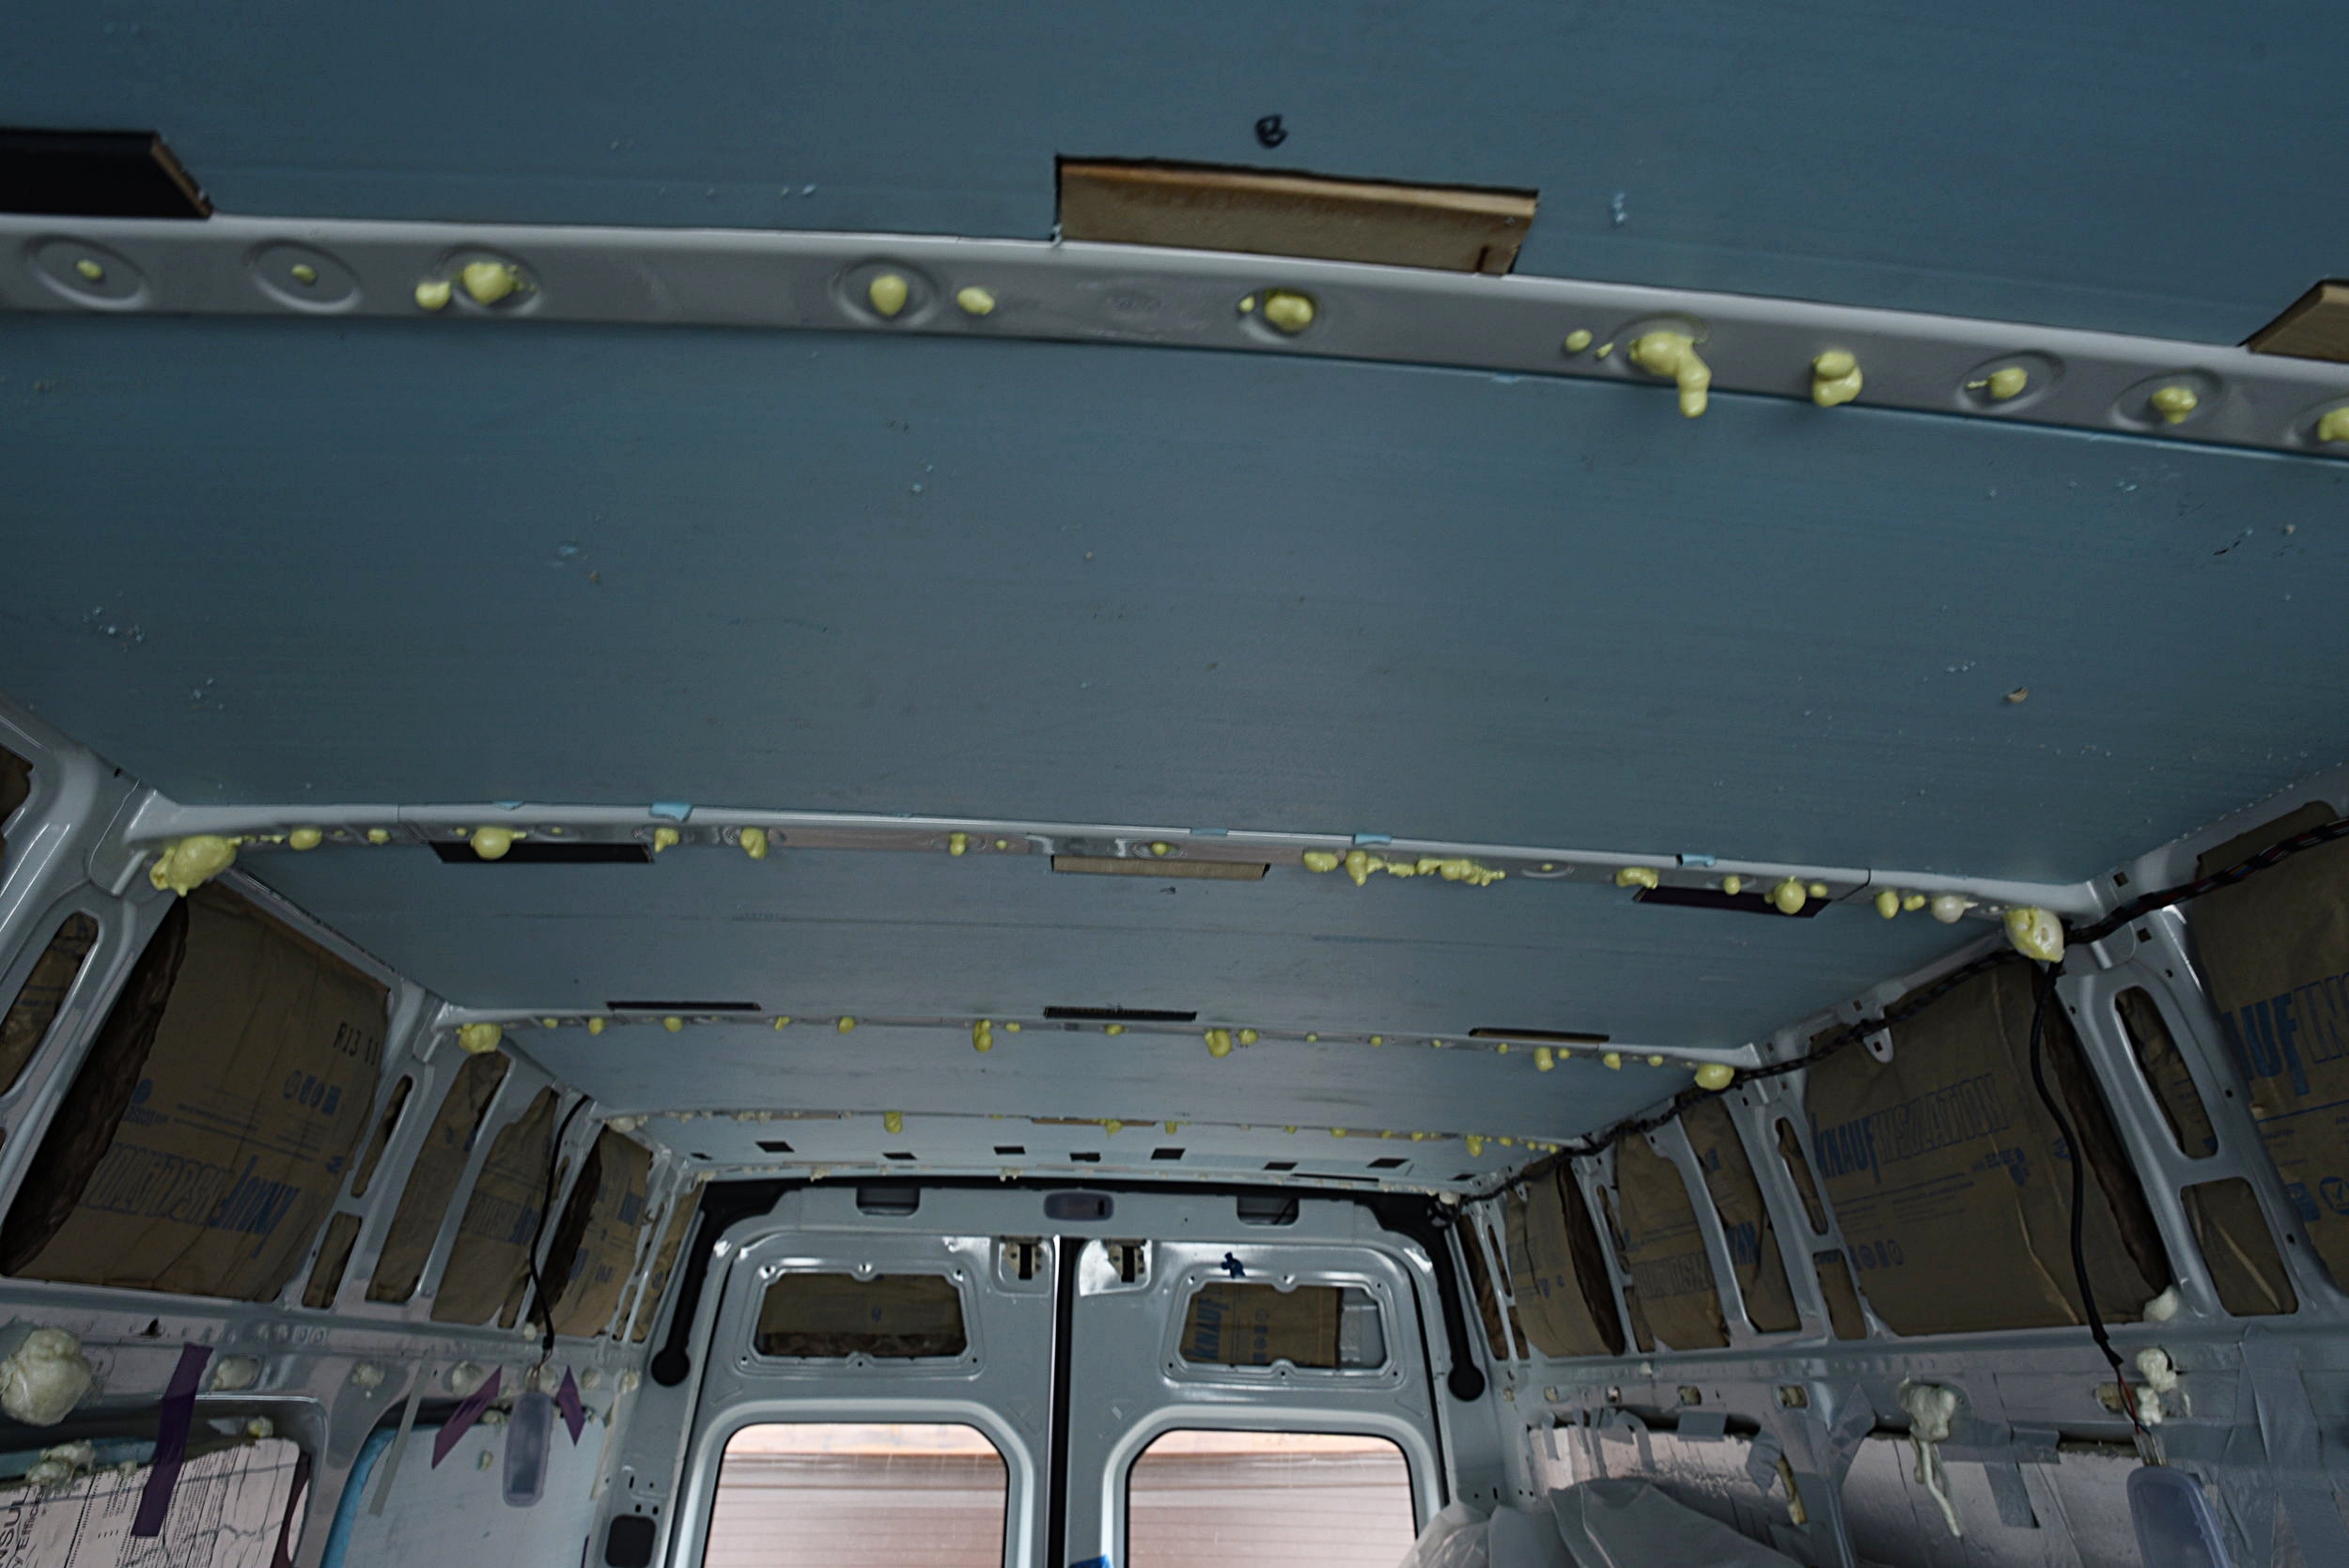
The ribs in the ceiling were to small to fill with fiberglass so we sealed them with spray foam.

It was pretty easy to cut off the foam-sicles by using a thin saw blade.
Putting Up Our Vapor Barrier
Some van lifers will argue that you must have a vapor barrier to protect the van body from the moisture from breathing and cooking inside the van, while others will argue that the barrier will only hold the moisture behind it. We have a great fan in our ceiling, and that is the main way that we control moisture in our vehicle (Read: Installing Our Fan). We were very careful and thorough when hanging the plastic vapor barrier, so we believe there's very little chance that much moisture could get behind the plastic. Our wood paneling on our walls will expand and hold moisture in humidity, and it's probably better for that moisture to be held against plastic sheeting rather than directly against our insulation or the metal body of the van.
However, for us the vapor barrier is less about moisture control and much more about sealing off the fiberglass insulation in order to protect ourselves from the particulates. If you are using fiberglass insulation, it really should be entirely and tightly sealed off. We did this as soon as we could after installing the insulation to reduce our exposure.

Since we installed some of our bed platform cabinetry prior to finishing all aspects of the insulation, we had to make sure to put the vapor barrier behind these furnishings.

An electric stapler makes quick work of installing the insulation, but it definitely isn't necessary.
We began with a huge 20x25-foot roll of 4-mil plastic sheeting. We knew this was going to be really difficult to work with once it was unrolled so we began by rolling it out along the length of the van. We then cut it to the correct length with a foot or two of extra on either side before we unfolded it.
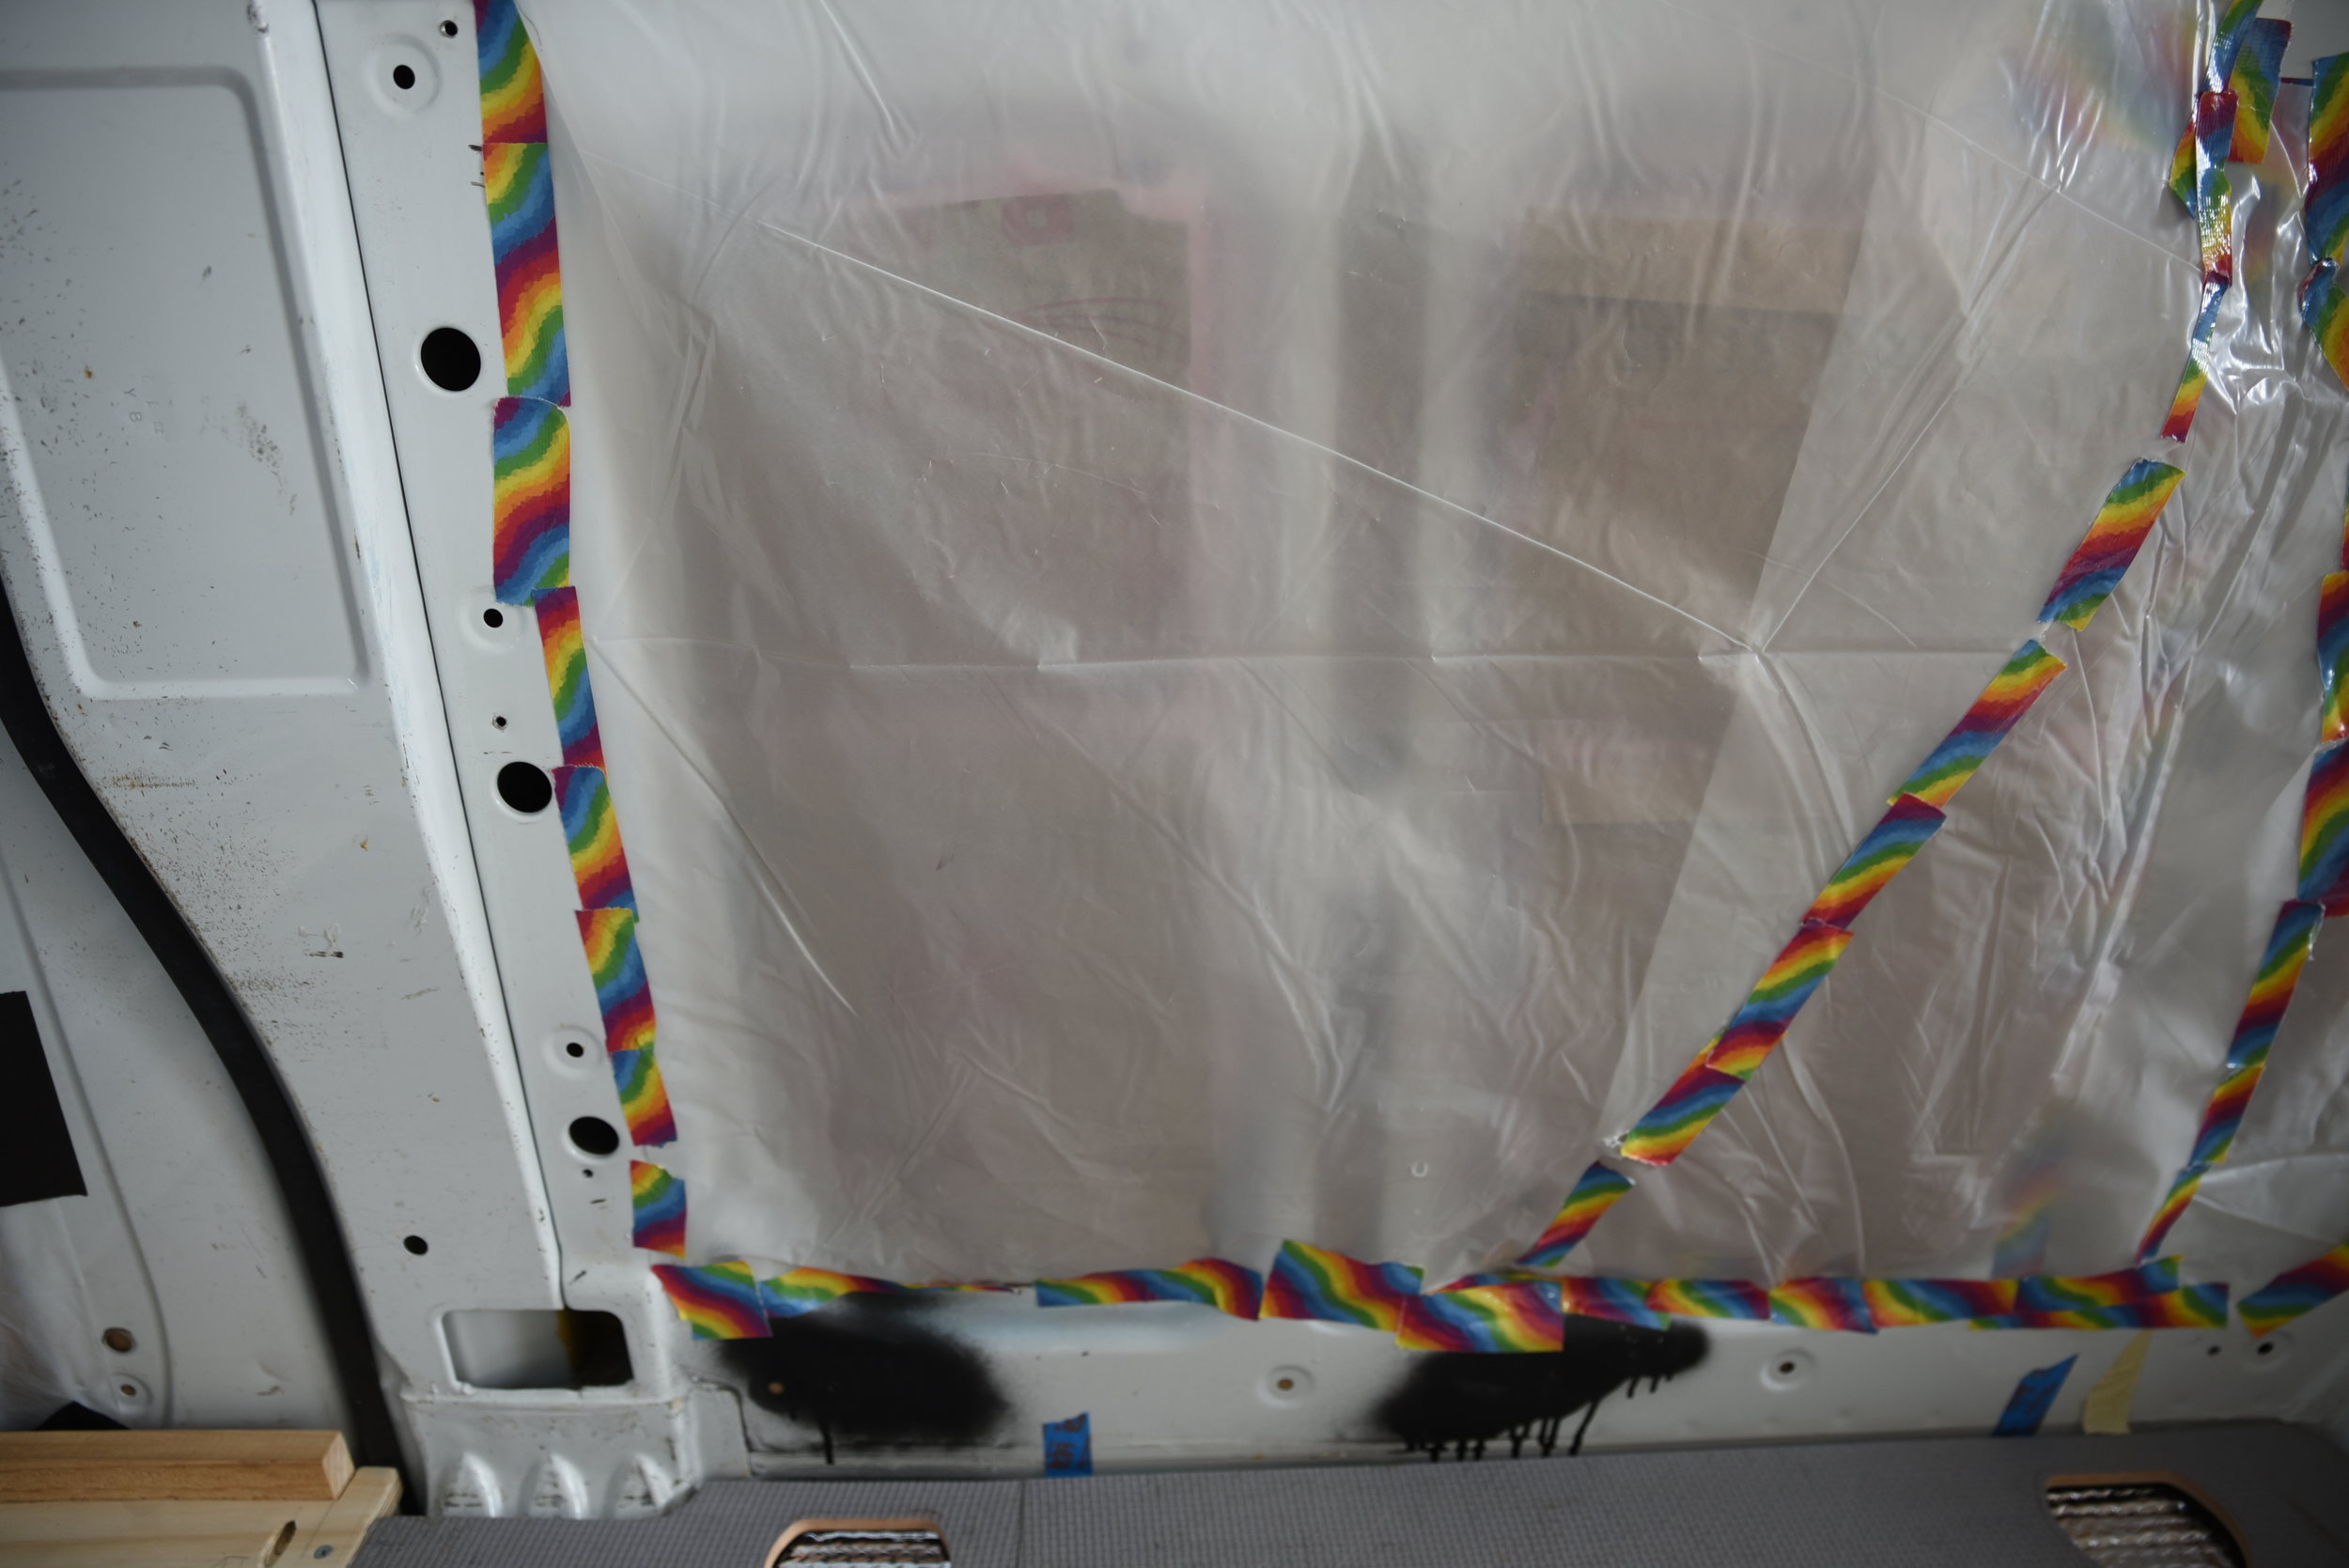
Next we unfolded only the very bottom of the plastic and taped that to the wall along the floor. After that we unfolded the plastic systematically, working our way up and taping up the edges as we went. We stapled the plastic to the wood studs underneath with a staple gun, also working our way up the wall. Anywhere that we stapled, we reinforced the plastic with duct tape.
We also used wood scraps underneath the plastic sheet and screwed them into to the wood studs with a power drill to hold the plastic up, because it was too heavy to be held up by the staples alone. We also used super strong neodymium magnets to hold the plastic up in the corners. Once we put up our cedar paneling, the plastic wasn’t able to sag, but until then, we didn't want the staples to rip out or to have a lot of loose plastic in our way while we were working.
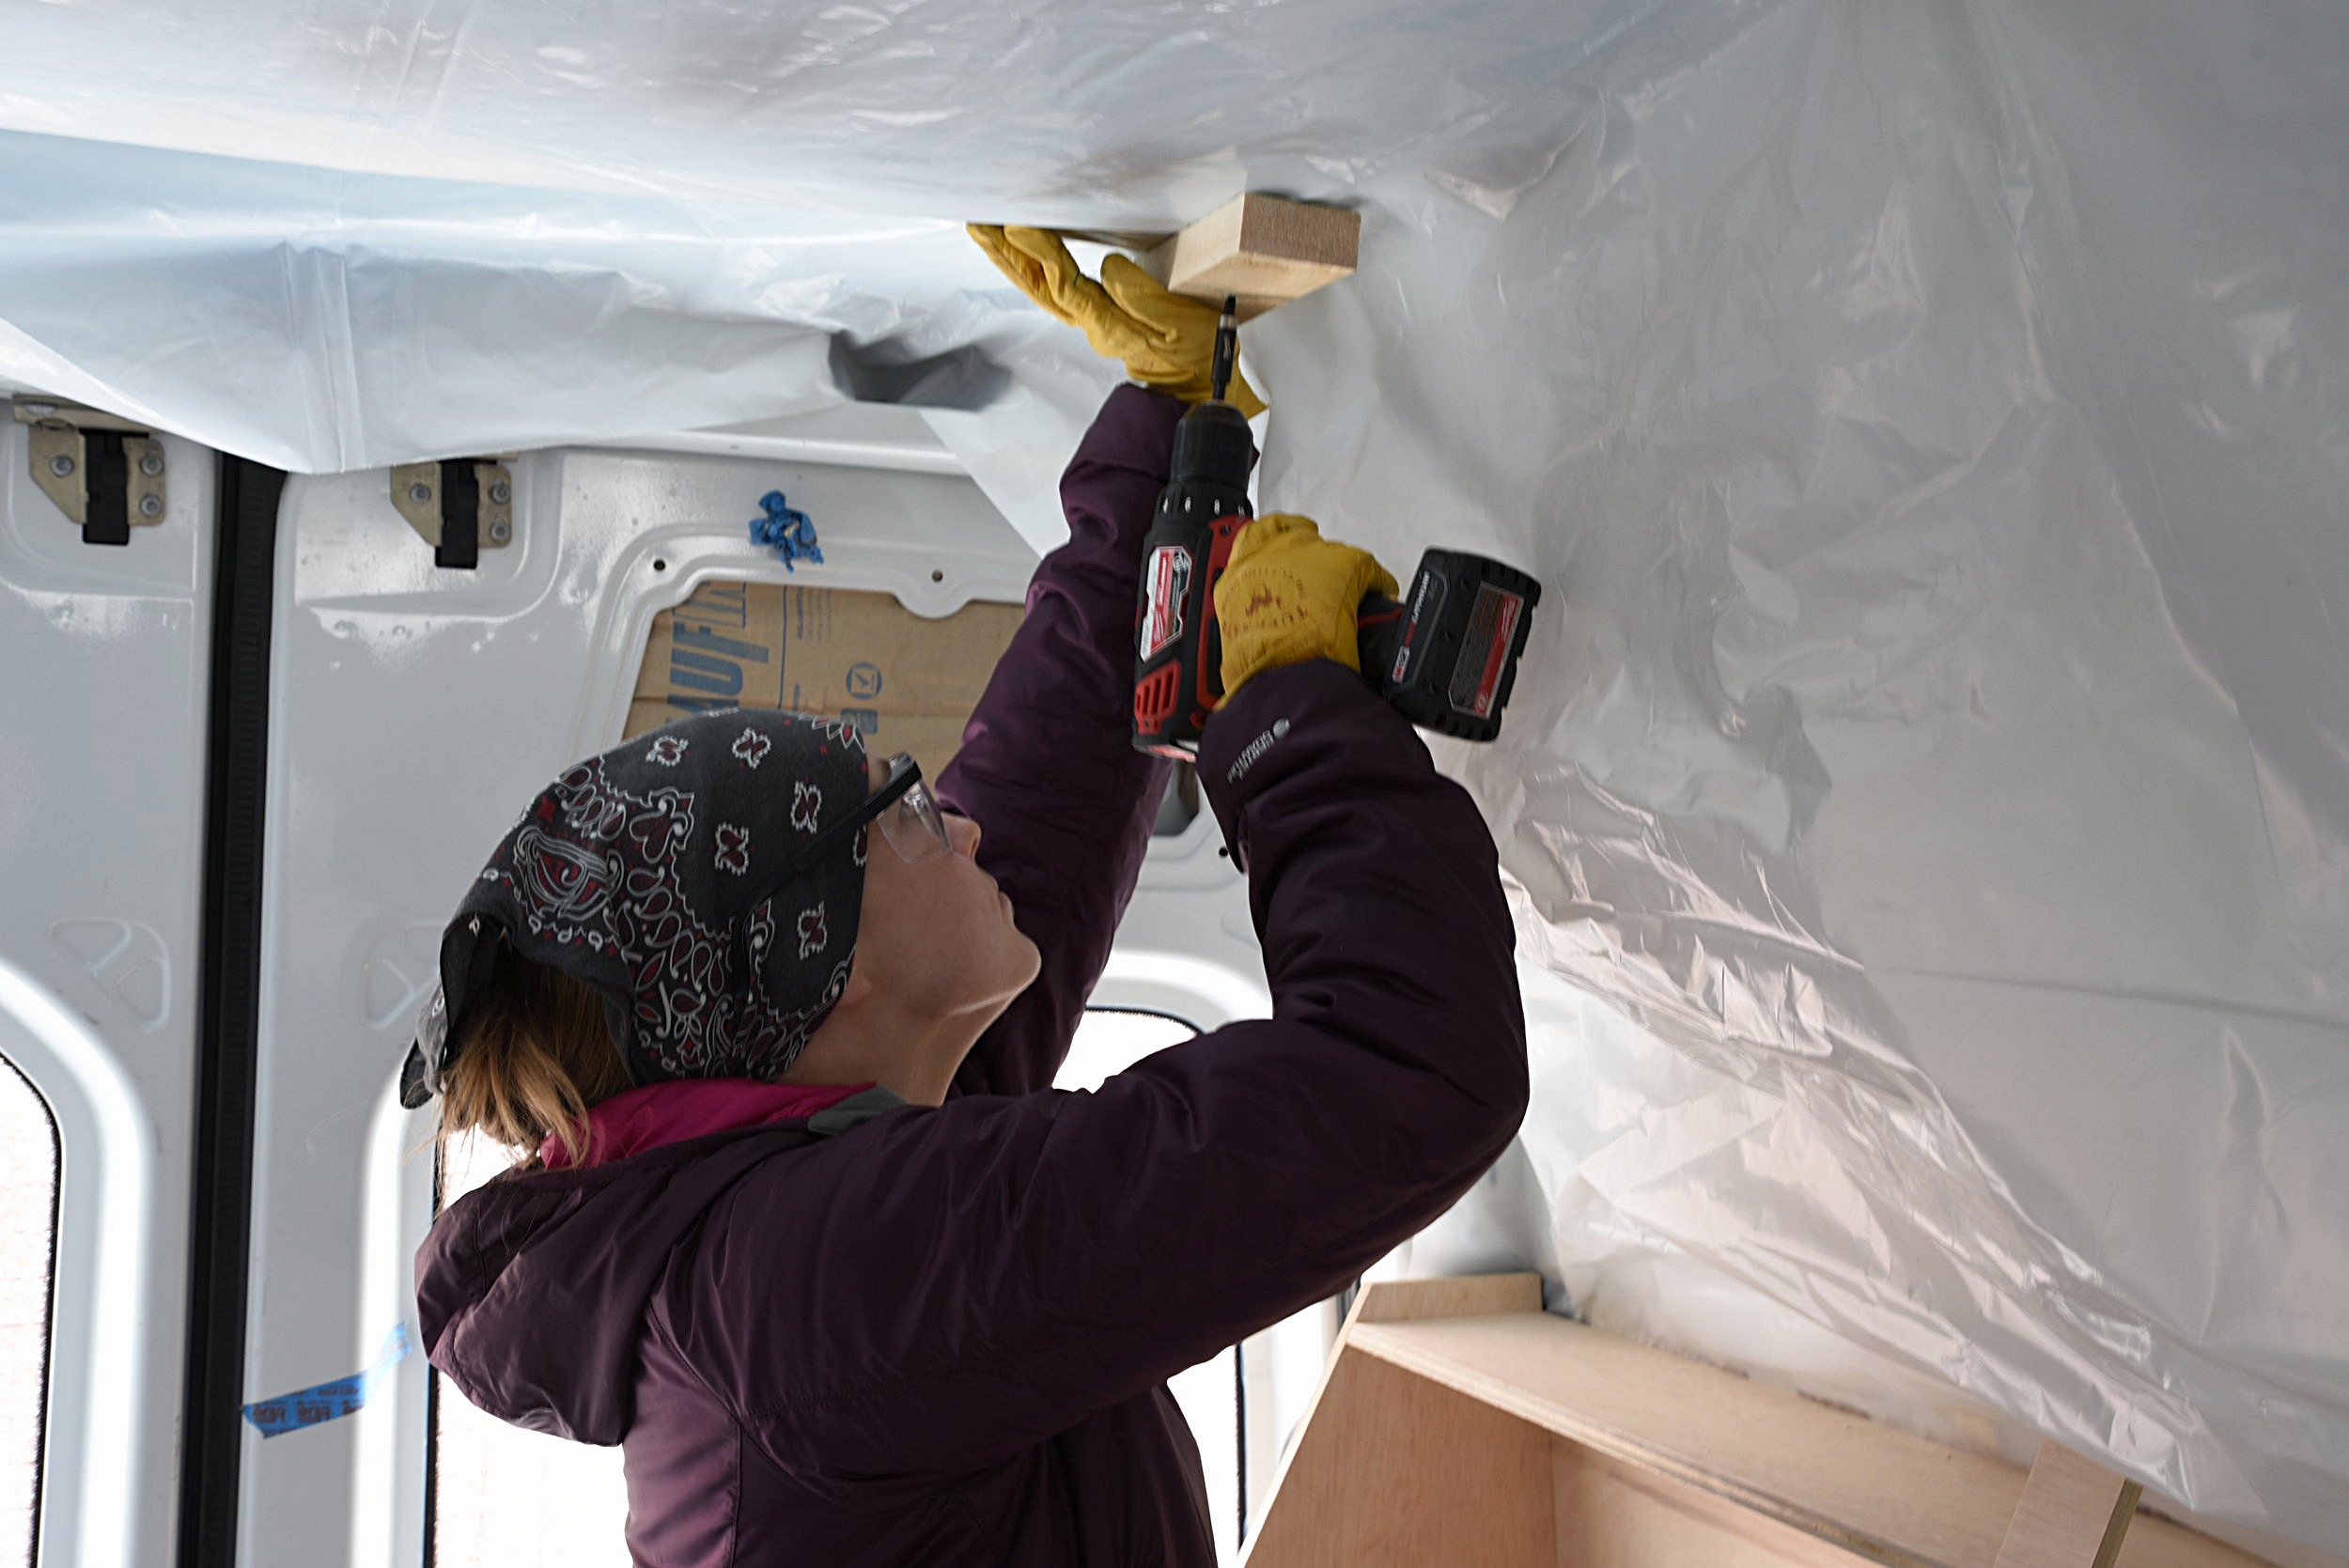
Kaylee uses some scrap wood to hold up the plastic sheeting until we are ready to install our ceiling panels.

These tiny magnets are crazy strong! Later we will use them in our insulated curtains.
The final step was totally sealing the plastic sheeting with duct tape. We trimmed the plastic sheeting where needed and then ran duct tape along all the edges of the plastic sheeting and along any seams in the plastic. While we may not be able to close off the fiberglass entirely, we want to to limit any moisture from getting in and prevent any particulates of fiberglass from escaping.
After taping the vapor barrier, our insulation was complete! Our insulation definitely does it’s job well. Our van is often significantly cooler or significantly warmer than the outside temperatures, which allows us to live comfortably within this little home year round.
Rainbow duct tape is not required, but it is a bit more fun.
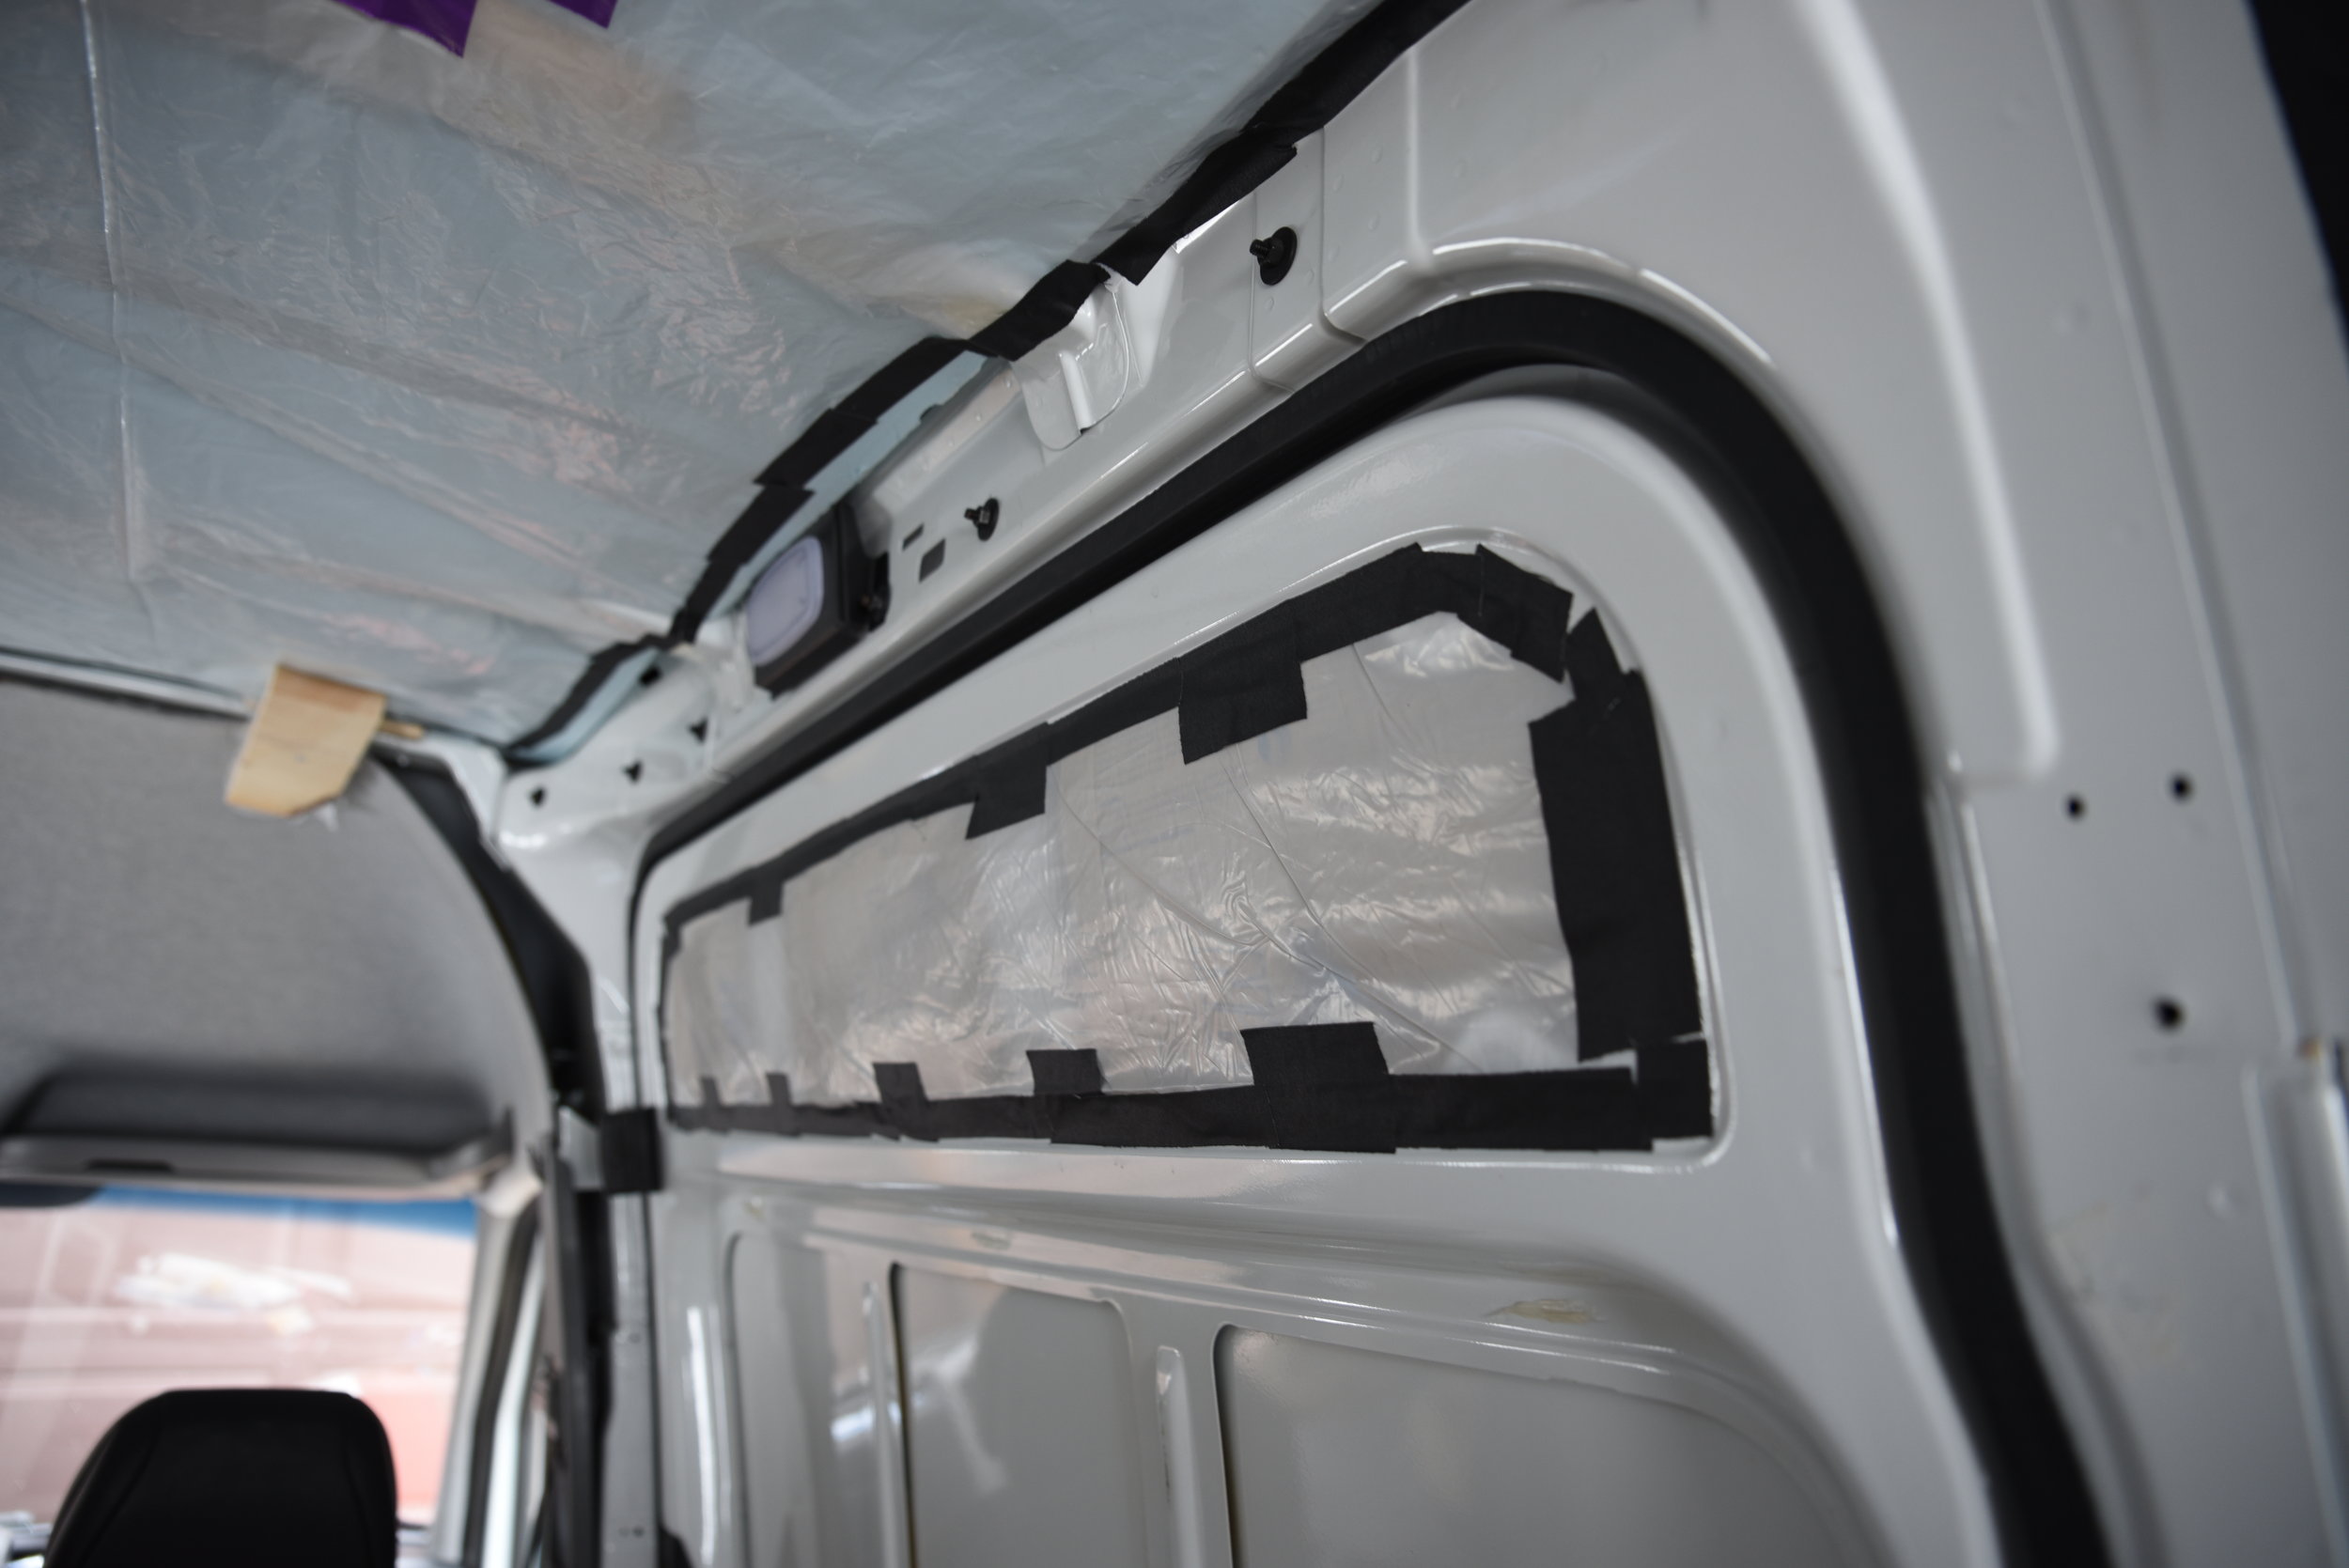
We also sealed off the fiberglass that we put in our doors as well.