How to Charge Your Devices While Bike Touring
Even though bike tours are a great chance to “unplug,” you’ll probably want to keep your phone charged for navigation and for taking photos.
Bike touring can take you to some pretty off-the-grid places. As appealing as totally unplugging might be, let’s be honest, there are a lot of reasons you want to keep your devices charged while cycle touring: navigation, looking for campsites with satellite view, keeping in touch with loved ones, making hotel or campground reservations, finding WarmShowers hosts, charging bike lights, taking pictures, and more! And let’s not forget tracking your rides on Strava!
There are a lot of creative ways that bicycle travelers have devised for staying powered while touring. This summer when we biked around Lake Superior, we opted for a dynamo hub that generates power while we were riding. From that we charged portable power banks from Outdoor Tech so that we could charge our phones, camera, or Garmin watches at night when we weren’t riding.

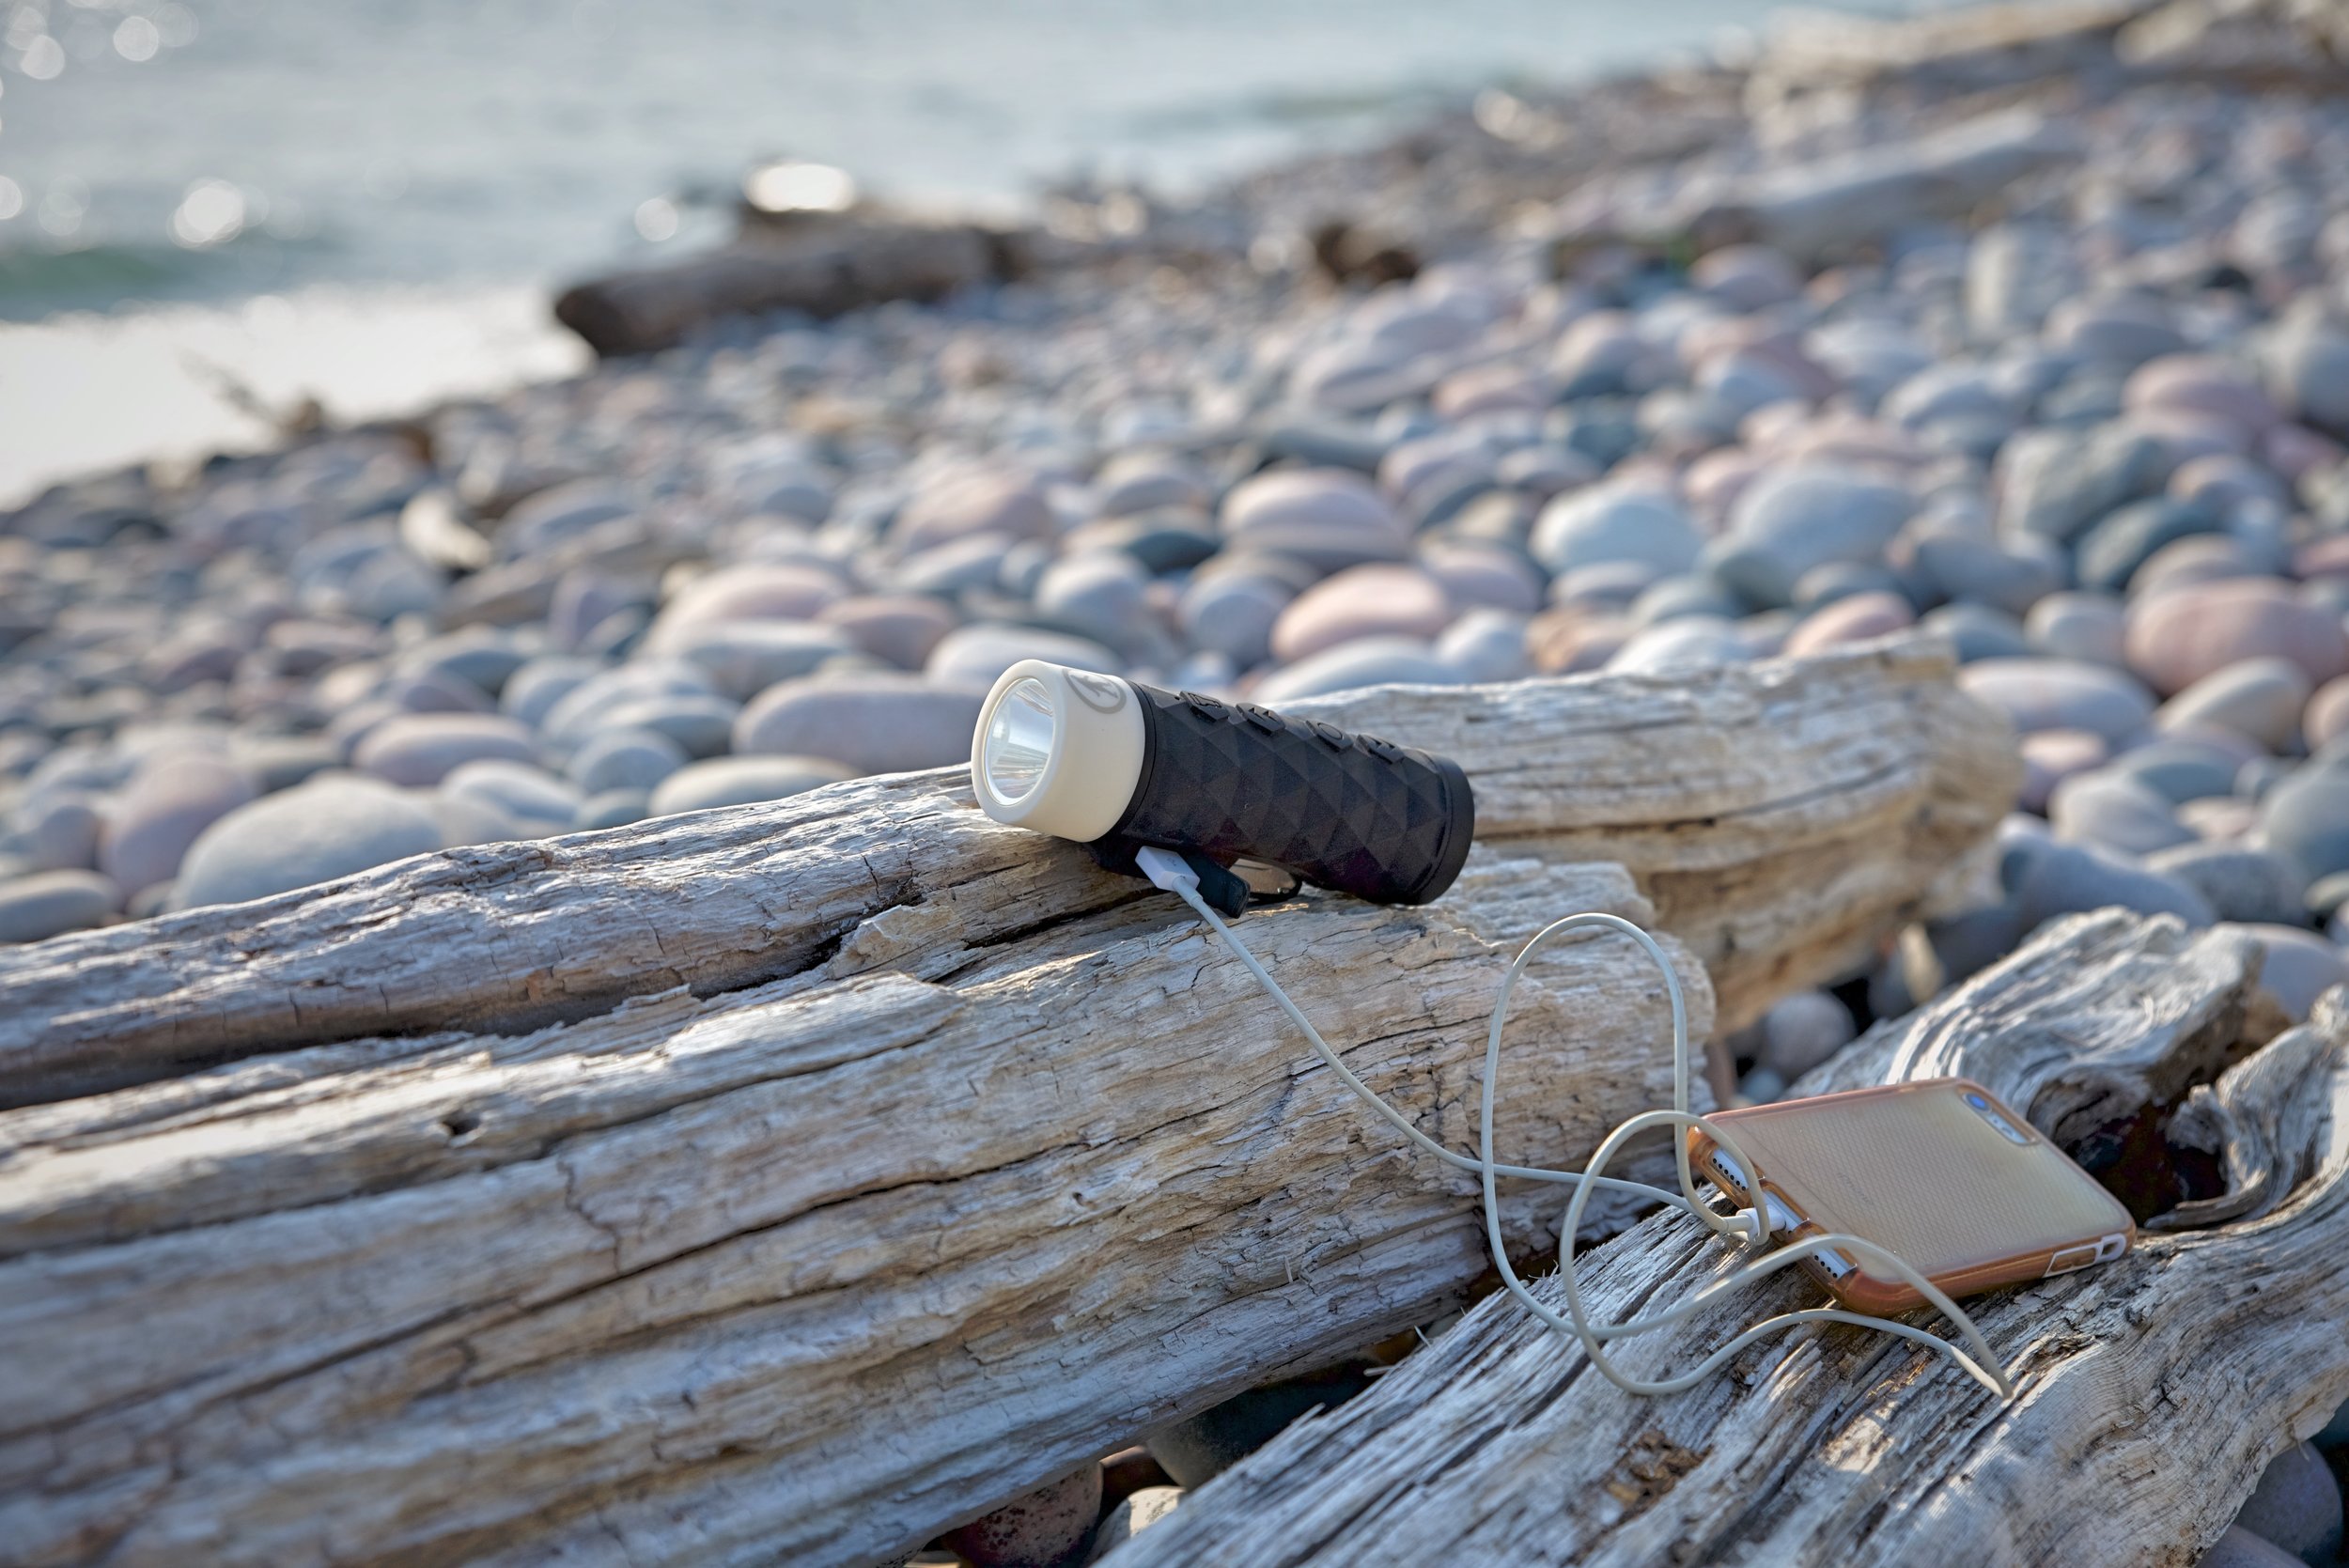
A bike speaker can make a bike tour a lot more fun. This one is a light and a power bank as well.

Bike tours can take you to some of the most unexpected places, so you’ll want to stayed charged up so you can continue to explore with ease.
Power Banks
Regardless of how you will be getting or generating electricity when bike touring, you’ll need a way to store it to use later. You won’t always be riding, the sun won’t always be shining, and you likely won’t be near a wall outlet most of the time. Having a portable charger is central to any electrical system for bike touring. (Disclosure: Outdoor Tech sent us some products to use and review on our Lake Superior Bike Tour.)

Outdoor Tech makes some great portable power banks and bluetooth speakers that are really convenient for bike touring.
Review of Outdoor Tech Kodiak Plus Ultra Portable Charger
We’ve owned quite a few different power banks over the years, whether for living in our van, traveling and backpacking, hiking the Appalachian trail, as well as bike touring. For our outdoor-oriented lifestyle, Outdoor Tech’s Kodiak Plus Ultra Portable Charger is by far our favorite power bank that we’ve owned.
First off, it’s waterproof! It’s IP67 waterproof-rated—you could literally drop it in three-feet of water and leave it there for a half-hour, and this rugged power bank would be fine. That means it can stand up to even the hardest downpour in the back pocket of your bike jersey.

We used this Outdoor Tech Power Bank in combination with our dynamo hub electricity generating system.

The Kodiak Plus Ultra has a high capacity, and it charges devices quickly.
Secondly, we love the high capacity that this stylish but tough charger contains. The Kodiak Plus Ultra is 12,800mAh. If it was fully charged, we were usually able to charge each of our phones twice from the bank. Devices charge really quickly too.
Another great feature of the Kodiak Plus Ultra is that it also has a light on one end, allowing us to leave our headlamp behind. The 100-lumen light was plenty bright for reading or stumbling out of the tent to water the plants in the middle of the night.

We endured some very wet riding conditions during our Lake Superior Bike Tour, and our Outdoor Tech Portable Charger held up to it all.
Review of Buckshot Pro Ultra Portable Speaker and Power Bank
The Buckshot Pro Ultra Speaker is one of my favorite items that we brought with us. While touring around Lake Superior, I listened to music and podcasts to keep my spirits up on long days of riding. I basically made it around the world’s largest lake by pretending that I was in a 1,200-mile spin class.
This bluetooth speaker provides loud, crisp sound and a surprising amount of bass, so even with logging trucks rumbling past us on the Trans-Canada Highway, I could still hear my tunes bumpin’. Some people like to wear headphones while riding, but this is not exactly safe, because, unlike with a bike speaker, you can’t hear the external sounds around you. Riding with a speaker is fun and safer.
I don’t think I would have been able to keep our morale up if we had not brought this bluetooth speaker.

I think I can hear the ocean!
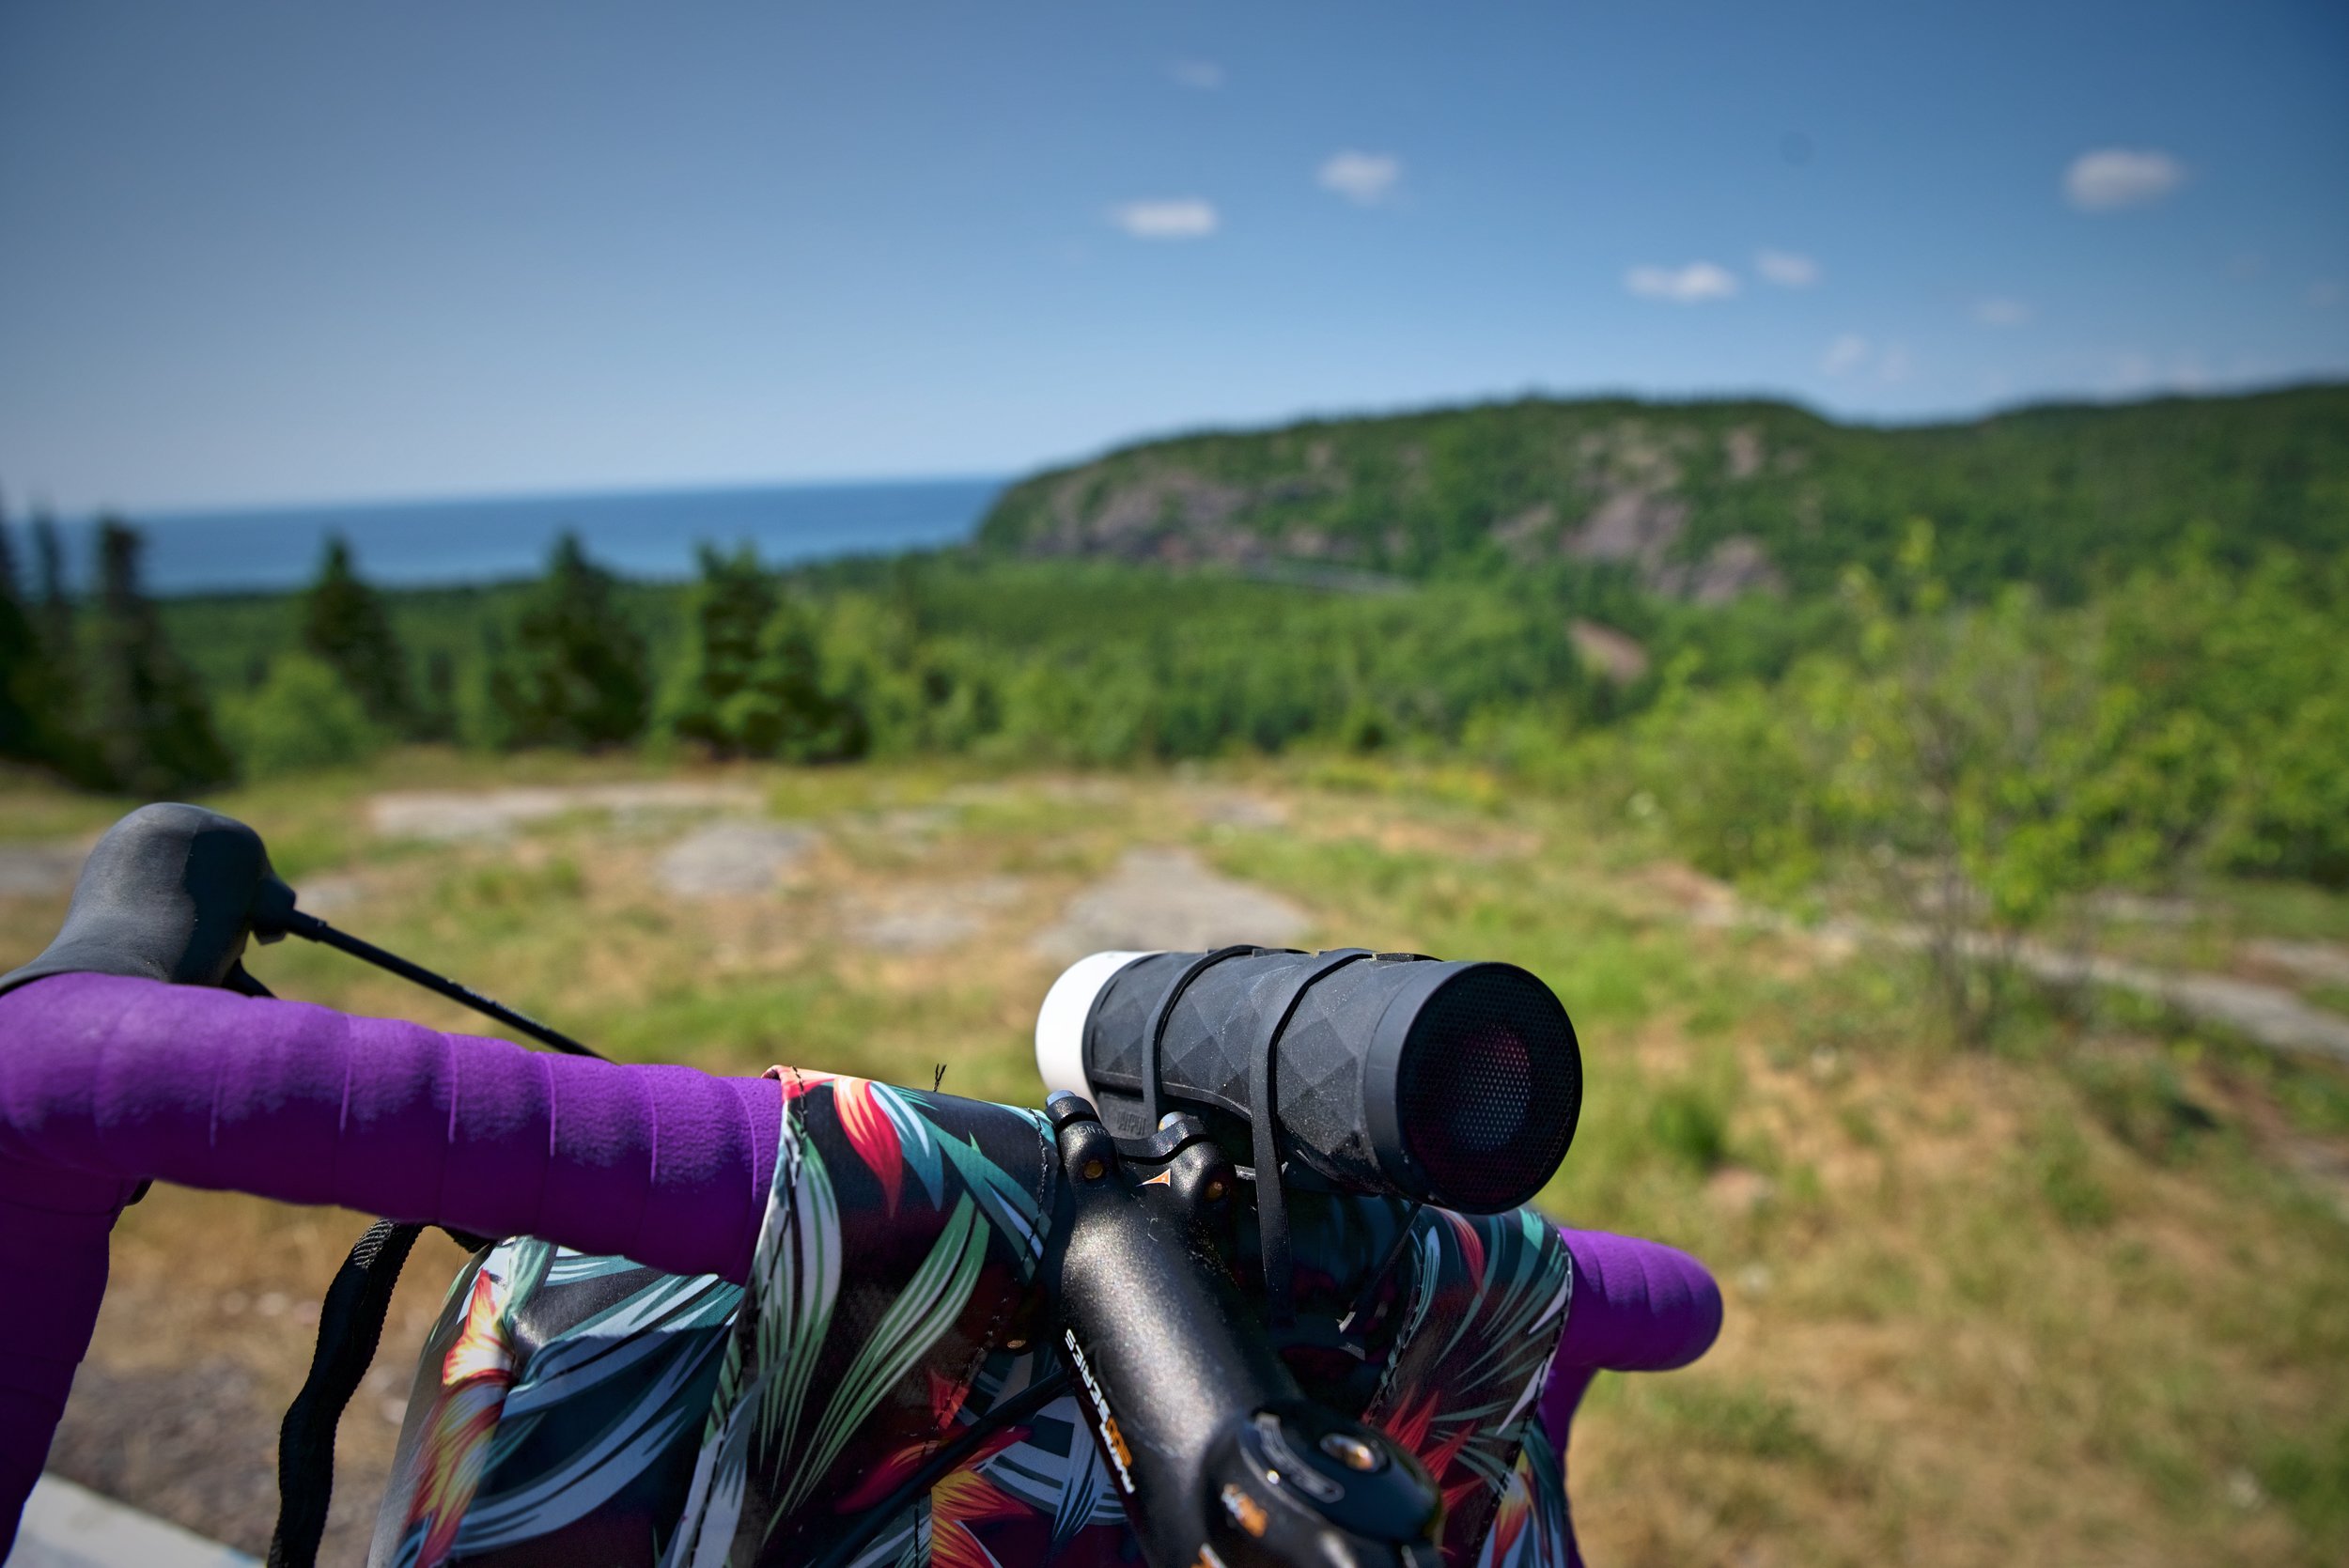
The speaker mounts to your handlebars with a rubber strap, but there’s also a clip so you could attach it to a pannier. The speaker is shock and water-resistant. Even on the roughest roads in the worst weather, I didn’t have to worry about damaging it. Prior to owning Buckshot Pro Ultra, I bike commuted in DC with the Buckshot 2.0 and that little powerhouse is still going strong, despite two years of daily abuse.
While most people would not see a Bluetooth speaker as a necessity for a bike touring gear list, the Buckshot Pro Ultra also doubles as a power bank and a light, which really allowed me to justify bringing it along. If my Garmin watch battery was getting low, I could charge it from the 2600 mAh battery while riding. If I didn’t charge any other devices from it, I could listen to the speaker while riding for three or four days straight without charging it!

If it’s not on Strava, did it really happen? I could use my power bank/speaker combo to charge my Garmin watch if it started to get low while riding.

Prior to owning the Buckshot Pro Ultra, I used the Buckshot 2.0 for over two years. After all the abuse it’s endured, it still works great!
The light has a high beam, low beam, lantern, and even a strobe feature. While the light is nowhere near as bright as my dedicated bike headlight, since we were never riding at night, the 100-lumen flashing light was just enough for adding additional visibility in rainy weather or for going through tunnels. The lantern is a soft, diffuse light for using in the tent. Bringing the Buckshot speaker allowed me lighten my load by leaving both my headlamp and my front bike light at home.
Generating and Finding Electricity
Dynamo Hub
After a great deal of research, we opted for a dynamo hub to generate power for our Lake Superior Circle Tour. You’ve probably seen older bikes with lights that are powered by a the friction of the bike wheel. The dynamo hub operates in a similar manner to these lights, except that the generator is built into the hub of the wheel. You might think this would add extra drag, but Ian didn’t feel any noticeable difference after adding the dynamo hub.
Our dynamo hub generated enough power to charge our phone in a day of riding or to top off our power banks. If this had been our only electricity source, it might not have been enough to keep our devices charged indefinitely, but whenever we had the opportunity to use a wall outlet we would charge up our power banks. I think that if you limited your use of your devices, the dynamo hub would probably provide enough power generation even if you don’t have access to a wall charger.
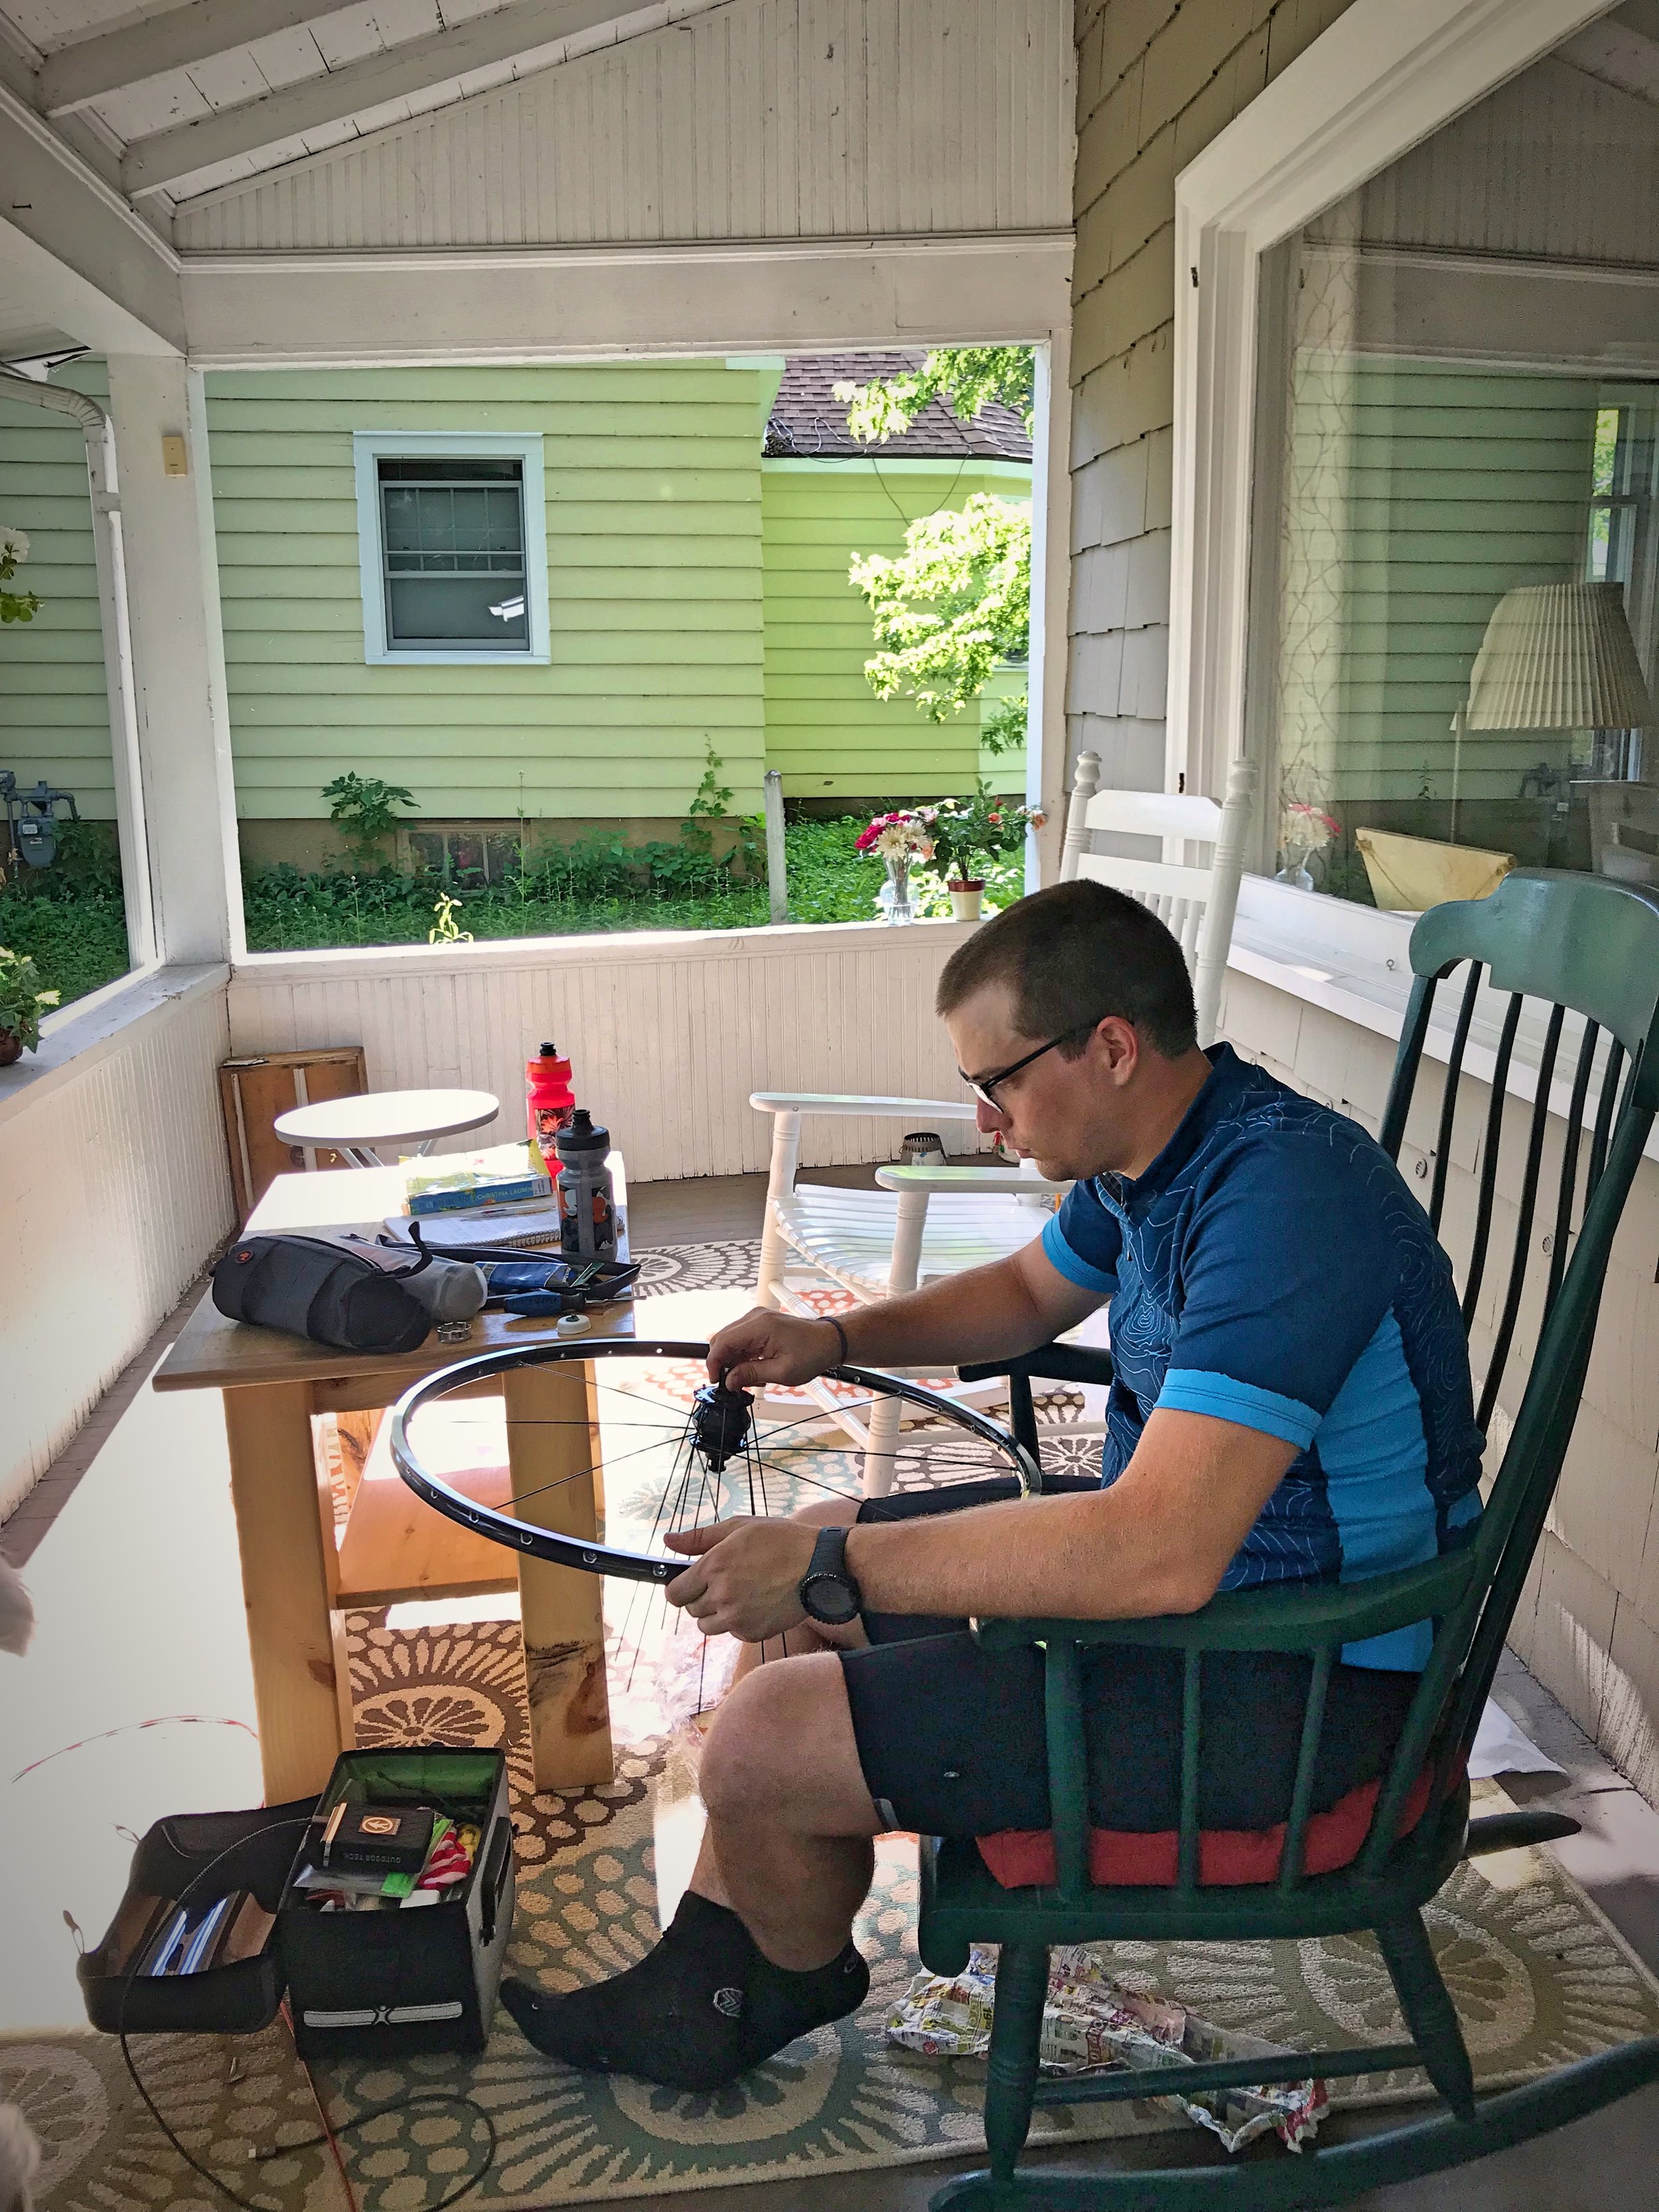
Ian actually built the dynamo hub during the second day of our bike tour, because the hub didn’t arrive in time.

The dynamo hub is only slightly bigger than a typical wheel hub, and it generates power while you ride.
A dynamo hub also requires a wheel build or you can have many companies send you a pre-built wheel with dynamo hub. We talked to a few bike mechanics, and they all said that building a wheel was really difficult. But after Ian built the wheel, he said that the difficulty might have been overstated. Ian’s pretty handy, but he had never built a wheel before. He learned how to lace and true a bike wheel from Youtube videos, and the wheel turned out completely fine. With a little determination, we are pretty sure that anybody who does the basic maintenance on their bike could learn to build a wheel.
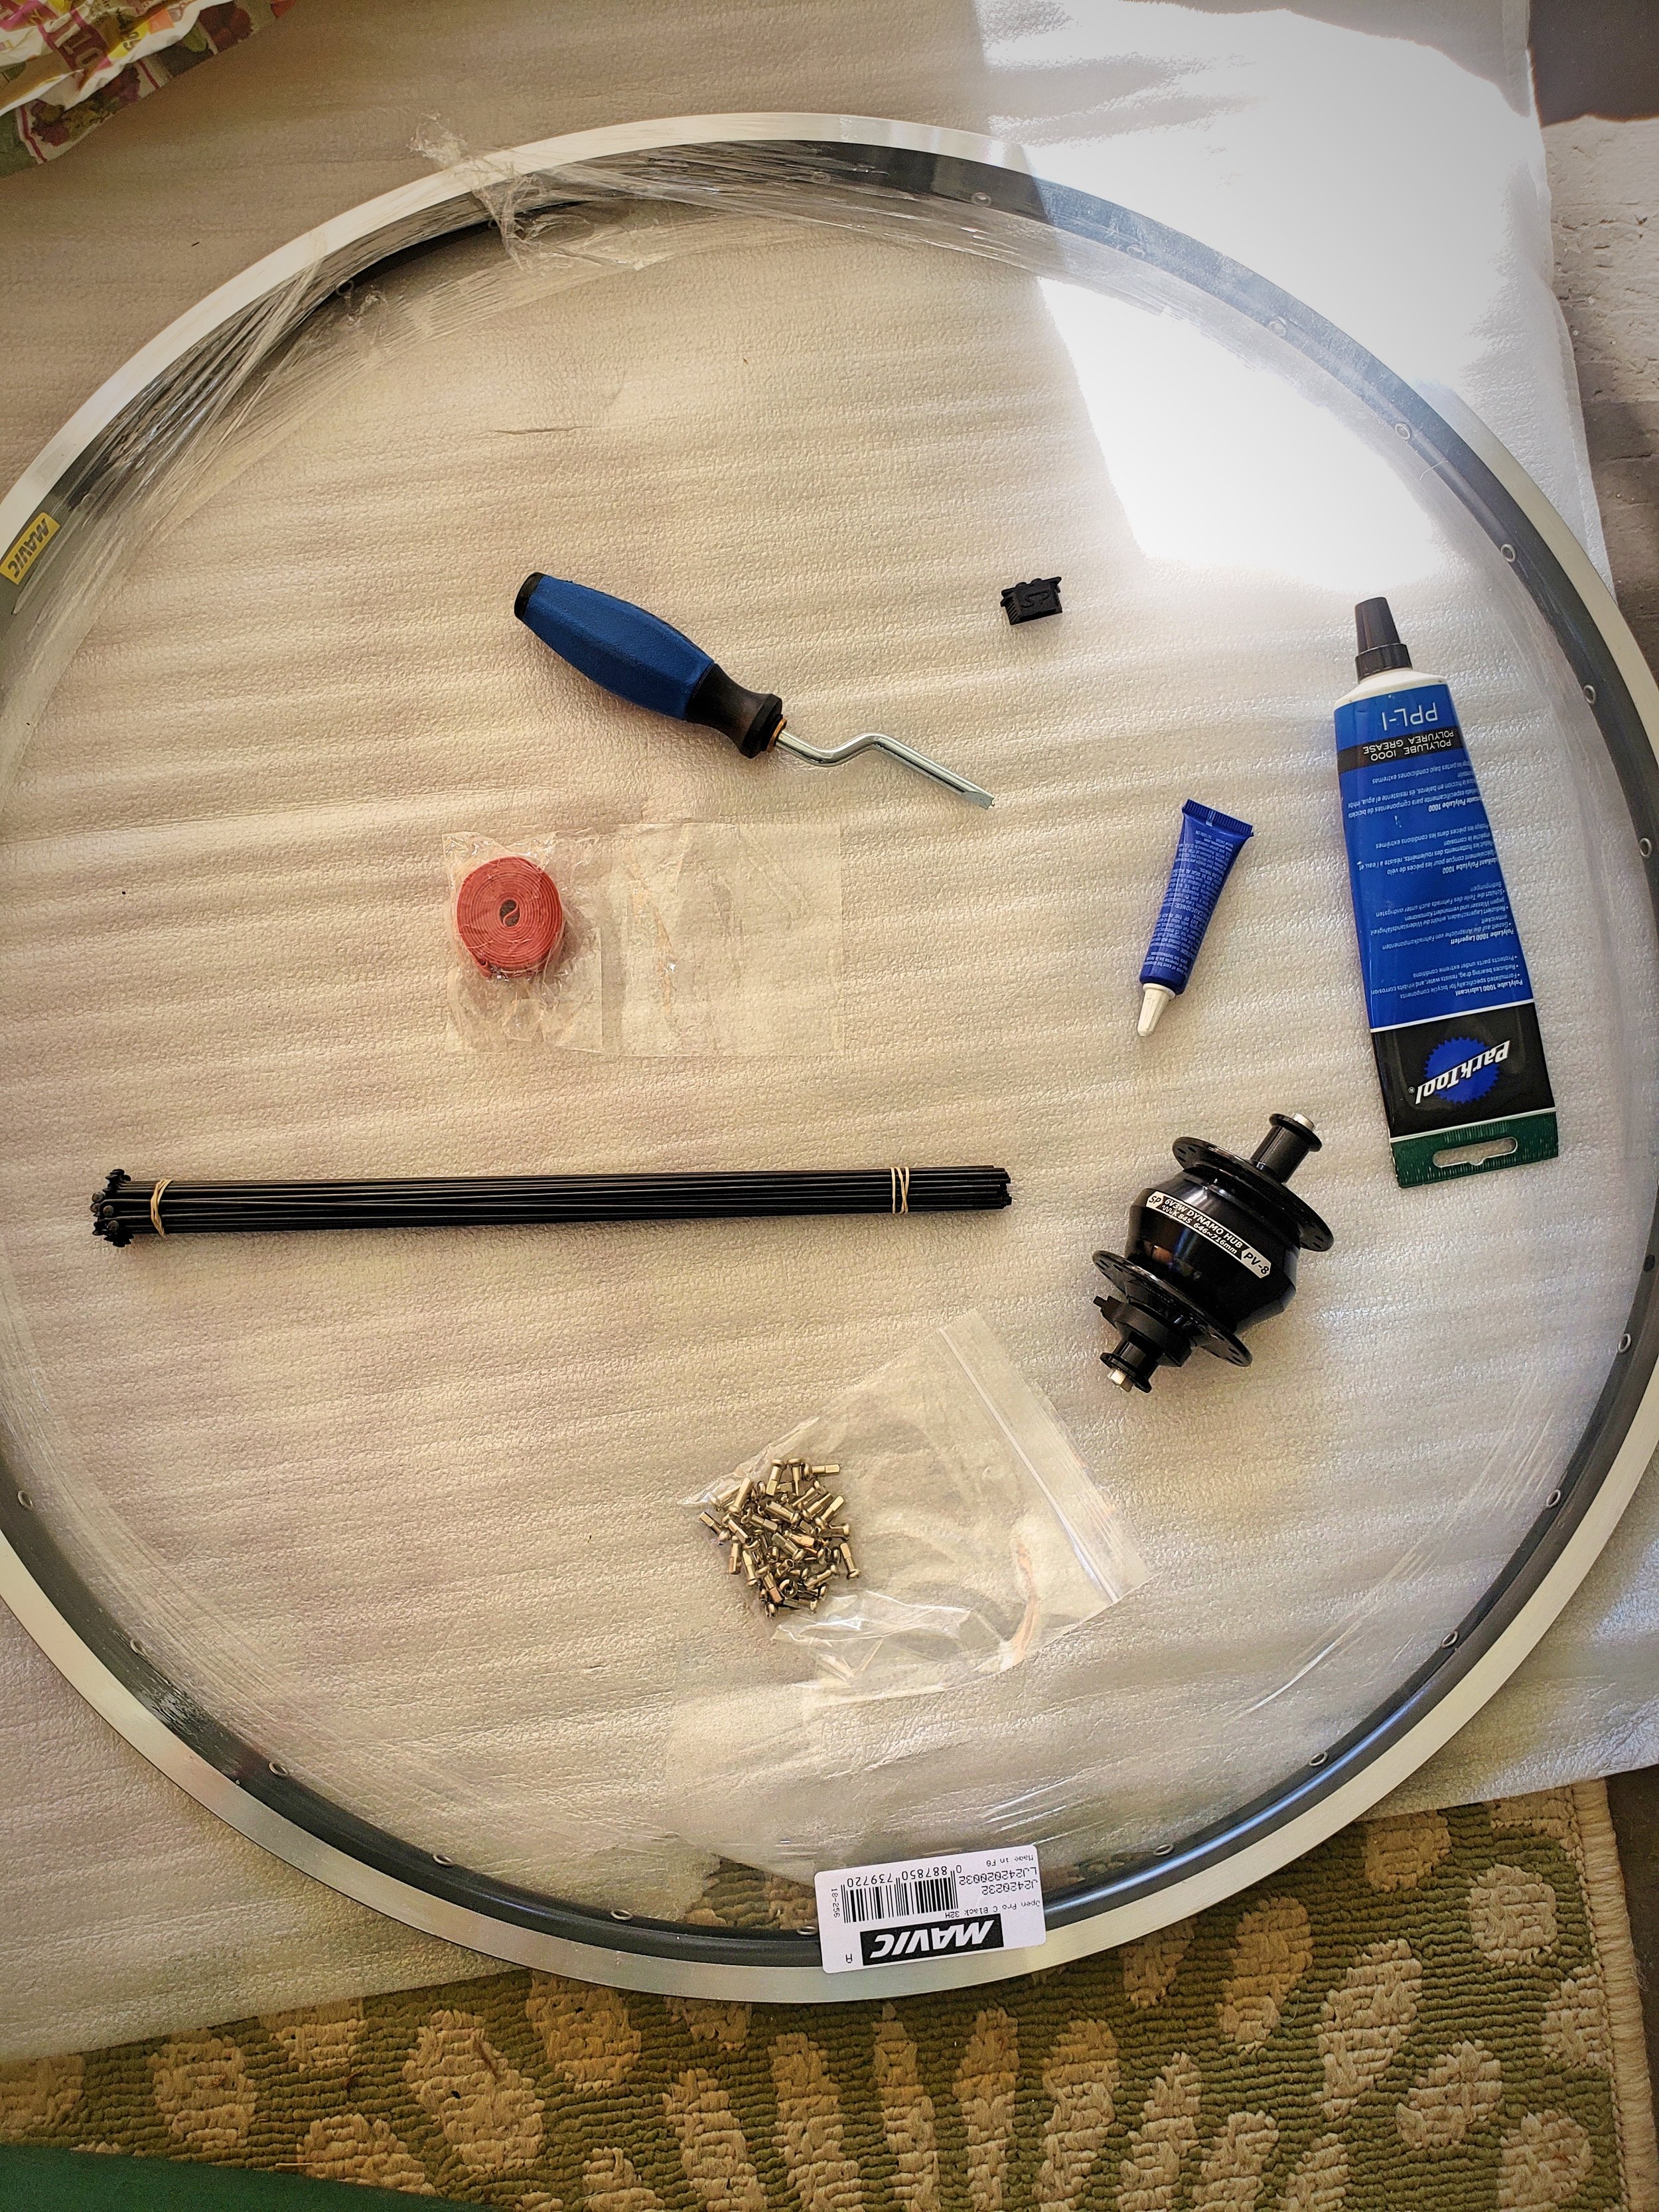
The tools and parts needed to build a dynamo hub. Or you can order a pre-built wheel.

Ian builds his dynamo hub wheel, with his Outdoor Tech power bank waiting to be connected.
Ian chose the Shutter Precision PV-8 for our dynamo hub. This model is not top of the line but provides what we think is the best bang for the buck in terms of efficiency, drag, and durability. In hindsight, he would have gone with the PD-8 model simply because it would have allowed us to transfer the wheel to a disk brake bike in the future. Once the hub was chosen, we had to find a schematic for the hub, choose a rim, and plug the dimensions into an online spoke length calculator. All rims and hubs have slightly different dimensions, requiring different spoke lengths. We also had to pair the hub with a Sinewaves Cycles Revolution adapter, which allows you to charge USB devices as your dynamo hub generates electricity.
Solar Panel
Portable solar panel chargers are a common way for cyclists to charge devices while touring, and it’s a bit cheaper than going with a dynamo hub. You can get a fairly affordable folding solar panel that can be attached to your rear rack and panniers to charge a power bank as you ride during the day or even on rest days that you might not be riding. One downside is that you must have a rear rack and panniers. Ian’s carbon-fiber bike doesn’t have bosses for attaching a rack, so he uses a frame pack that he sewed himself. (Find out how he created his DIY frame pack here.) With this kind of touring set up, which is common for bikepacking, there really is no way that you could carry a solar panel.

You could strap a portable solar panel charger to the back of my panniers pretty easily.

Ian’s bikepacking set up has no place to attach a solar panel while riding.
Although we haven’t taken a solar panel on a bike tour, we have friends that used the Big Blue 5V 28w solar charger on an extended pack-rafting trip. They said it worked very well for keeping their camera batteries and phones charged up, and it’s a pretty affordable price compared to the dynamo hub, so we feel fairly confident that the Big Blue panel would probably be a good option for bike tours.
USB Charging Stove
An electricity generating campstove is a strange, but useful option for charging devices that we first discovered while digging around at a used gear store in Laramie, Wyoming. The BioLite Campstove is powered by burning biomass (sticks and stuff) and heat is converted to electricity using a thermoelectric generator (explaining exactly how it works is definitely above my paygrade!).
The BioLite Charging Stove is definitely not what we would choose for bike touring. It’s bulky and you have to be sitting there feeding sticks into it to charge anything. For us it would have been hard to generate enough electricity to keep our devices charged with this stove. The pros of a USB-charging stove would be that it’s a two-for-one when it comes to what it does, and multi-functionality is a plus for bike touring. This stove could be a good option if you only need a small amount of power, and if you want to use it for backpacking as well.
Outlets
This is the simplest, but perhaps not the easiest way to charge devices while bike touring. We took any convenient opportunity that we could to charge up at a wall outlet. Wall outlets charged our phones, power banks, etc. at a much faster rate than the dynamo hub, so it allowed us to not have to worry about conserving the battery like we would have had to if we had solely been using the dynamo hub. We each carried a dual port USB wall charger, which allowed us to charge four devices simultaneously while touring. (Don’t forget that if you’re touring overseas, you’ll need to buy a charger that fits into whatever type of outlets the country you’re visiting uses.)

Sitting outside the visitor center in Wawa, Ontario to charge all of our various devices.

Chances are you’ll want to stop at any place that claims to have “apple fritters as big as your face.” Take the opportunity to charge your devices while you’re there.
You can find wall outlets if you’re going to a coffee shop or restaurant, but sometimes it can be a bit awkward to leave your phone across the room by the outlet. Public libraries or visitor centers are also a good bet for outlets, but again you’re going to have to sit there and wait for it to charge. Even outside at gas stations or places where there is a vending machine there is often an open outlet available, but you may want to be a bit stealthy about it, because owners aren’t always okay with you using their electricity for free. On our tour, we stayed with WarmShowers hosts or in hotels on several occasions, and we never left without making sure that our devices were up to 100 percent.
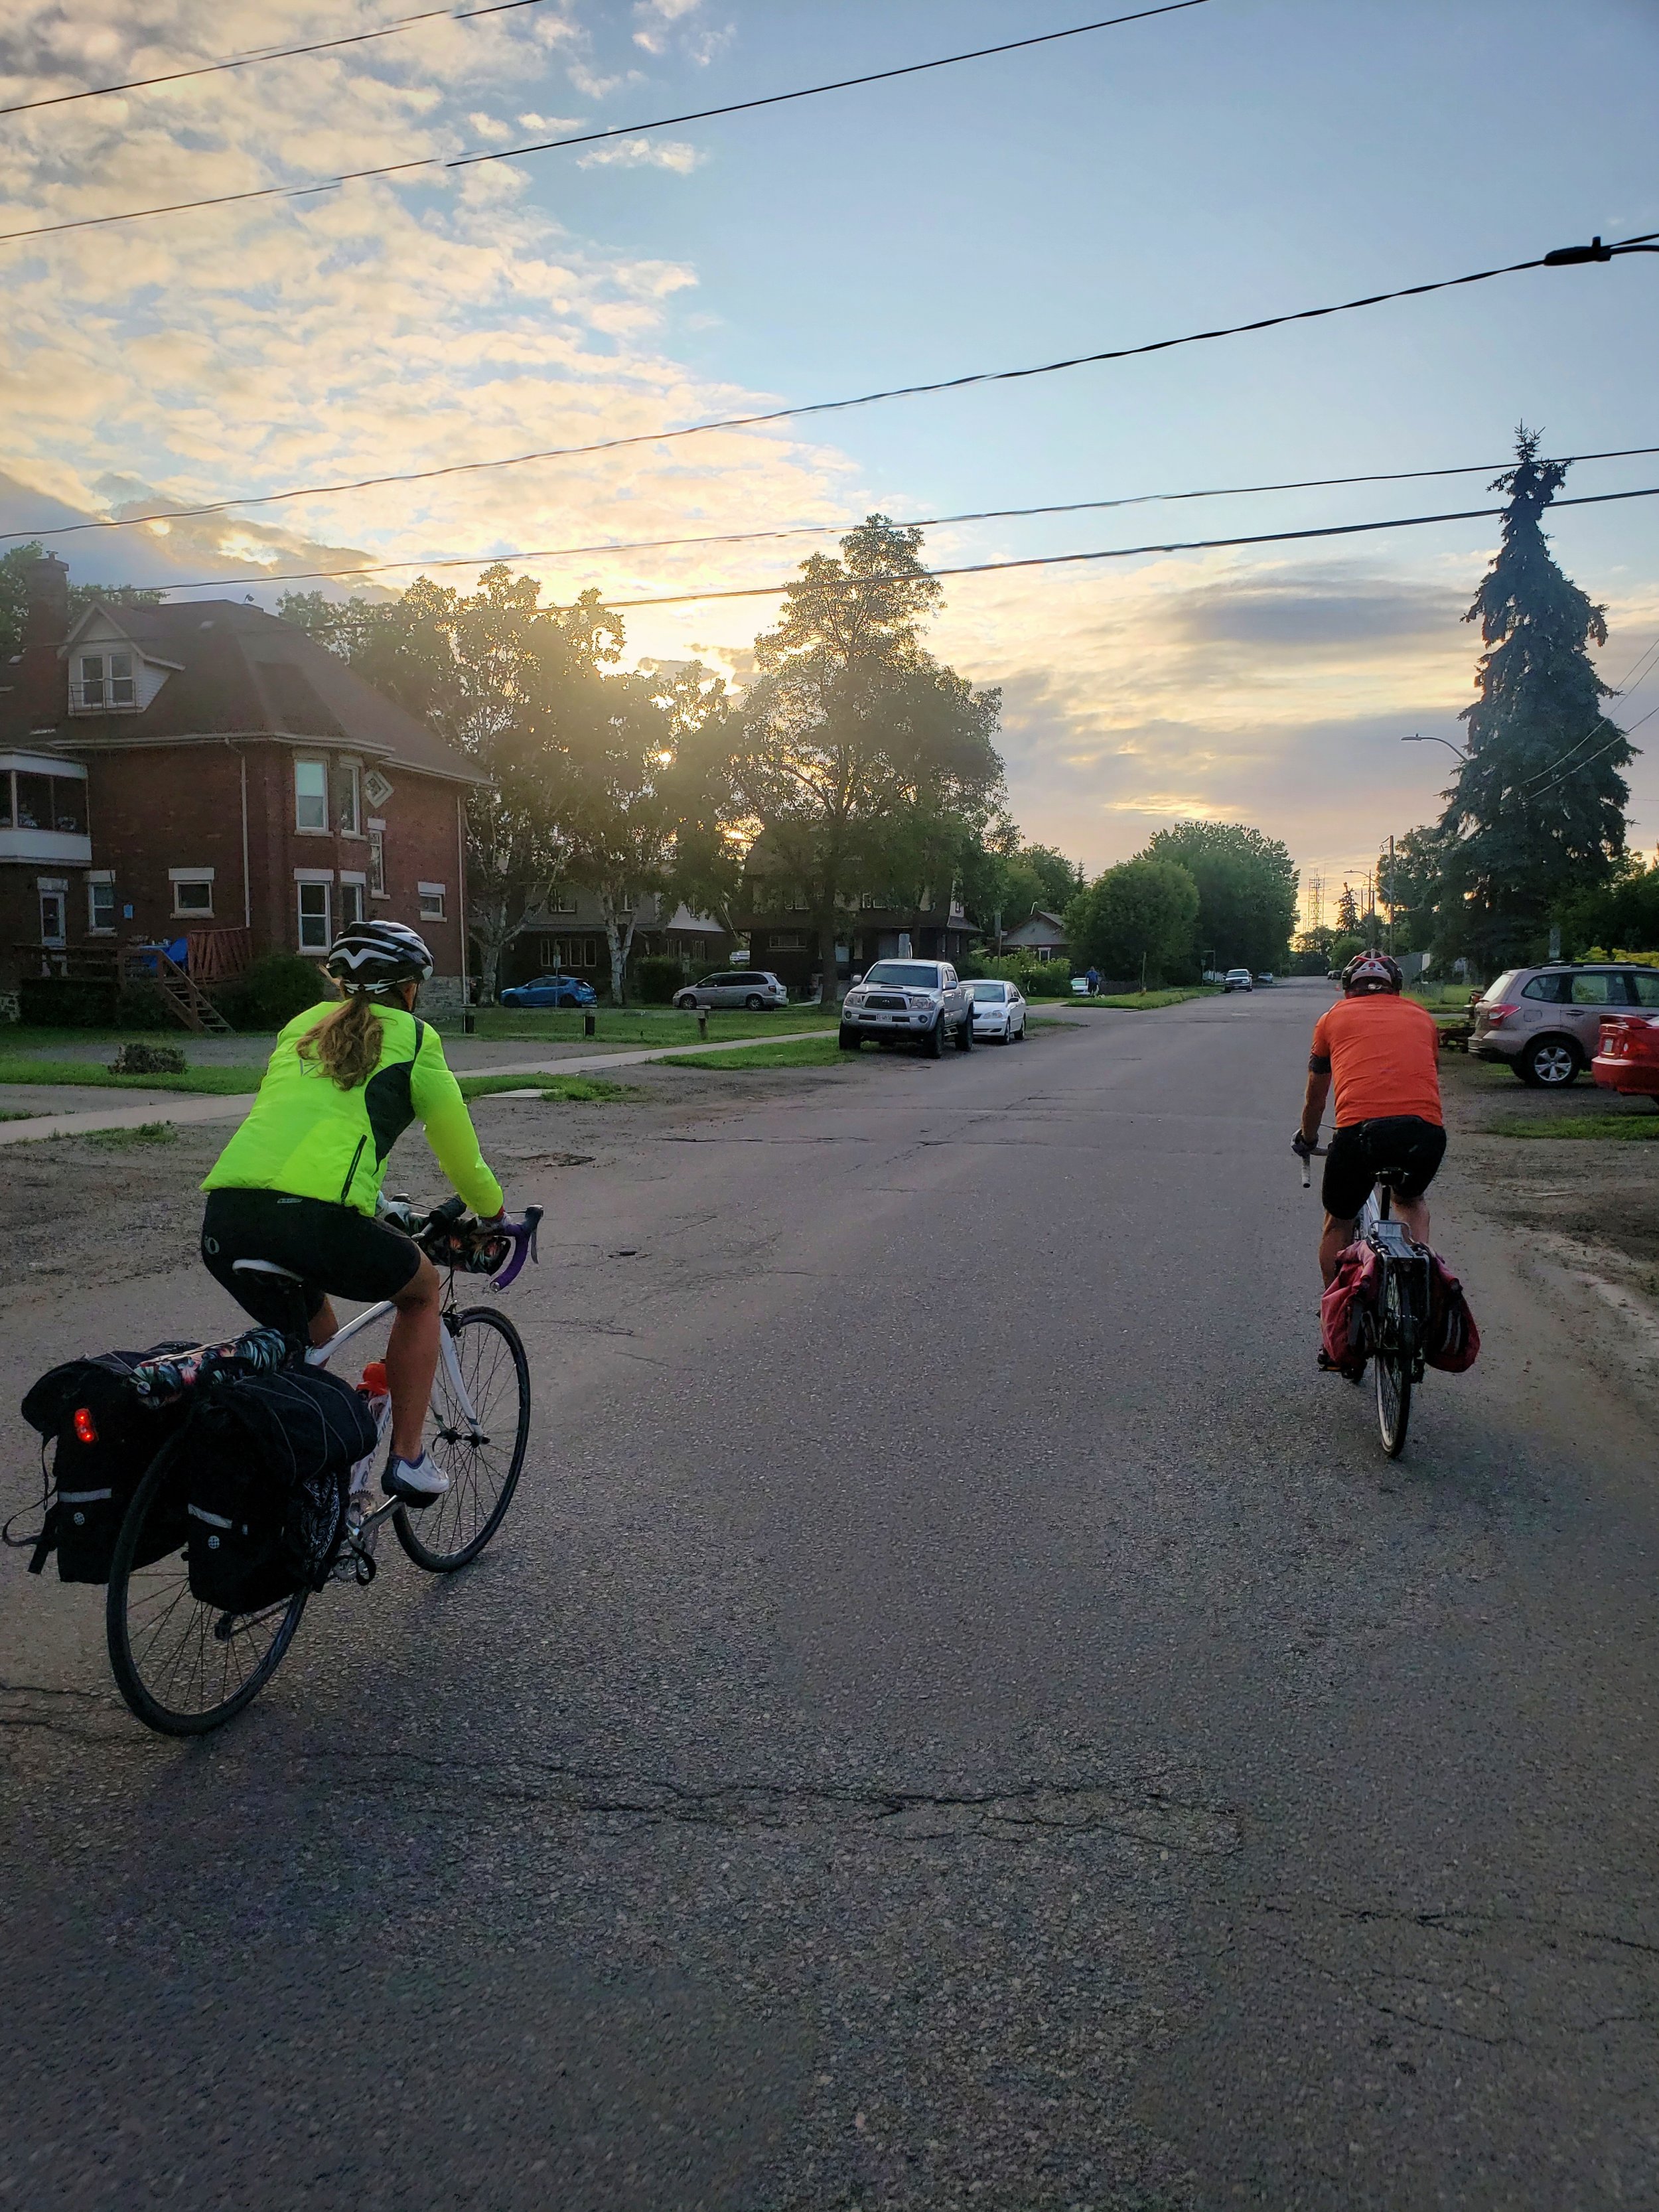
Riding with our WarmShowers host, Tim, in the early morning on our way out of Thunder Bay.

You’ll meet a lot of great, friendly people who are willing to help you out while bike touring.

Warmshowers are great opportunity to meet new people, wash off the dust of the road, and charge your phone.
Other Tips and Tricks
Conserving Energy
You can keep your devices charged longer while touring by conserving the energy that you have. Check your navigation and then close the app rather than leaving it running, because it can be a real power draw. Keep your phone’s brightness low. Avoid habitually checking social media. If you anticipate being in remote areas without much access electricity such as when we entered the very rural part of Canada on our tour, and you don’t have a way to generate electricity, try to get everything charged before entering that area and then only use your devices and power banks if absolutely necessary.

Visiting beautiful and remote places along the shore of Lake Superior was one of the reasons we took on the Lake Superior Circle Tour.

We used our dynamo hub and conserved power so that we could continue to take photos in these areas.
Switch to Rechargeable Lights and Cameras
We recently switched from using bike lights that require disposable batteries to USB-chargeable bike lights for the front and rear of our bikes. No more toting around spare batteries while touring, and you won’t have to throw batteries into the landfill every few days. The price of these rechargeable lights has come down a lot, and you’ll save money by not having to buy batteries all the time.
Our digital camera also runs on rechargeable batteries. Since our camper van tiny house operates on a 12v-solar system, we already owned a USB camera battery charger. This USB charger also worked perfectly for charging from our power banks while we were bike touring.

A flashing red light is essential for biking on highways. Having a usb-rechargeable light is more convenient than carrying extra batteries, if you have a dynamo hub.

With a USB camera battery charger for our DSLR camera, we were able to keep our big camera charged from our dynamo hub.
Posts Also Tagged:
BIke Commuting, Bike Lights, BIKEPACKING, Bike Safety, BIKE TOURING, Bike Tour Planning, BIKING, BlueTooth Speakers, Camping Gear, Camp Stoves, Coffee, CYCLING GEAR, Dynamo Hub, FRAME PACKS, FRUGAL TRAVEL, LAKE SUPERIOR, LAKE SUPERIOR CIRCLE TOUR, Libraries, OUtdoor Tech, PANNIERS, Photography, Power Banks, Solar Power, Trans-Canada Highway, TRAVEL, Travel Planning, Warmshowers, WIFI
How do you charge your devices while bike touring? Share your tips and tricks in the comments!