How to Sew a Custom Frame Pack for Bikepacking and Bike Touring

Materials
Cardboard for stencils
Tools
With more people getting into bikepacking and backcountry bike tours, frame packs—bike bags that fit within the frame of the bike, are growing in popularity. While traditional panniers are still a good choice for road tours, frame packs are a great alternative for road touring if you have carbon fiber road bike without bosses for mounting a rear bike rack. Frame packs can be super expensive though! Since we can’t mount a rack to Ian’s bike, he decided to make his own frame pack to take on our Lake Superior Bike Tour.

Panniers are still a good option if you are able to mount a rack to your bike. But if not, our homemade frame pack tutorial can help you design the perfect bag for your frame.
Making your own bags means you can design a bag that fits perfectly within the frame of your bike so that no frame is wasted.
If you don’t feel like sewing your own bag, don’t have a sewing machine, or need some additional space on your bike, we love these super convenient insulated bags from STASHERS. You can hang them from your handlebars, rack, or top tube. Because of their modular design, you can even stack two or three of them to create a frame pack. Plus they are sized perfectly for carrying a cold beer to enjoy after your ride, but you can carry any fresh food or gear you want in them. (Disclosure: STASHERS sent us some insulated packs to use on our Lake Superior Circle Tour, but the opinions here are completely our own.)

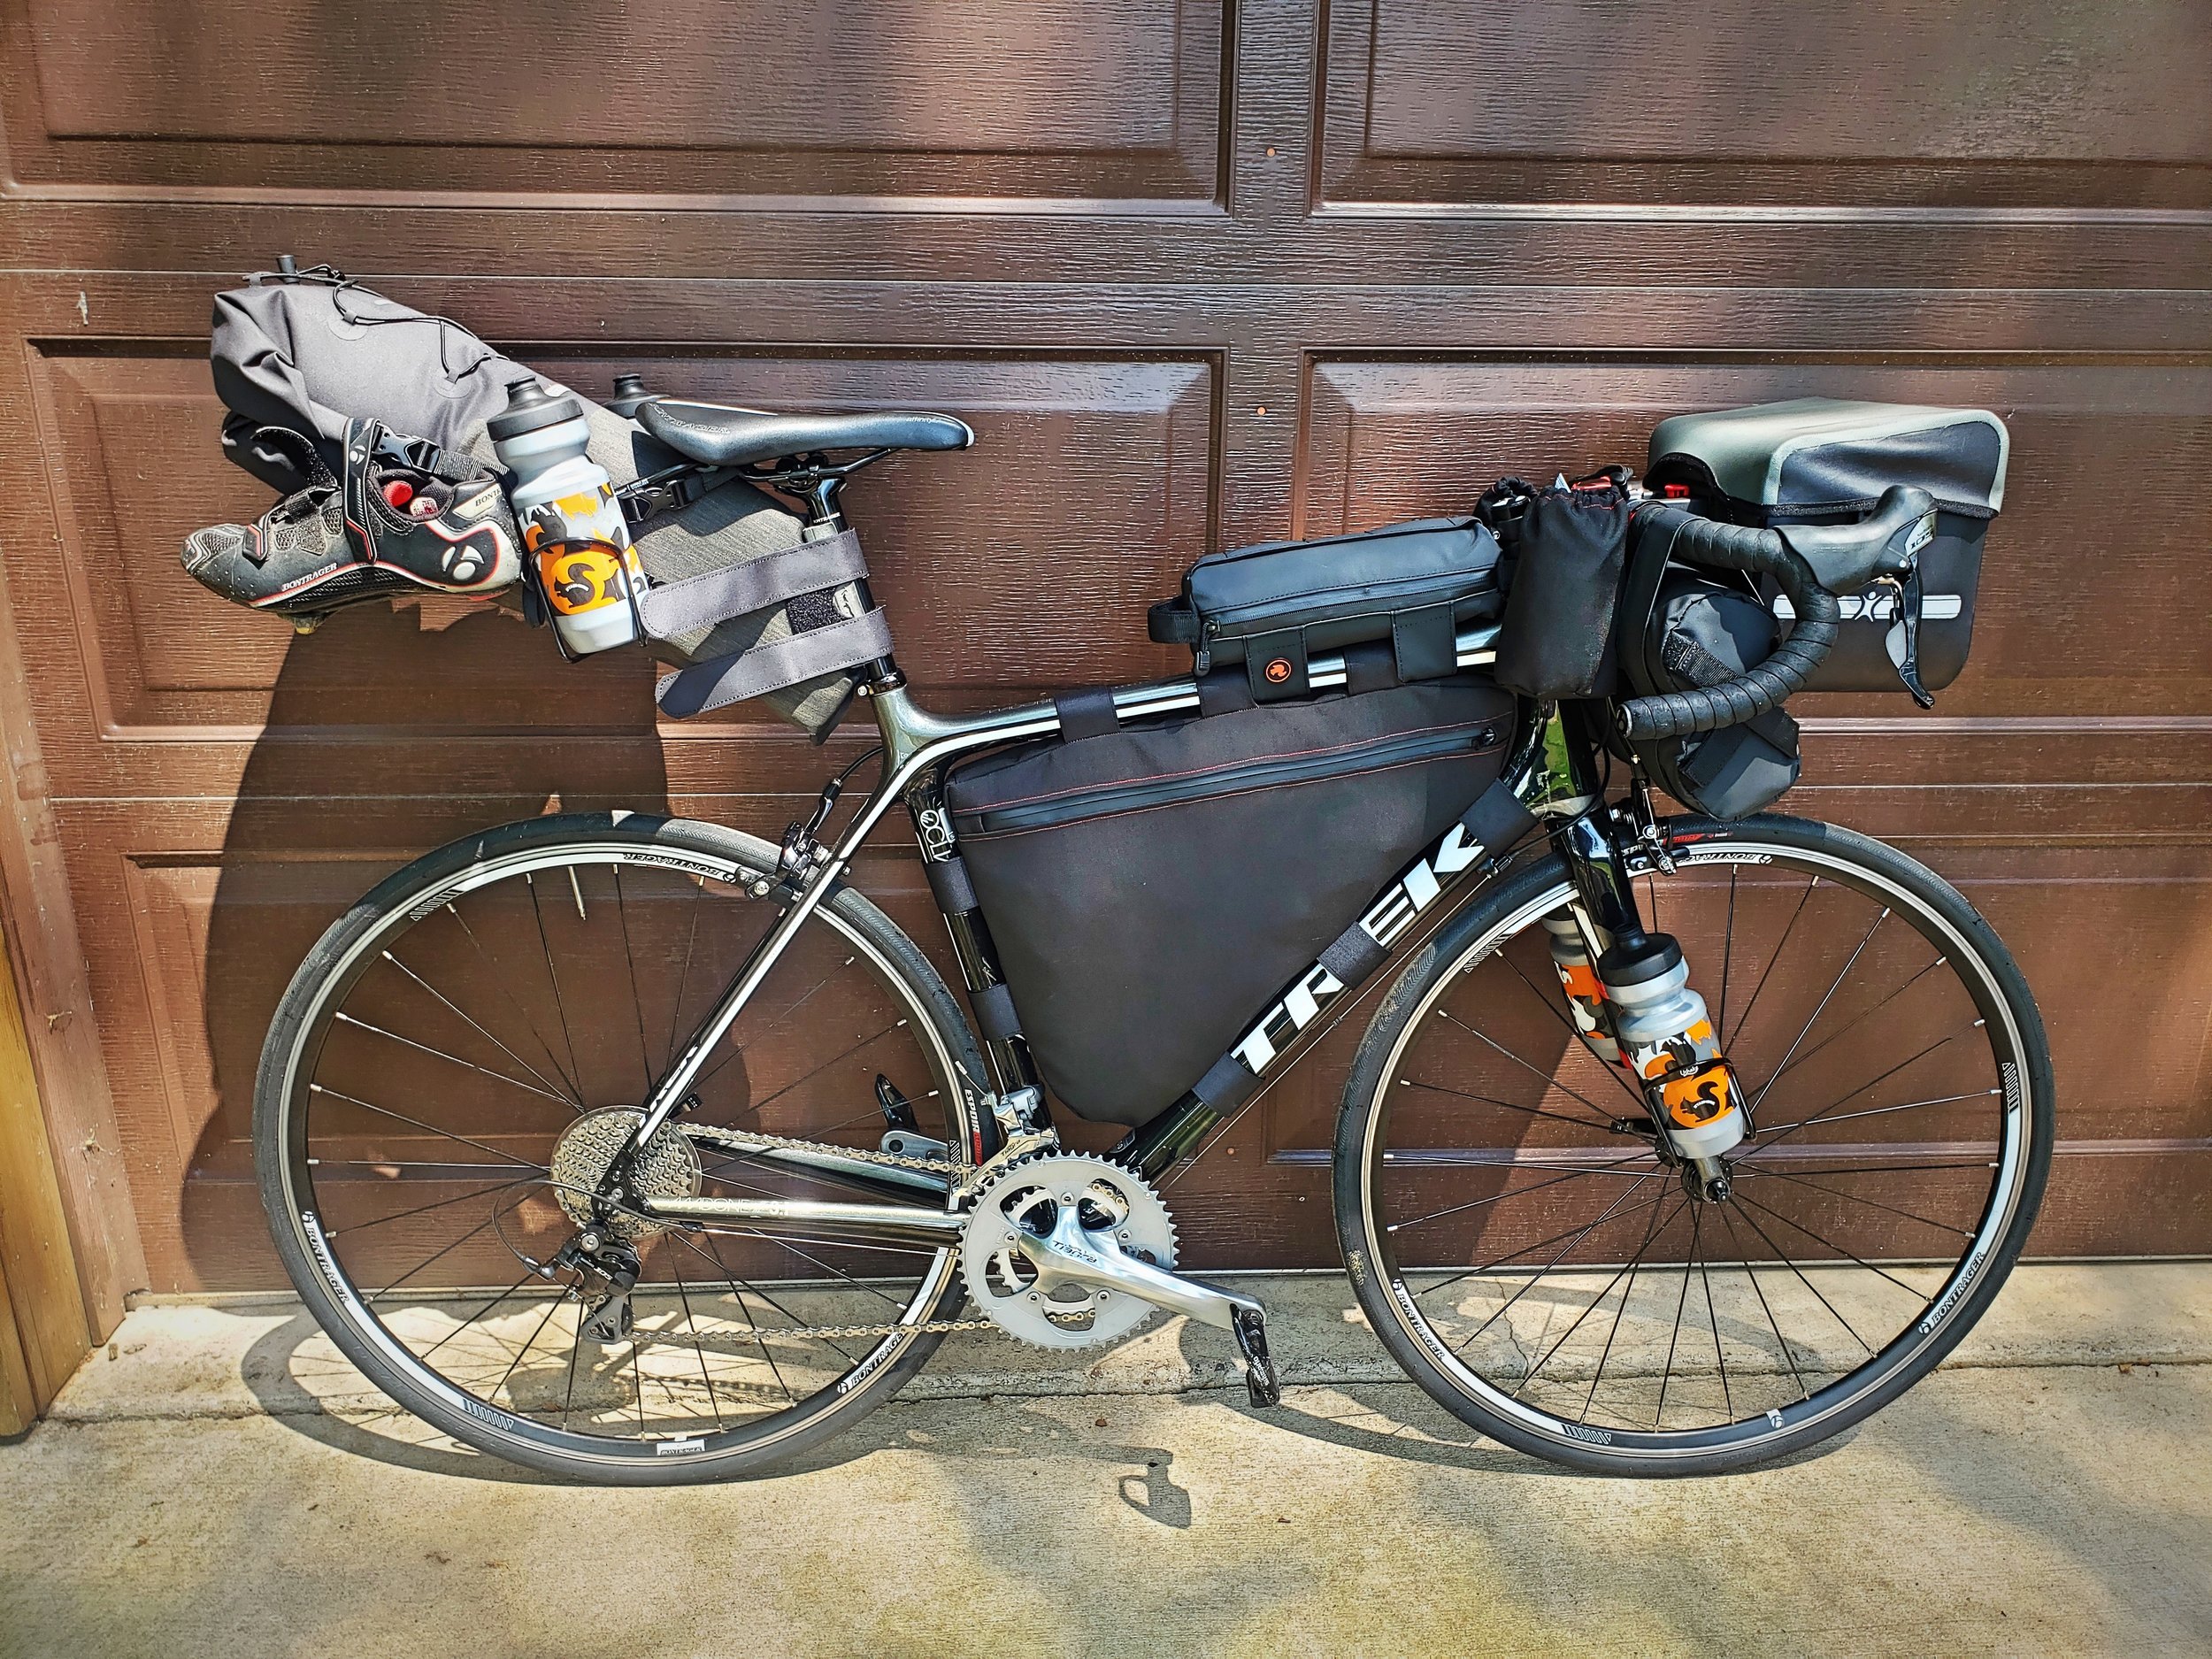
In addition to his DIY frame pack, Ian has two STASHERS insulated bags on his handlebars and one smaller one attached to his top tube.
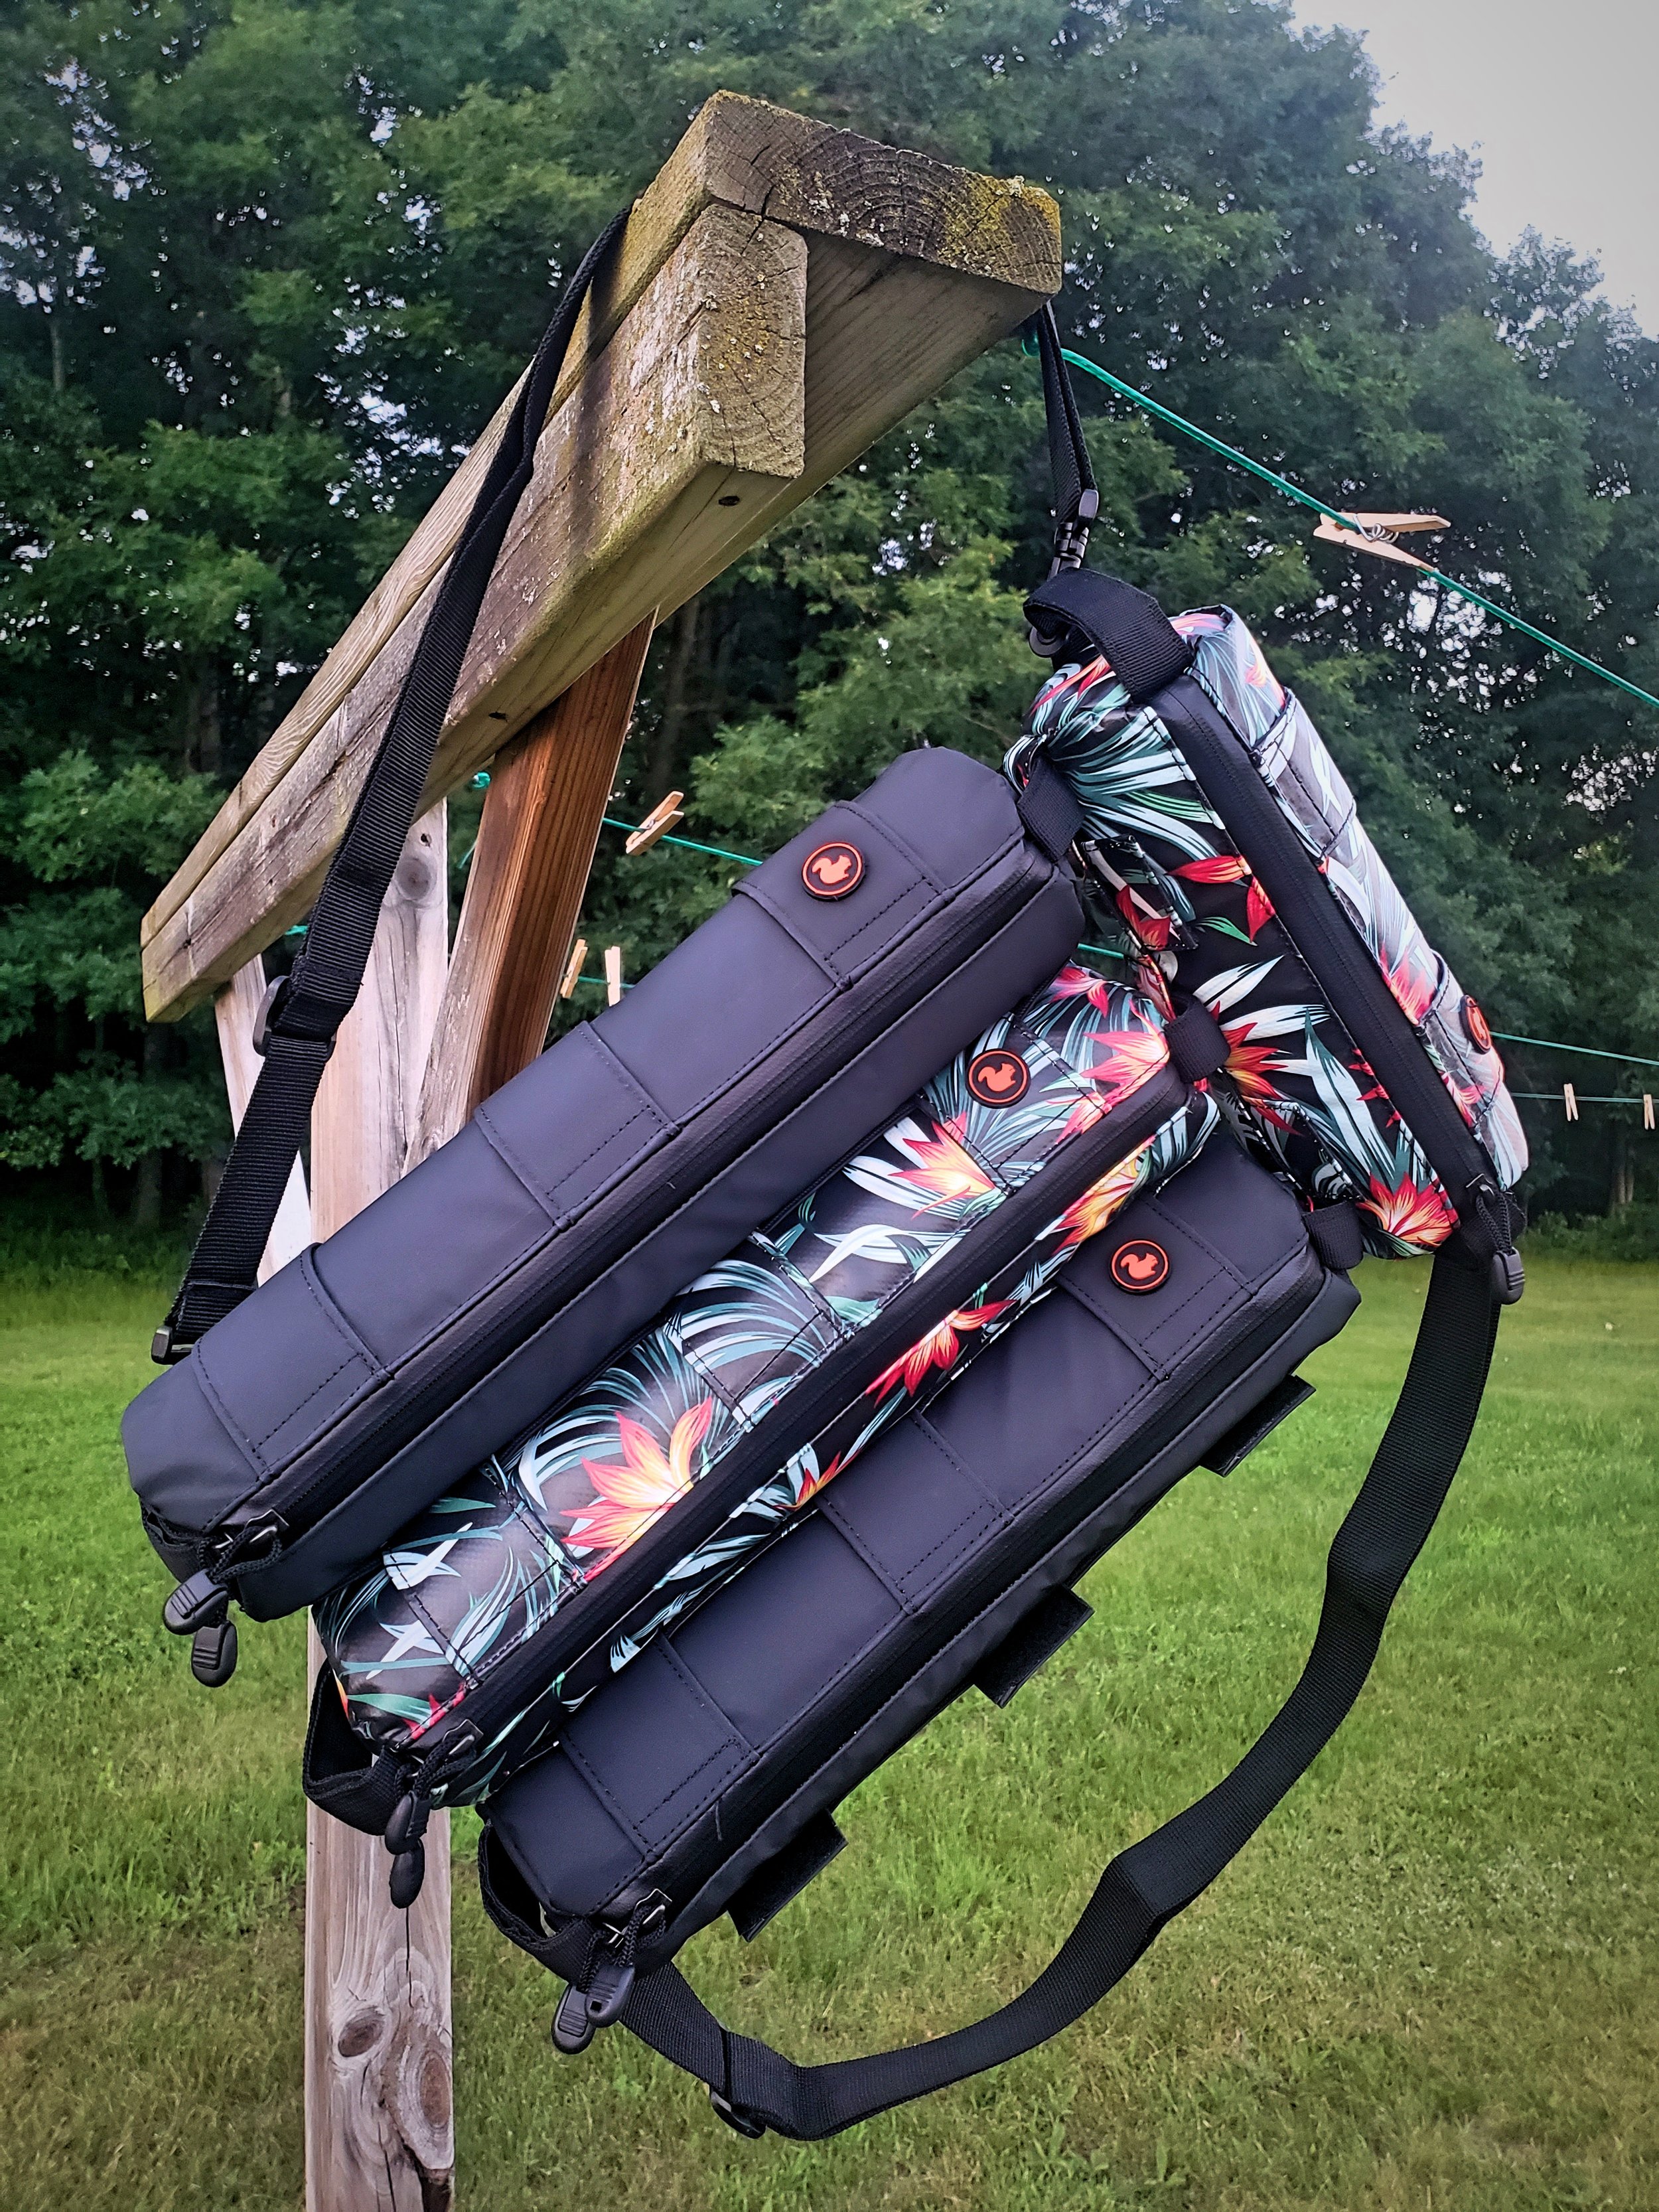
We really like the modular design of the STASHERS bike bags, we can connect them into a backpack to take our valuables inside places with us.
Designing the Frame Pack
One of the great parts of sewing your own frame pack is that you can make it the exact shape of your bike frame. No space will be wasted this way, and it will make packing your gear easier. If you only need a little extra space you could also make a half frame pack, or if you need a lot of space like us, make the pack the size of your entire frame.

Ian saved us a lot of money for our bike tour by thriftily sewing his own frame pack.

Ian uses his frame pack in combination with 7 other bag…yes, 7 other bags. His bike looks insane compared to mine.
To begin designing your frame pack, create a stencil the size of the triangular opening in your bike frame. The stencil should fit on the outside of the opening, rather than within it, because this will be the stencil for the side panels of your pack. You may not want the frame pack to go all the way down to the chain rings, because they could rub on your bag if it’s really full. With this small section of the triangle truncated, you will now have a bag that is technically a trapezoid.
Next do some measuring. Measure how wide your top tube is. Use this measurement for the width of your frame pack. Ian’s pack is about two inches wide. If your top tube tapers significantly, you might also want to taper the width of these panels. Ian tapered his bag near the saddle so that his thighs wouldn’t rub against it.

The first step to sewing your own custom frame pack is to create a stencil of the inside of your frame. The shape of the bag is actually a trapezoid, because you don’t want it to go all the way down to the chain rings.
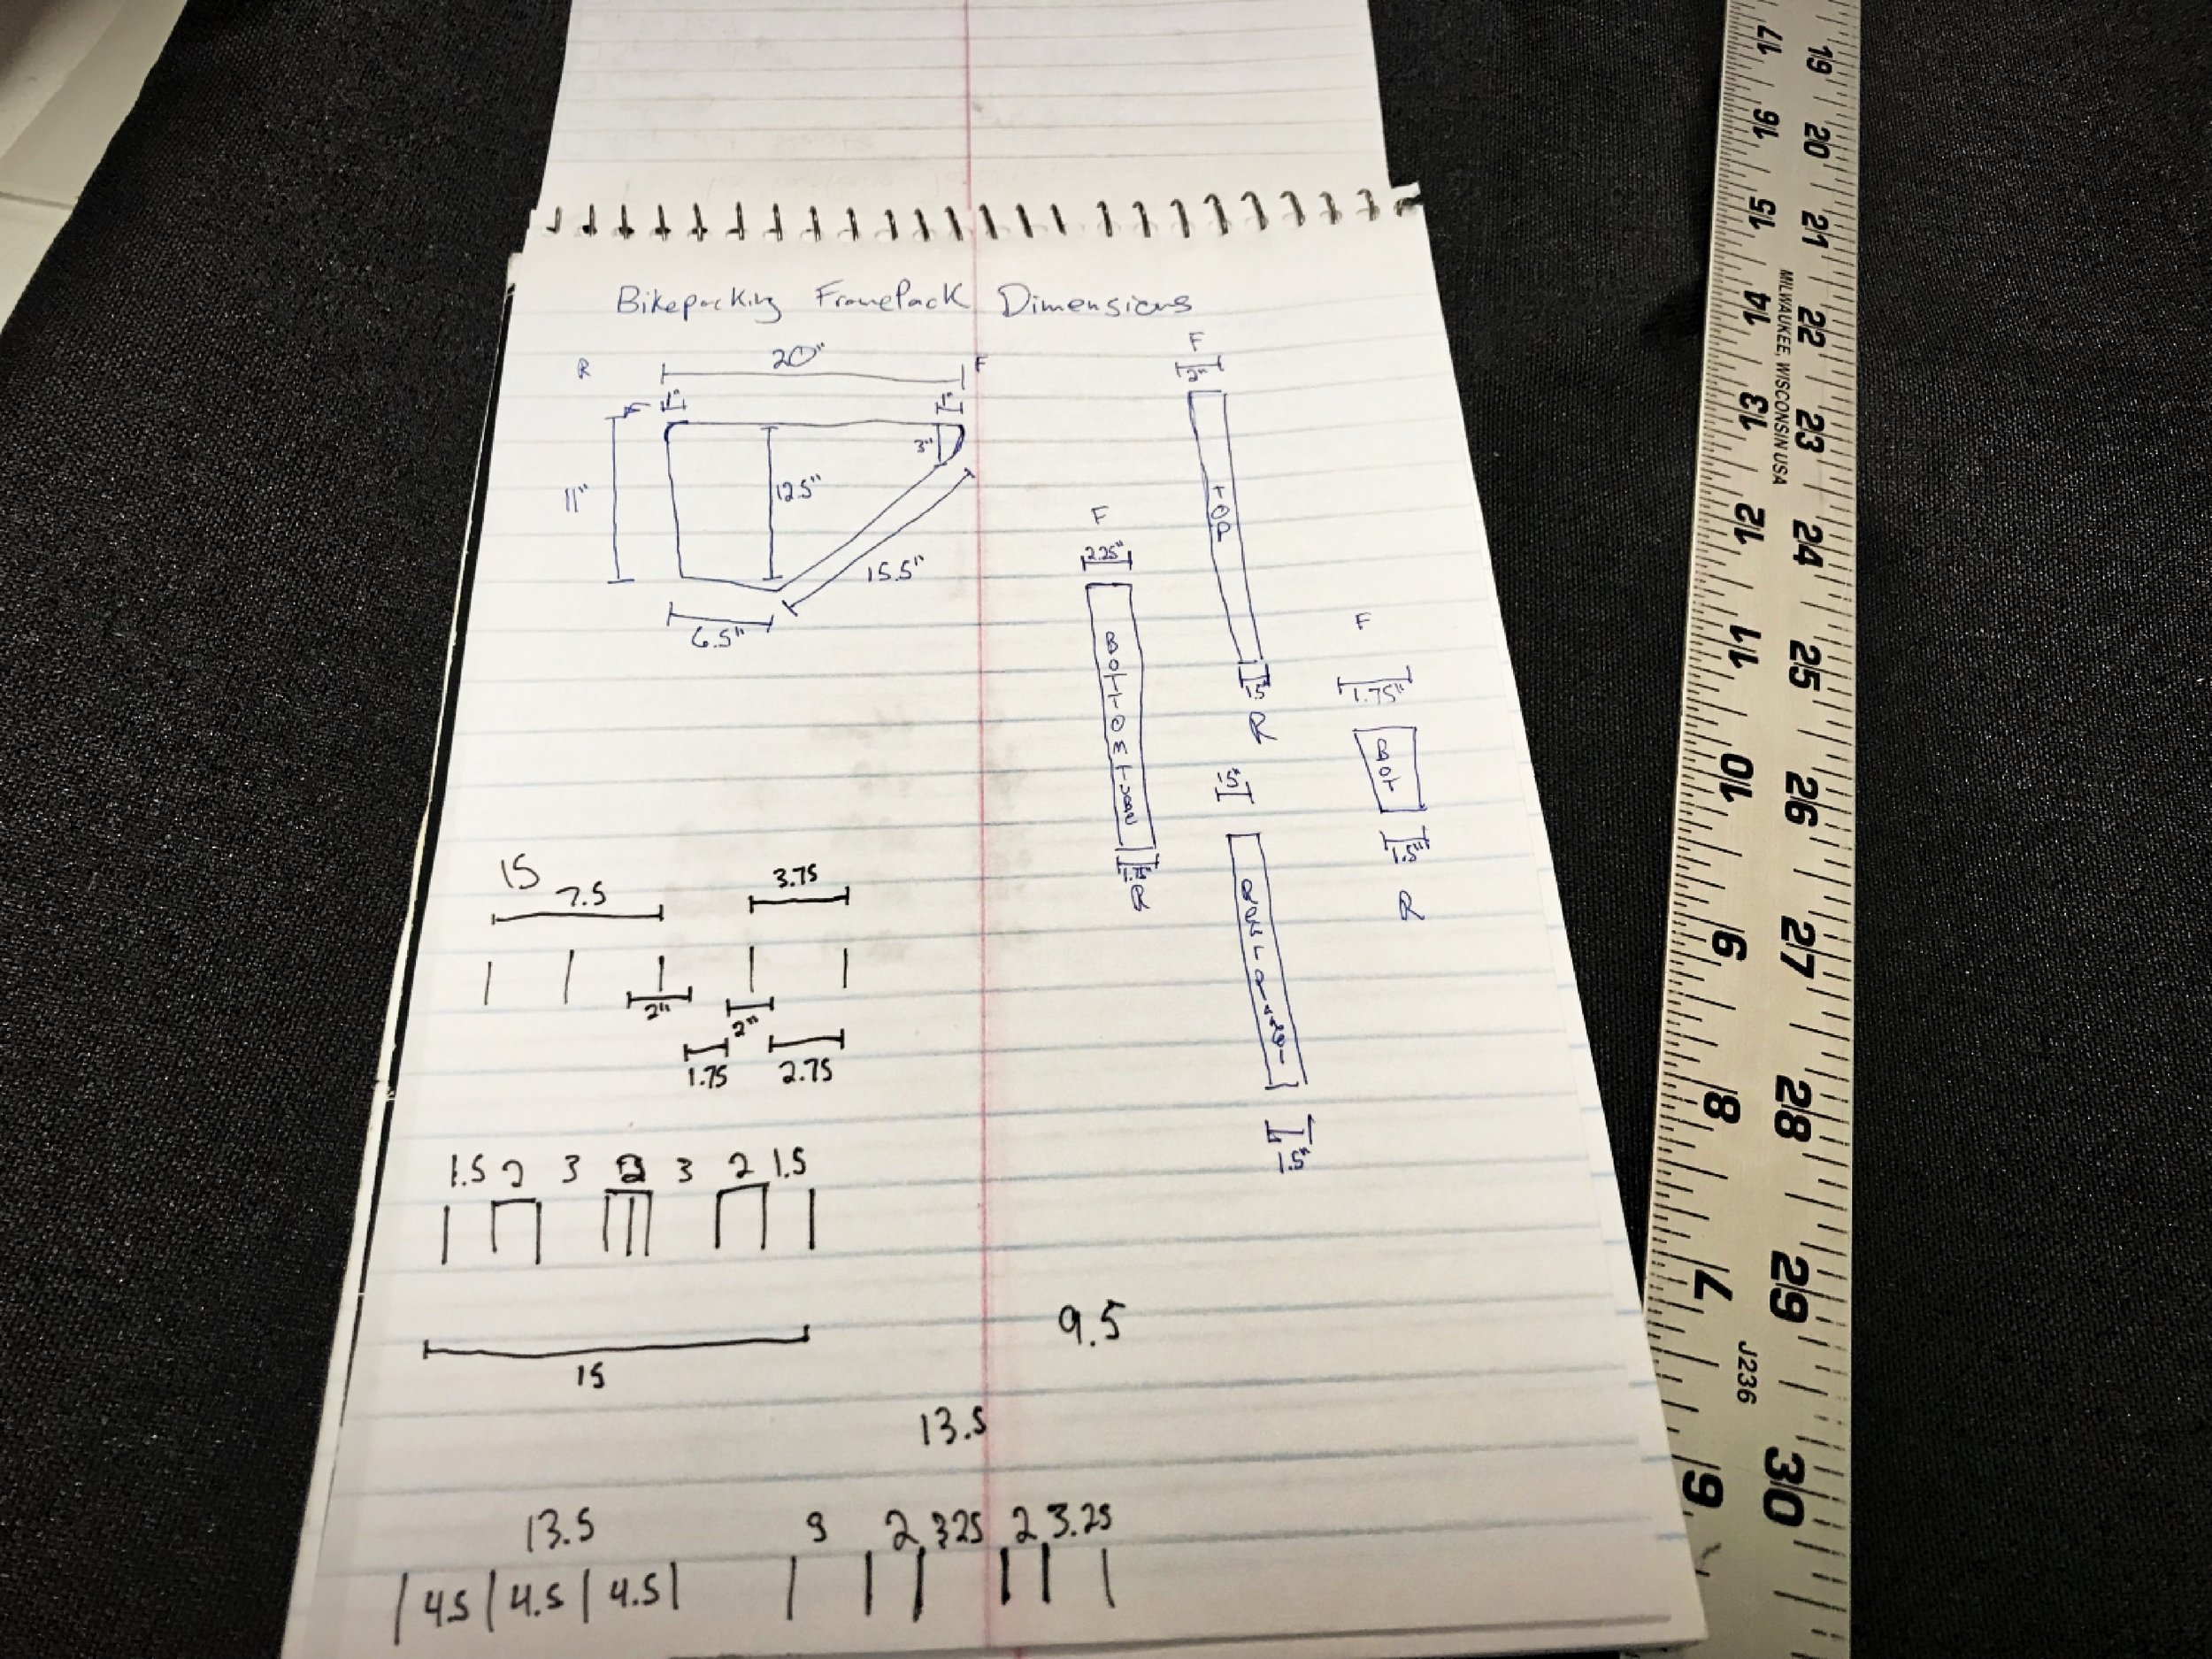
Using the measurements from his bike and from the stencil that he created, Ian made a pattern for the pieces of fabric he needed to cut.
Measure around the edge stencil to figure out how long the piece of fabric that connects the two side panels of your bag should be. Ian actually made four separate pieces, one piece for each side of the trapezoid-shaped bag, but we ultimately decided it would be easier to just use one long piece that wraps all the way around the sides of the bags.
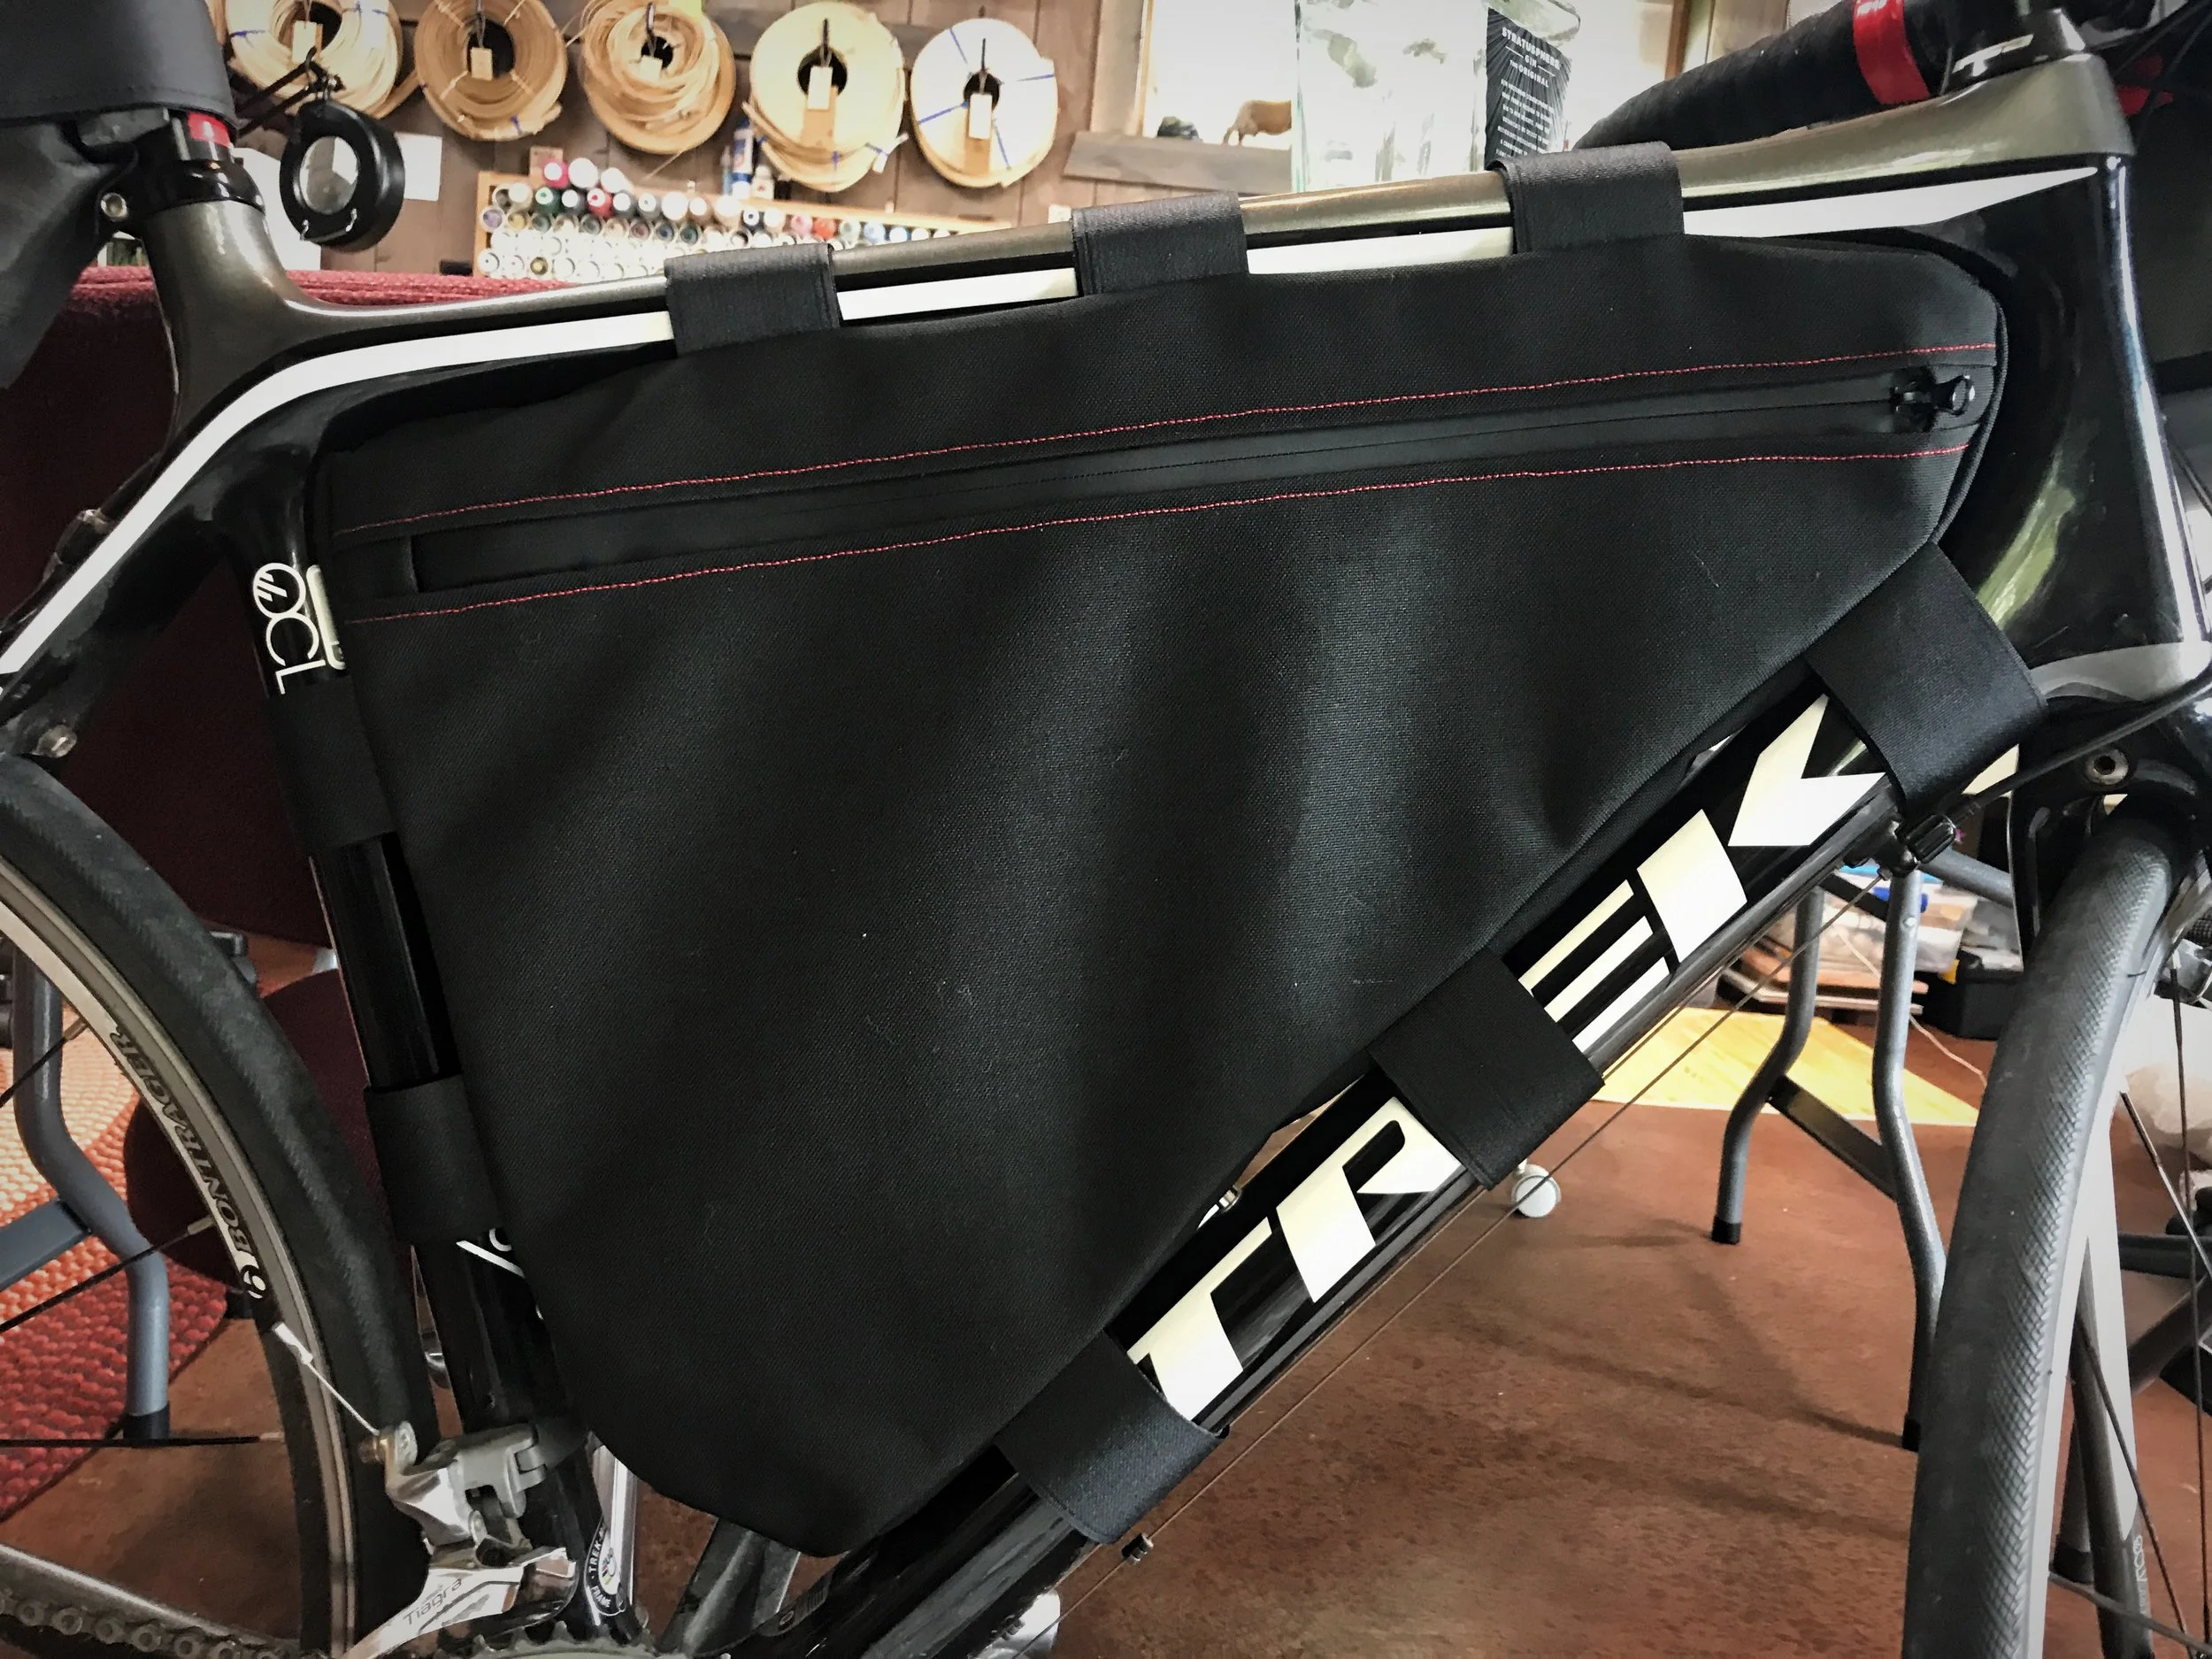
Finally, look at your bike and think about where you’d like to place the Velcro straps on your bike. Ian put three evenly spaced Velcro straps on his top tube, three on his down tube, and two on his seat tube. When thinking about strap placement consider where the zipper of your bag will be so that you can easily pull the zipper open. Also think about any other items you will have strapped to your bike’s frame. For example, if you have a top tube bag (like the STASHERS bag Ian used on his top tube), make sure you can still strap them both on your bike.
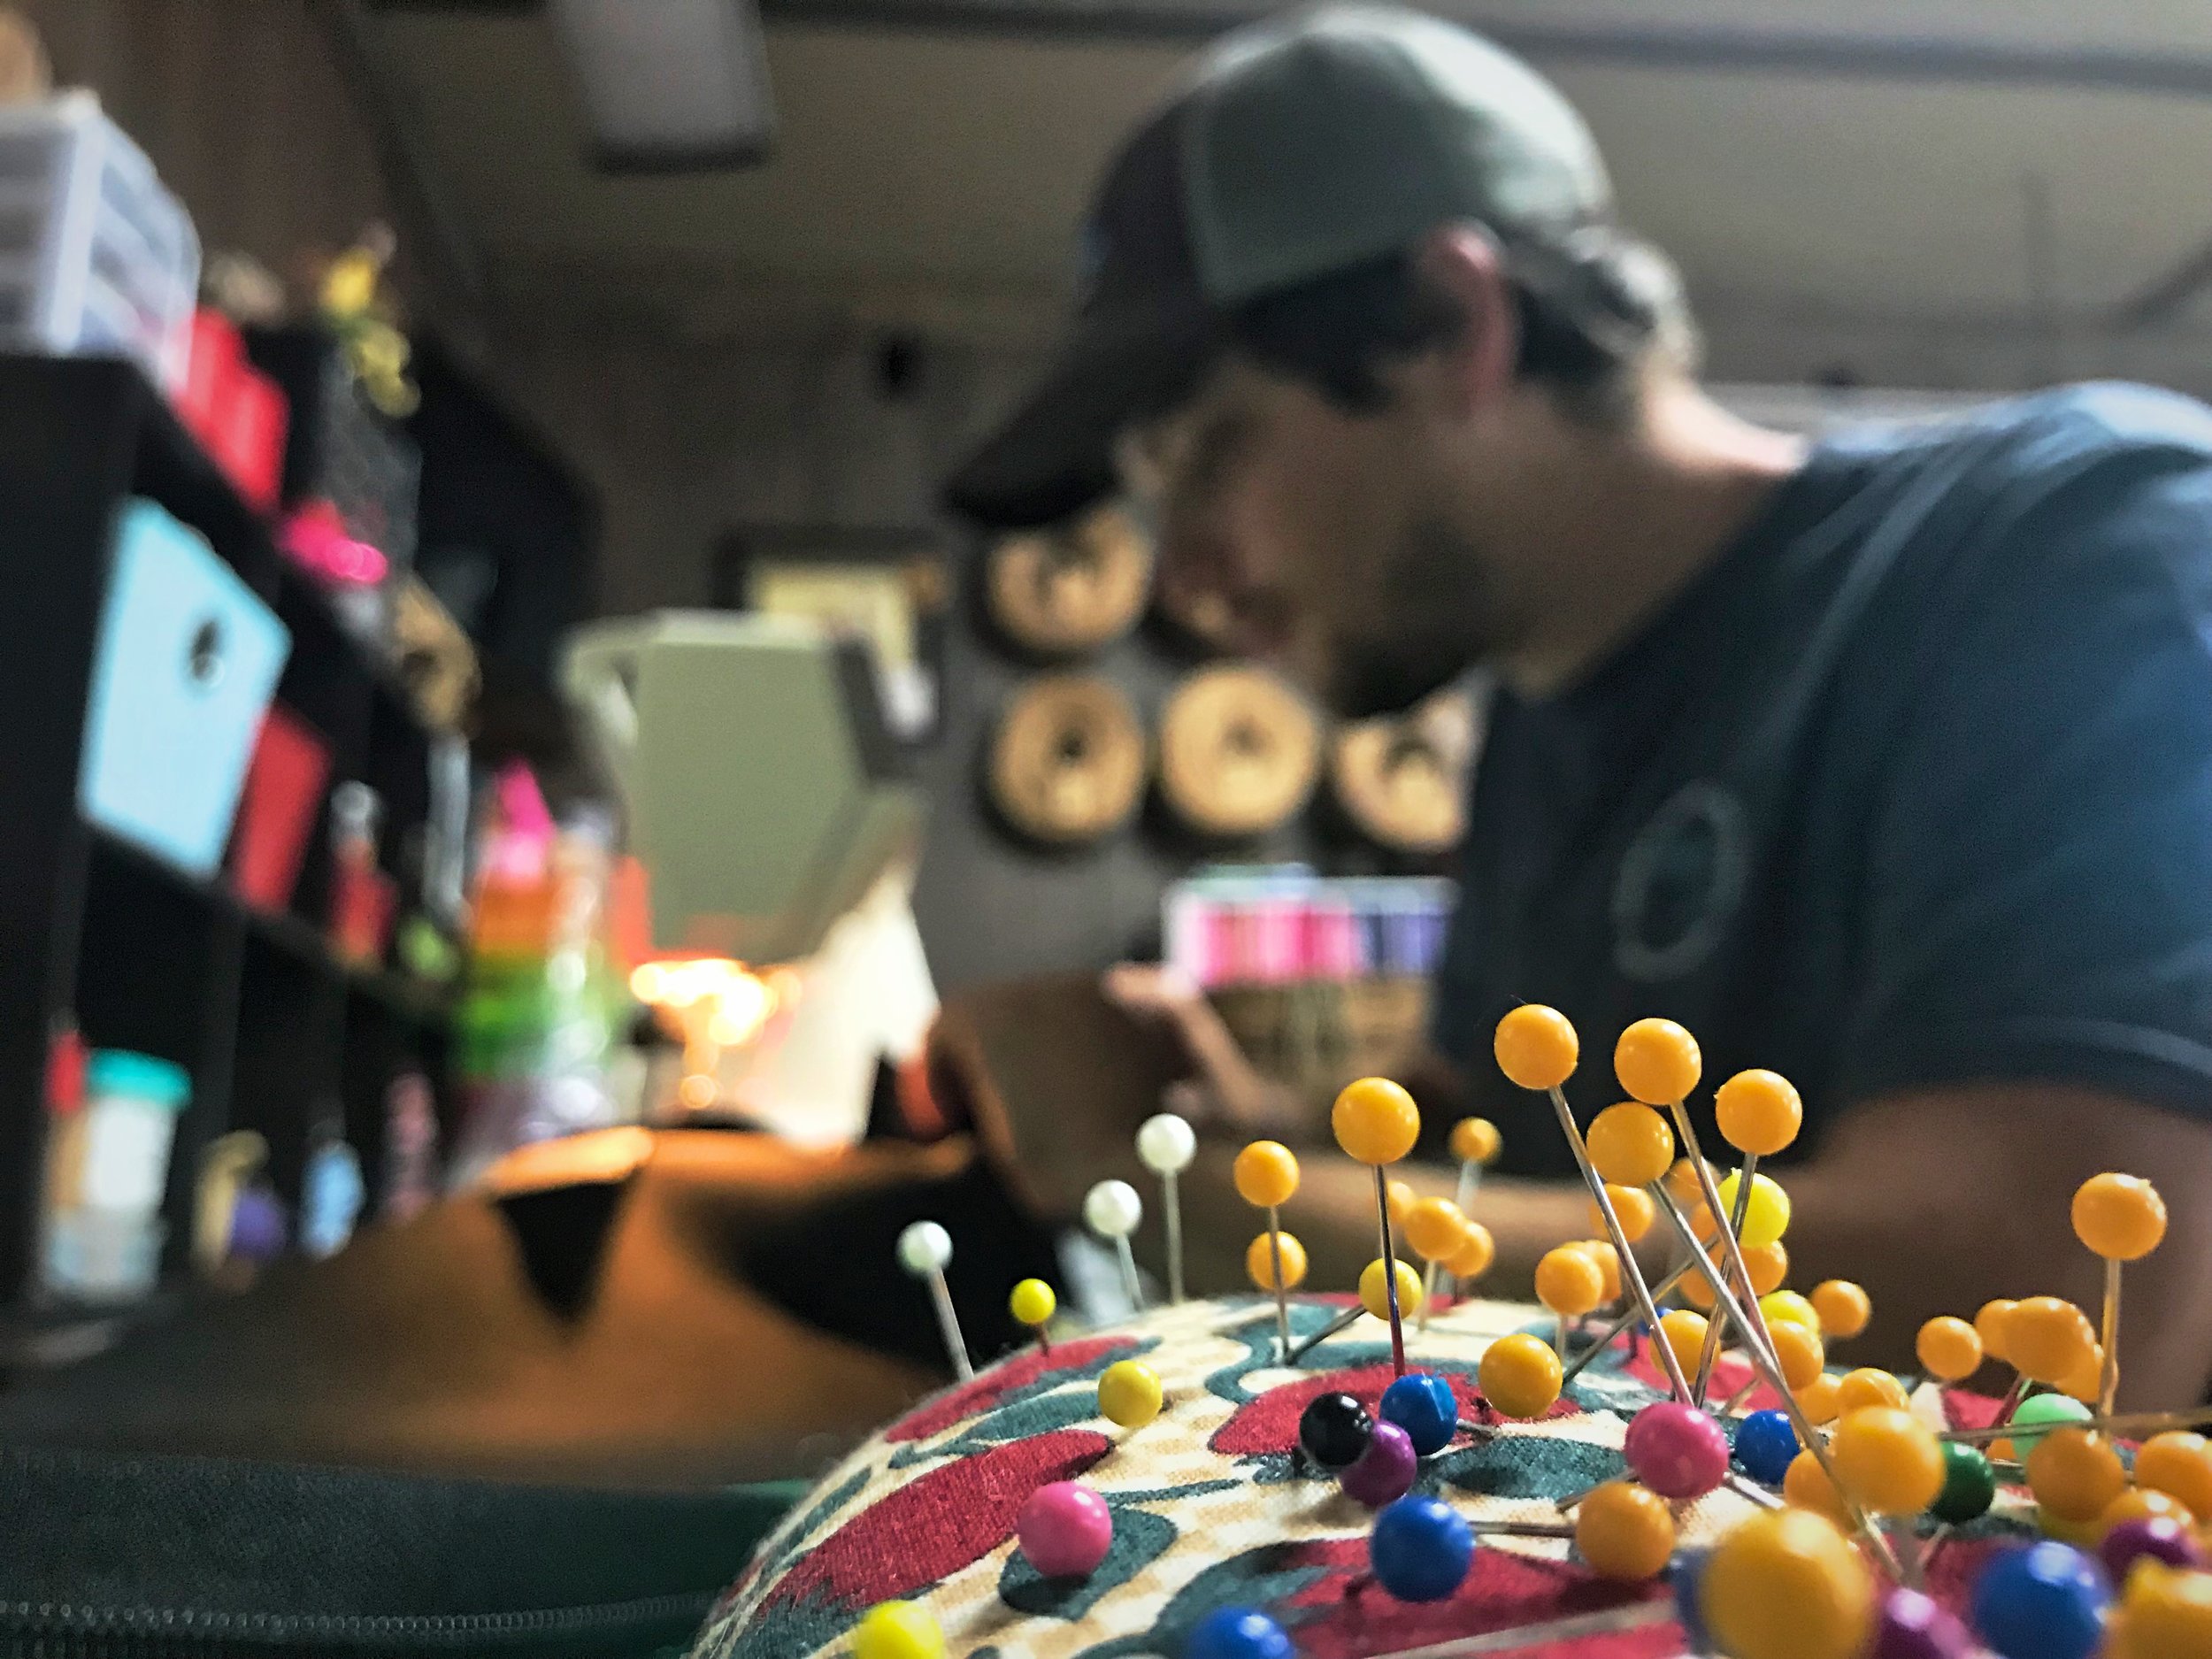
Pins are going to be your friend while sewing your own custom frame pack for your bike.

When deciding where to put the velcro on your bag, make sure you consider anything else you might want to strap onto the frame of your bike.
With these measurements, create a pattern for your frame pack. You’ll need to have two side pieces that are a mirror image of each other. Mark where the Velcro should be sewn around the edge of the bag. You will also need one long strip of fabric to go around the edge of the bag. Write down how wide and long this piece of fabric should be. These will be the measurements for the finished bag.
When you cut the waterproof fabric you will want to add a half-inch buffer to the edge of each piece to leave room for the seam allowance. You also need to factor in the some extra fabric into one of the side panels so that you can sew in the zipper. To do this draw a line across the stencil near the top where you want center of the zipper to be. Depending on your zipper, the zipper itself will probably take up a ½-inch of space but if it’s wider or narrower, you should modify these instructions to work with your zipper. Now add a ½-inch on either side of the line where the center of the zipper will be. This will give you ¾ of an inch of extra fabric to fold over on either side of the zipper when sewing it on. Of course make sure you use a waterproof zipper or that part of your bag will leak when it rains!

When you cut out the fabric you need to leave about a half inch on each side for the seam allowance.

Sew along the line that you traced, leaving the buffer along the edge so that the bag will be the right shape for your bike.
Fabric and Material Selection
To sew a frame pack you will need a waterproof fabric for the body of the bag. You’ll want to select a fabric that is sturdy enough to create a structure for the bag, yet not so thick that it is hard to work with and unnecessarily heavy. You can pick a fabric that matches your bike or even find a fun pattern. You’ll also need waterproof zipper for the opening and a heavy duty thread for sewing it. The thread is another way to add a fun pop of color. Ian’s bag is black to match his bike frame, but he used red thread for a small bit of color. To attach the pack to the frame, you will also need a durable velcro. We picked a black, 2-inch Velcro to match the black fabric.
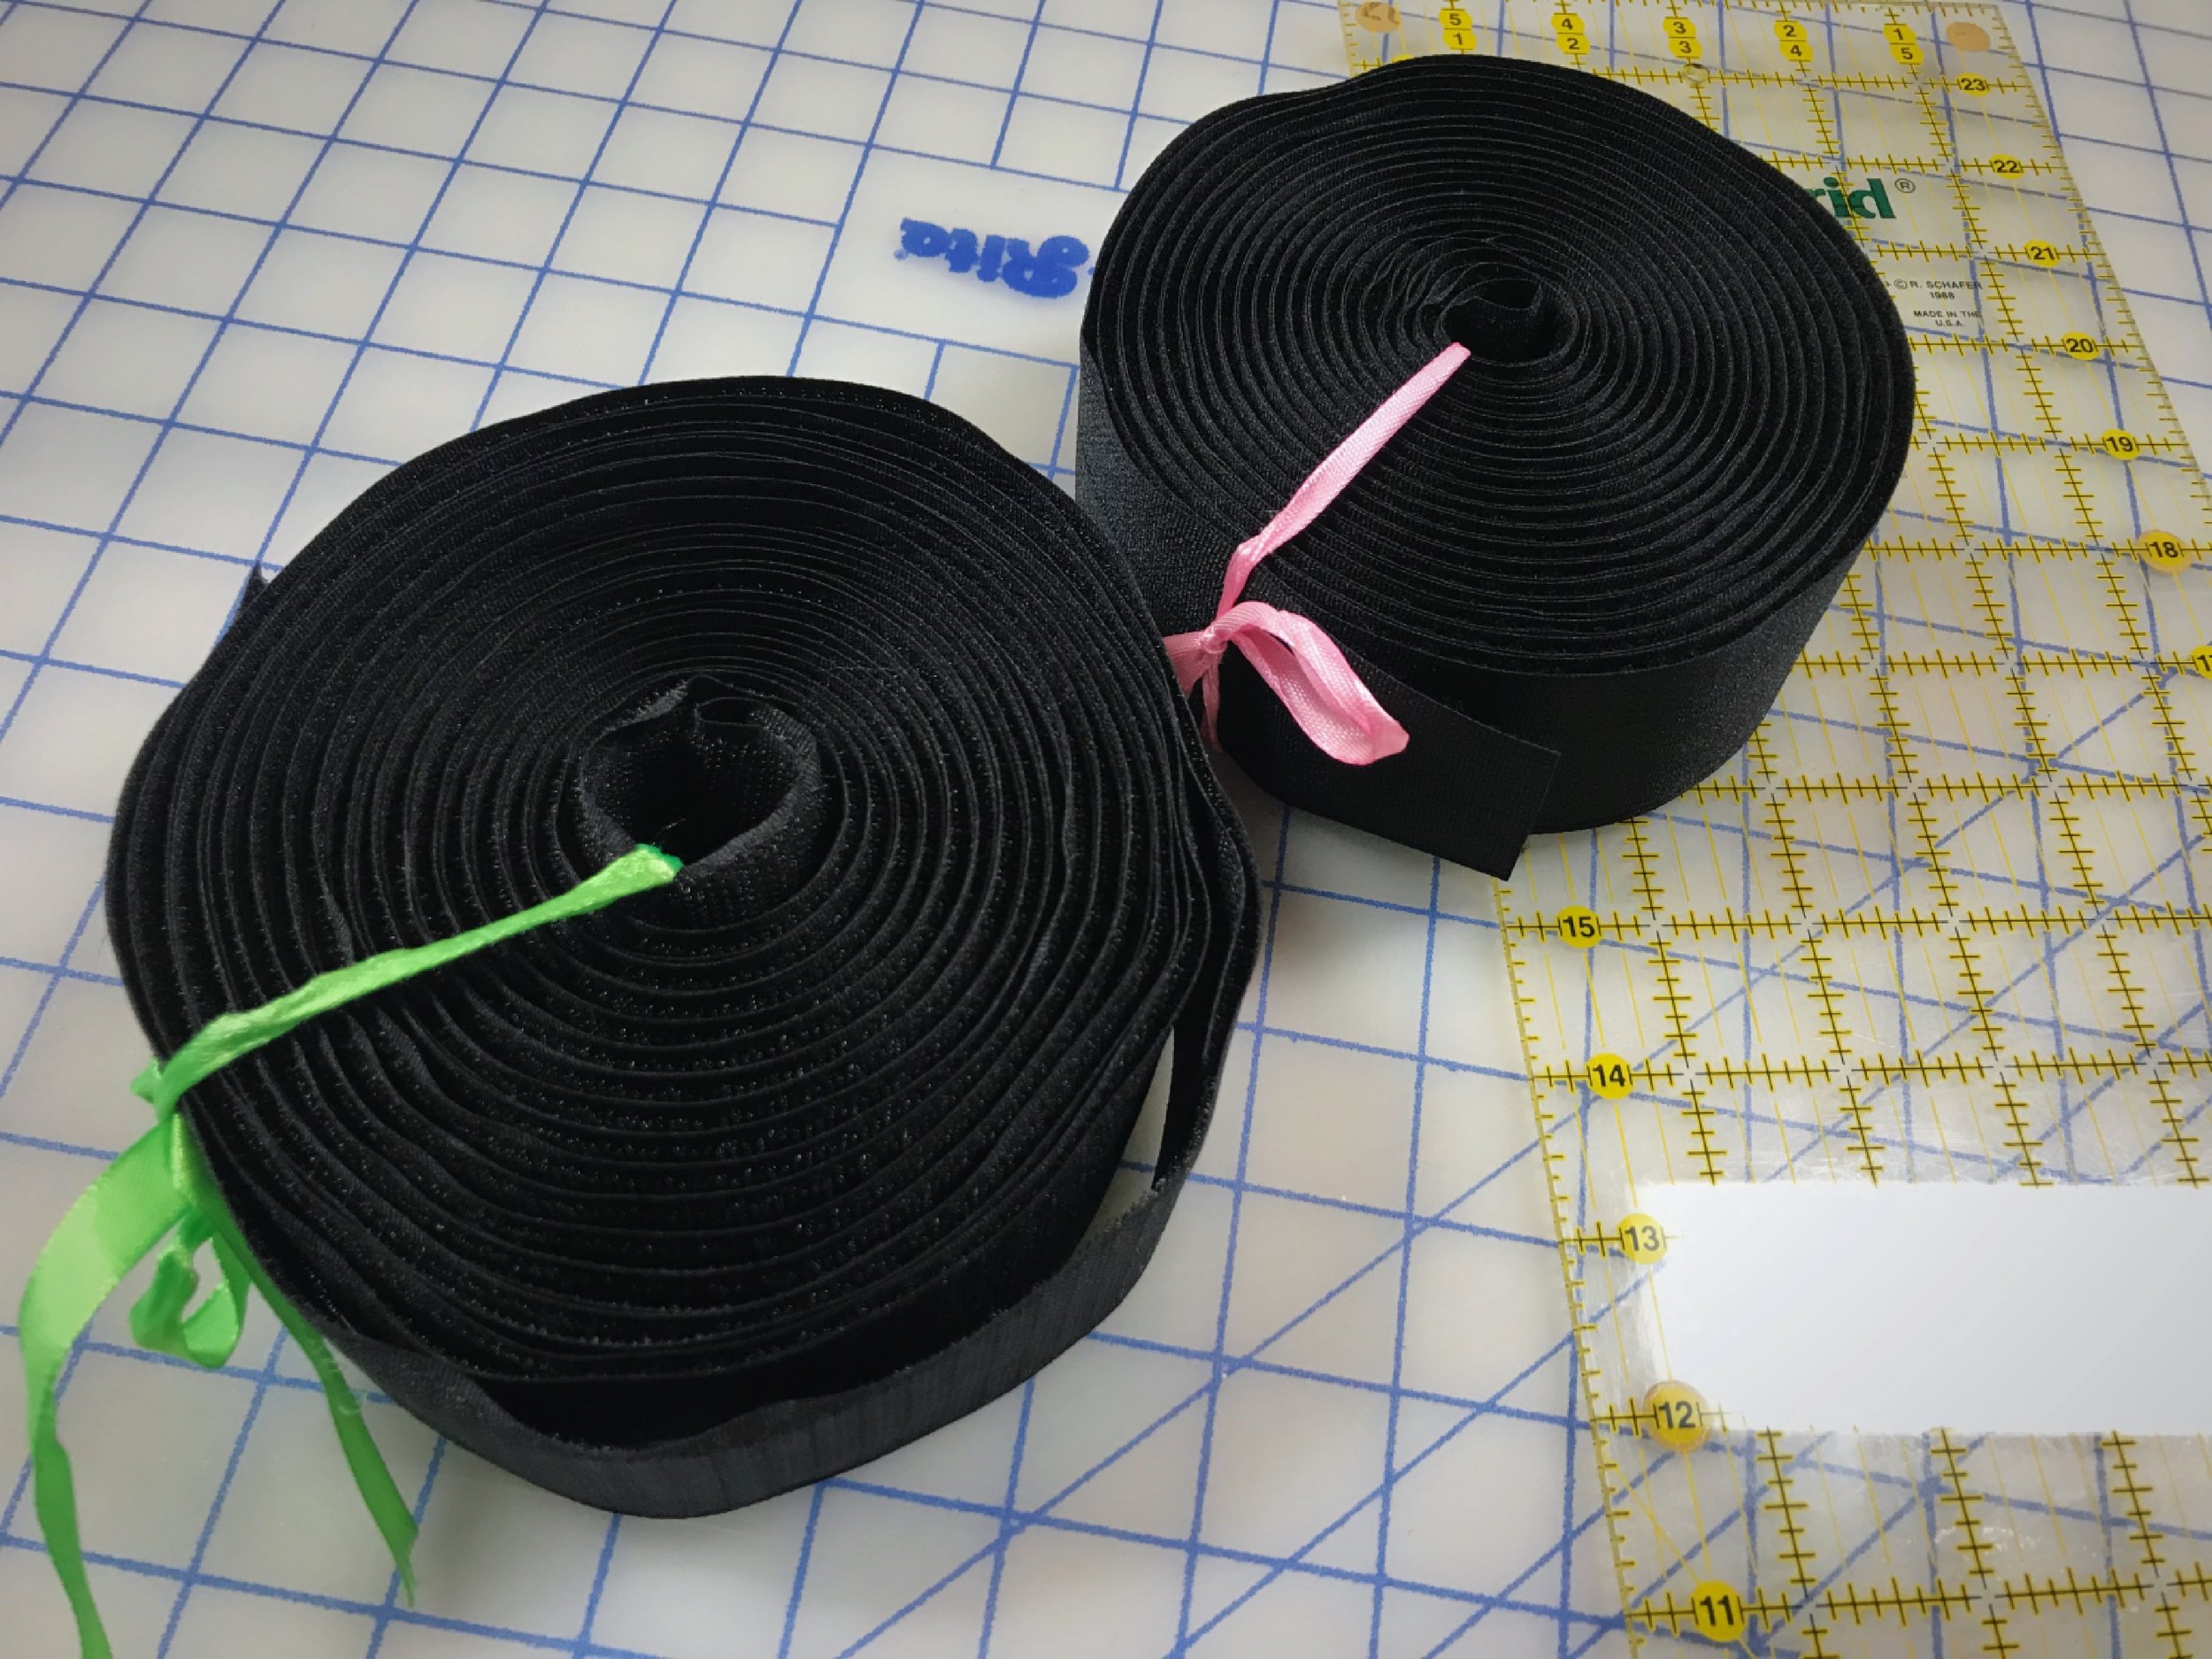
We chose a sturdy two-inch wide velcro for attaching the frame pack to Ian’s bike.

You’ll want to get a waterproof zipper to go with the waterproof fabric of your frame pack.
Besides these materials, you might also want a lighter weight fabric to sew pockets or dividers on the inside of the pack. You could also sew elastic bands on the inside of the pack to hold certain pieces of gear in place. If you want the bag to be really waterproof you could also seam seal the seams once the bag is sewn.
Don’t forget that water proof fabric is directional, so you’ll want to sew the coating on the inside of the bag.

You might want to sew pockets on the inside of your bag with another fabric. We thought about it, but ultimately decided to leave the space open.
Cutting the Fabric
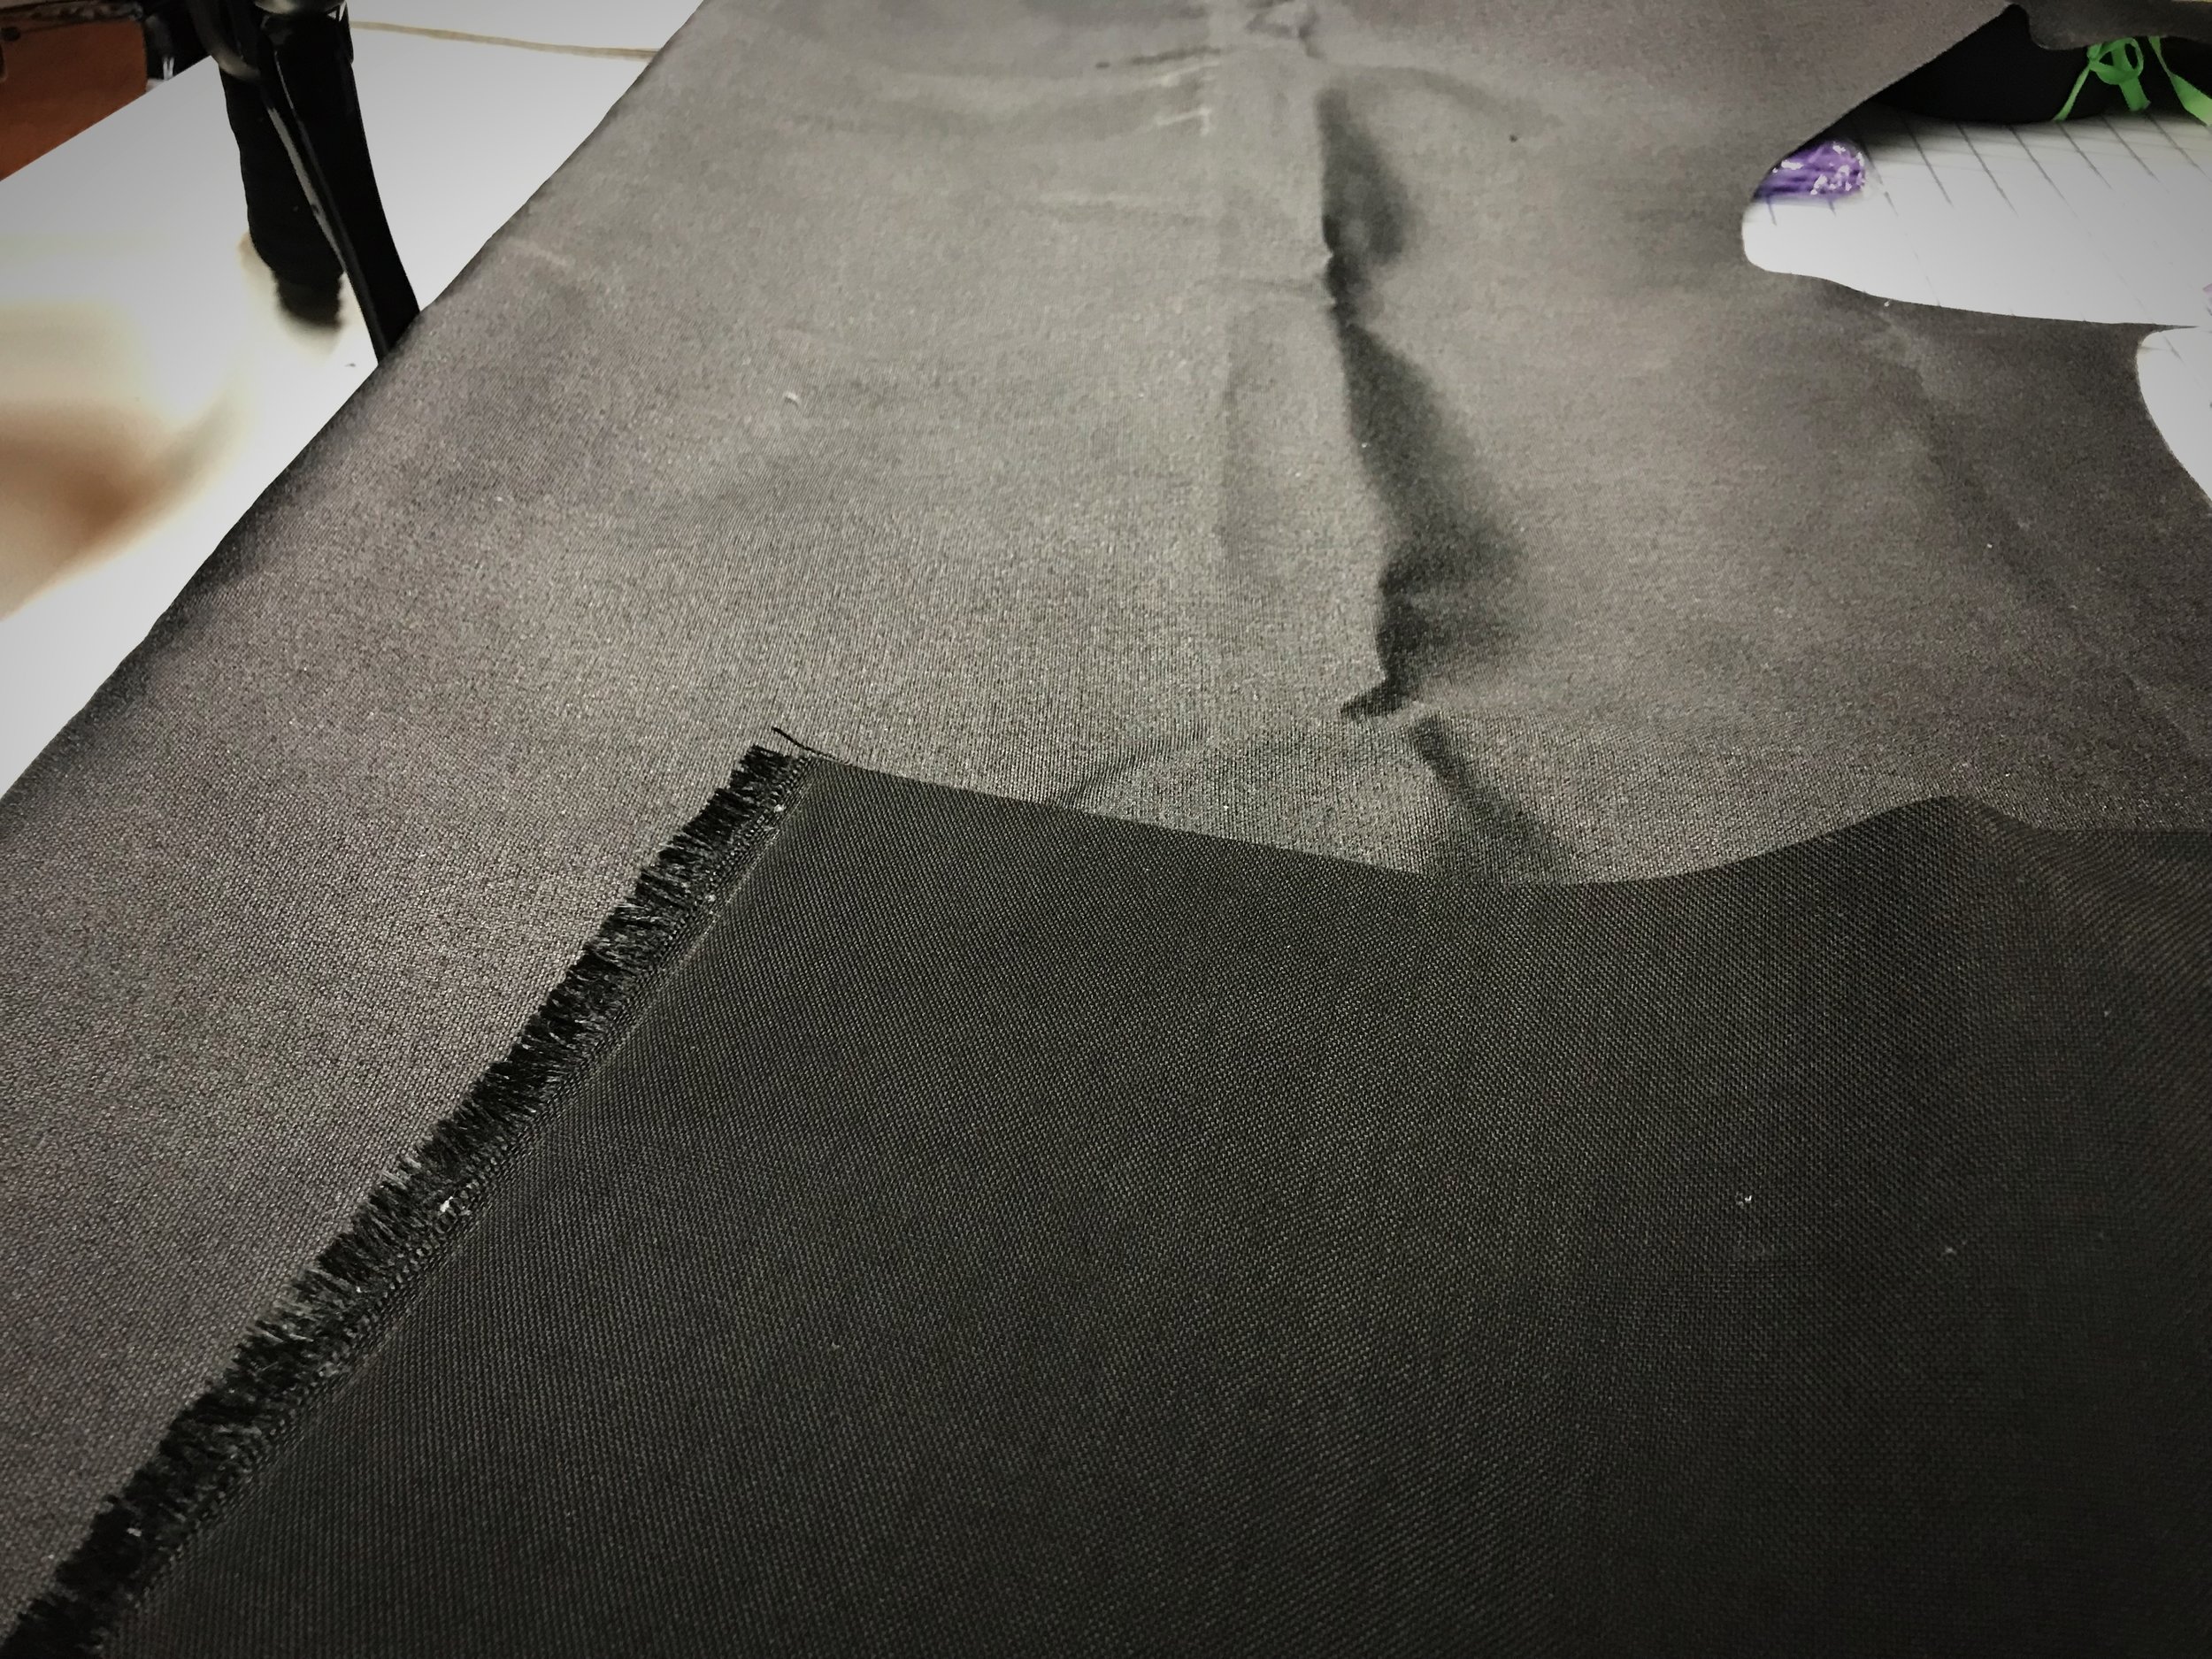
Trace the stencil you created onto your waterproof fabric using a chalk pencil. Since the waterproof fabric has two different sides (one with waterproof coating on it), now flip the stencil over and trace the mirror image of the first side panel on the fabric.

Trace the stencil you created onto your fabric, leaving a half inch buffer around the edge. On one side you will need to factor in extra space so that you have a seam allowance for your zipper.
Don’t forget to include the extra inch of fabric near the top of one of the panels for sewing the zipper in. This side panel will actually be two pieces of fabric. If you are right handed, you will probably want the zipper on the right. If you are left-handed, you may want it on the left. To add the zipper space, draw a line on the stencil where you want the center of the zipper to be. Then just trace the two sides of stencil, finishing the shapes with a yardstick.
After tracing the three side panel pieces, measure ½” out from the edge in about 15 places along the edge of the outline. Connect the dots to give you the buffer, or seam allowance, you need for the seams.
Next use a yardstick to measure out the long rectangular edge piece that will connect the two side panels. If you are tapering the bag in any places, you will need to include these tapers into the shape of this edge piece. Now add ½” around the edge of this piece again for your seams.

Use a yard stick or quilters ruler to measure out the rectangular piece or pieces for the edge of your bag.

Don’t forget to include the seam allowance around the edge so that you have room to sew.
Cut along the outside buffer line of all your pieces with a sharp scissors. You will have four pieces in total once you have cut them.
Finally cut the eight pieces of Velcro for attaching your pack to your frame. They should be about six inches long. You can trim them to the exact length you want them later. Mark on the inside of the fabric with the chalk pencil where you want the Velcro pieces to be.

We used eight pieces of velcro to attach the frame bag to Ian’s bike, but you can use however many works for your bike’s frame.

Cut your velcro pieces with a little extra. You can cut them to the exact length later when you fit your bag onto your bike.
Sewing the Zippered Panel
Begin by cutting your waterproof zipper to the length that you want it. You will want it to extend nearly to the edges of your bag, but not all the way to the edge. Finish either end of the zipper by cutting two thin strips of fabric the width of the zipper. These pieces will be used to make the zipper as long as your bag. Fold the pieces in half with the uncoated side facing out. Put each of these pieces on either end of the zipper with the folded ends facing in. Sew these pieces onto zipper in between the two folded sides. Now the strip for the zipper should be at least as long as your bag.

You will want to finish each end of the zipper with a small piece of folded over fabric so that it as long as the panel you are sewing it to.

The pieces of fabric on either side zipper will also provide a nice finished look to your bag.
Take the two pieces of the zippered panel that you cut earlier and put it on either side of your zipper piece. You will want to have a finished edge along your zipper so your fabric doesn’t fray. Fold over ¾ of an inch of fabric on either side of the zipper. Normally you would iron a seam to crease it before sewing it, but since this is waterproof fabric, you probably want to keep the iron away. Instead you can tape the edge or make a crease by weighing it down with something heavy overnight.

Ian had to weight these creases down overnight and tape them to get them to stay in place.

Creasing the edge of the fabric will give you a nice finish when you attach your zipper.
Sew the creased edge of both pieces onto your zipper. The panel with the zipper sewn in should be the same size as the other panel now. You can use pins to keep them together, but if you can try to avoid using too many, because you won’t want to put tiny pinholes in your waterproof zipper.
Attaching the Edge Piece and the Velcro
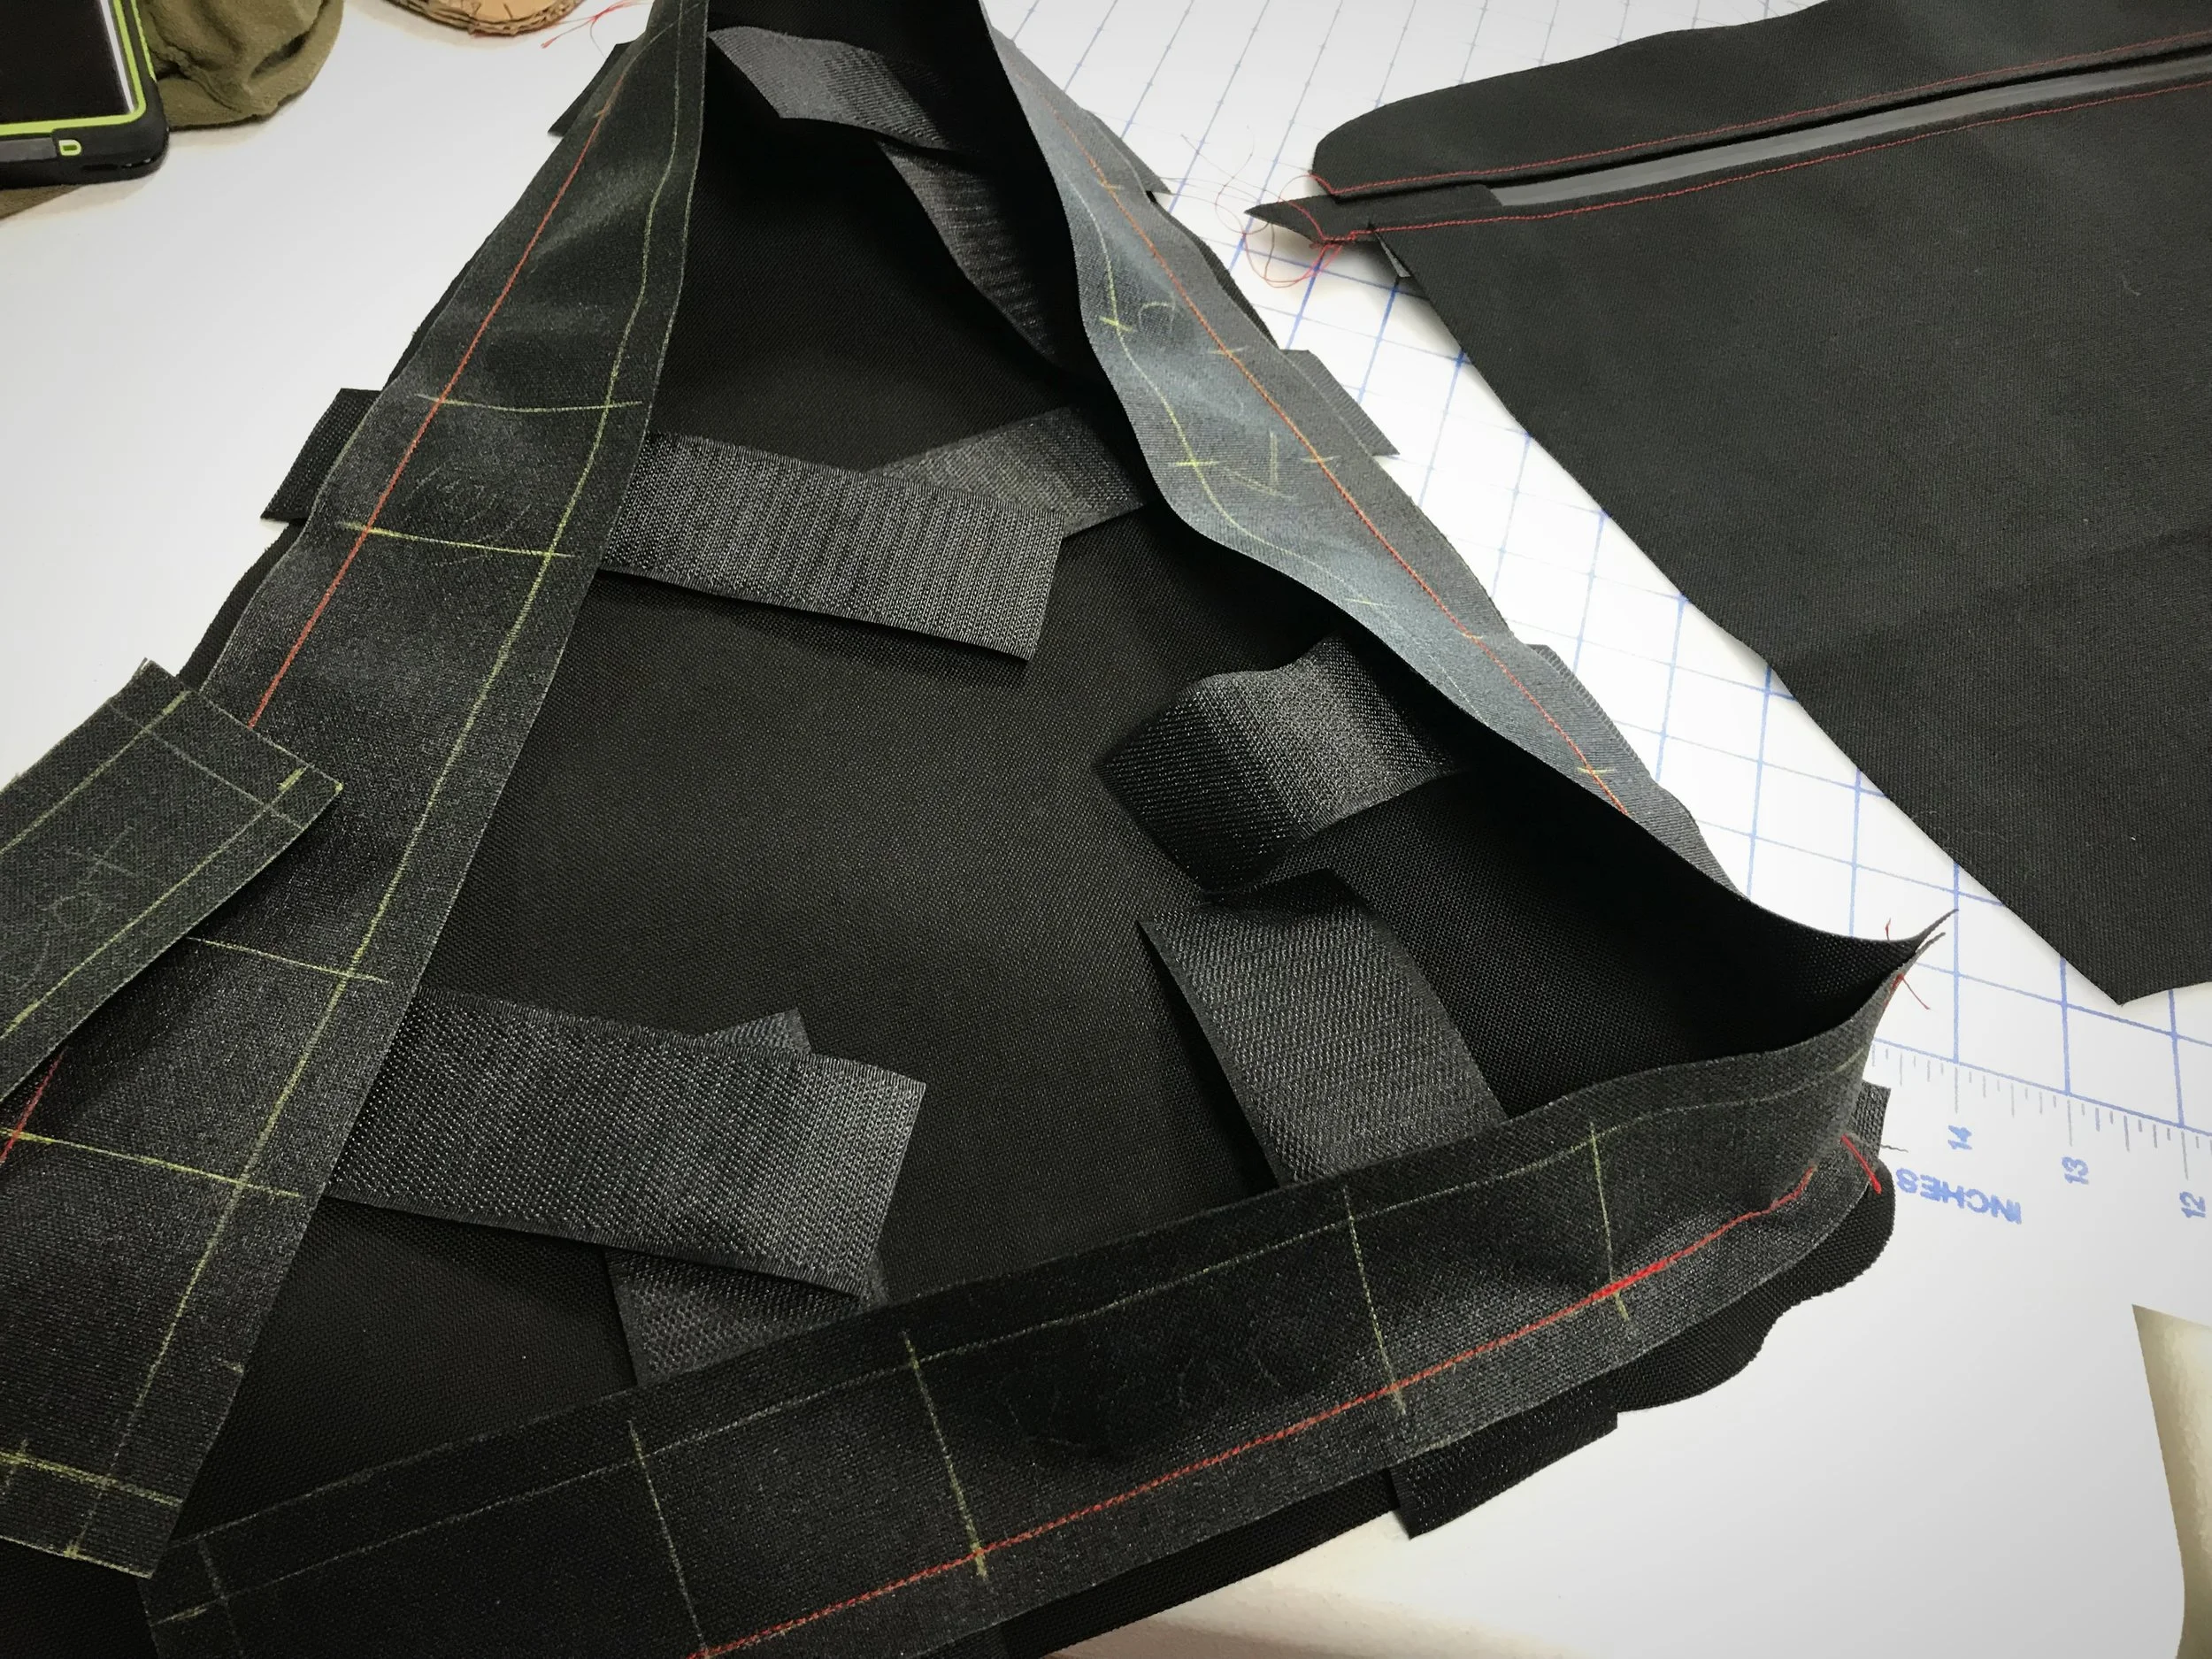
You will sew the bag inside out and then flip it right side out through the zipper when it’s finished. Line up the top edge of one of the side panels and the edge piece face to face with the waterproofed sides out. Place the one side of the Velcro in between the two pieces of fabric in the places you marked and pin them in place so they will be outside the bag once you flip it right side out. It doesn’t matter which way the Velcro is facing as long as the pieces you sew into the other side are facing the opposite direction so that they can stick together.

Mark on your fabric pieces where your velcro needs to be and then sew it on when you sew your side piece on.

Ian actually cut four separate side pieces for his bag, but later we decided it would have been easier to just use one long piece around the edge.
Start by sewing one side of your frame pack. Repin as you go around the edge of the bag trying to keep the fabric as lined up as possible, while sewing along the line that you traced. As you go around the corner, the fabric may want to wrinkle or fold, but try to keep the fabric as flat and lined up as possible. On the corners you can cut small relief cuts into the seam allowance so that it will bend more easily.
When you have sewn the edge piece all the way around, sew the two ends of the edge piece together. Now you have the structure of the bag sewn.
Sew edge piece on all the way around your first side panel, sewing the Velcro into the seam.

Using pins really helps to keep sewing along the line that you traced so that your bag turns out as the right shape.
Finishing the Bag
Now repeat the same process, sewing the other side panel on along with the other side of the Velcro, facing the opposite direction so it will stick to the other Velcro. It may be a bit harder to sew this side on, but just try to keep the edges of the fabric lined up and sew along the lines you drew.

After attaching the edge piece to the first panel, sew the second panel onto the edge pieces. Sewing around the final corner can be a bit tricky, so using a lot of pins will help you hold keep the bag in shape.
Just before you finish sewing the bag, unzip the zipper just a bit. Once you have finished sewing the second side panel on unzip the zipper all the way and flip the bag right side out. Attach the bag to your frame and cut the pieces of Velcro to the correct length so that they wrap all the way around your tubes, but without any extra hanging over.
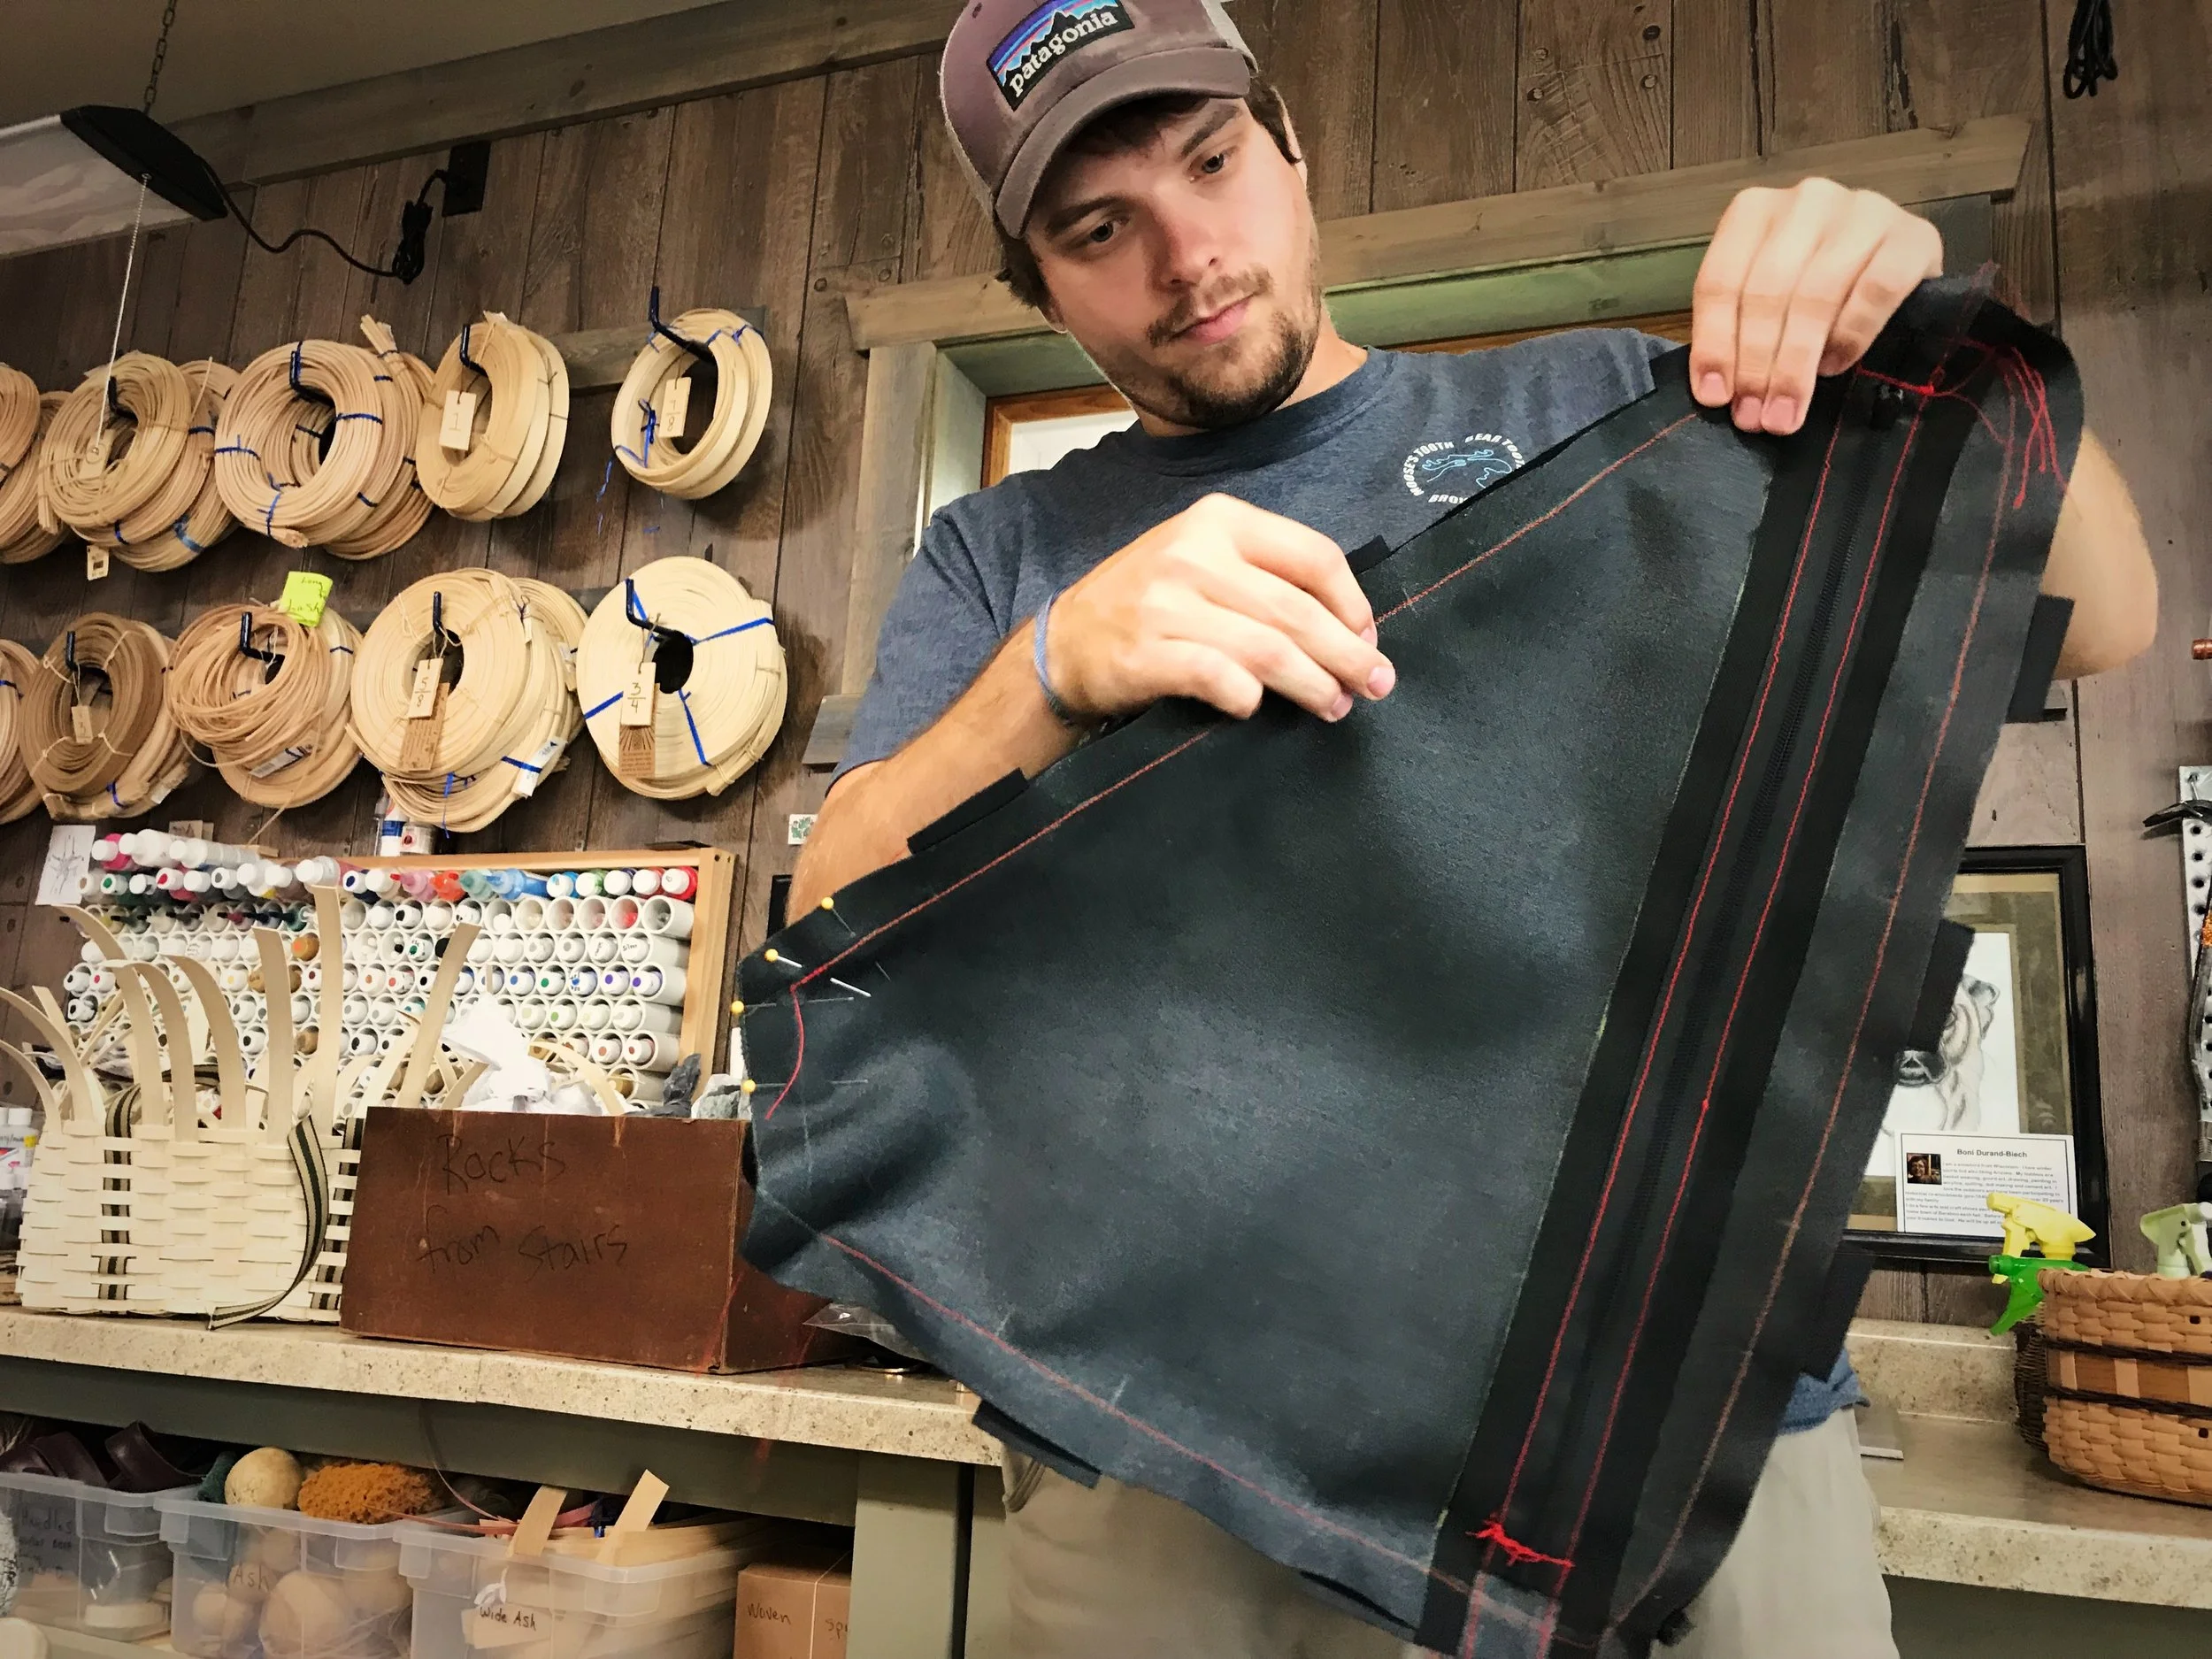
Don’t forget to unzip the the zipper a little bit before you finish sewing the bag up so that you can turn it rightside out.

Ian takes all the pins out of his frame pack before turning it right side out.
Congratulations! Your custom frame pack is finished! Now get out there and ride!
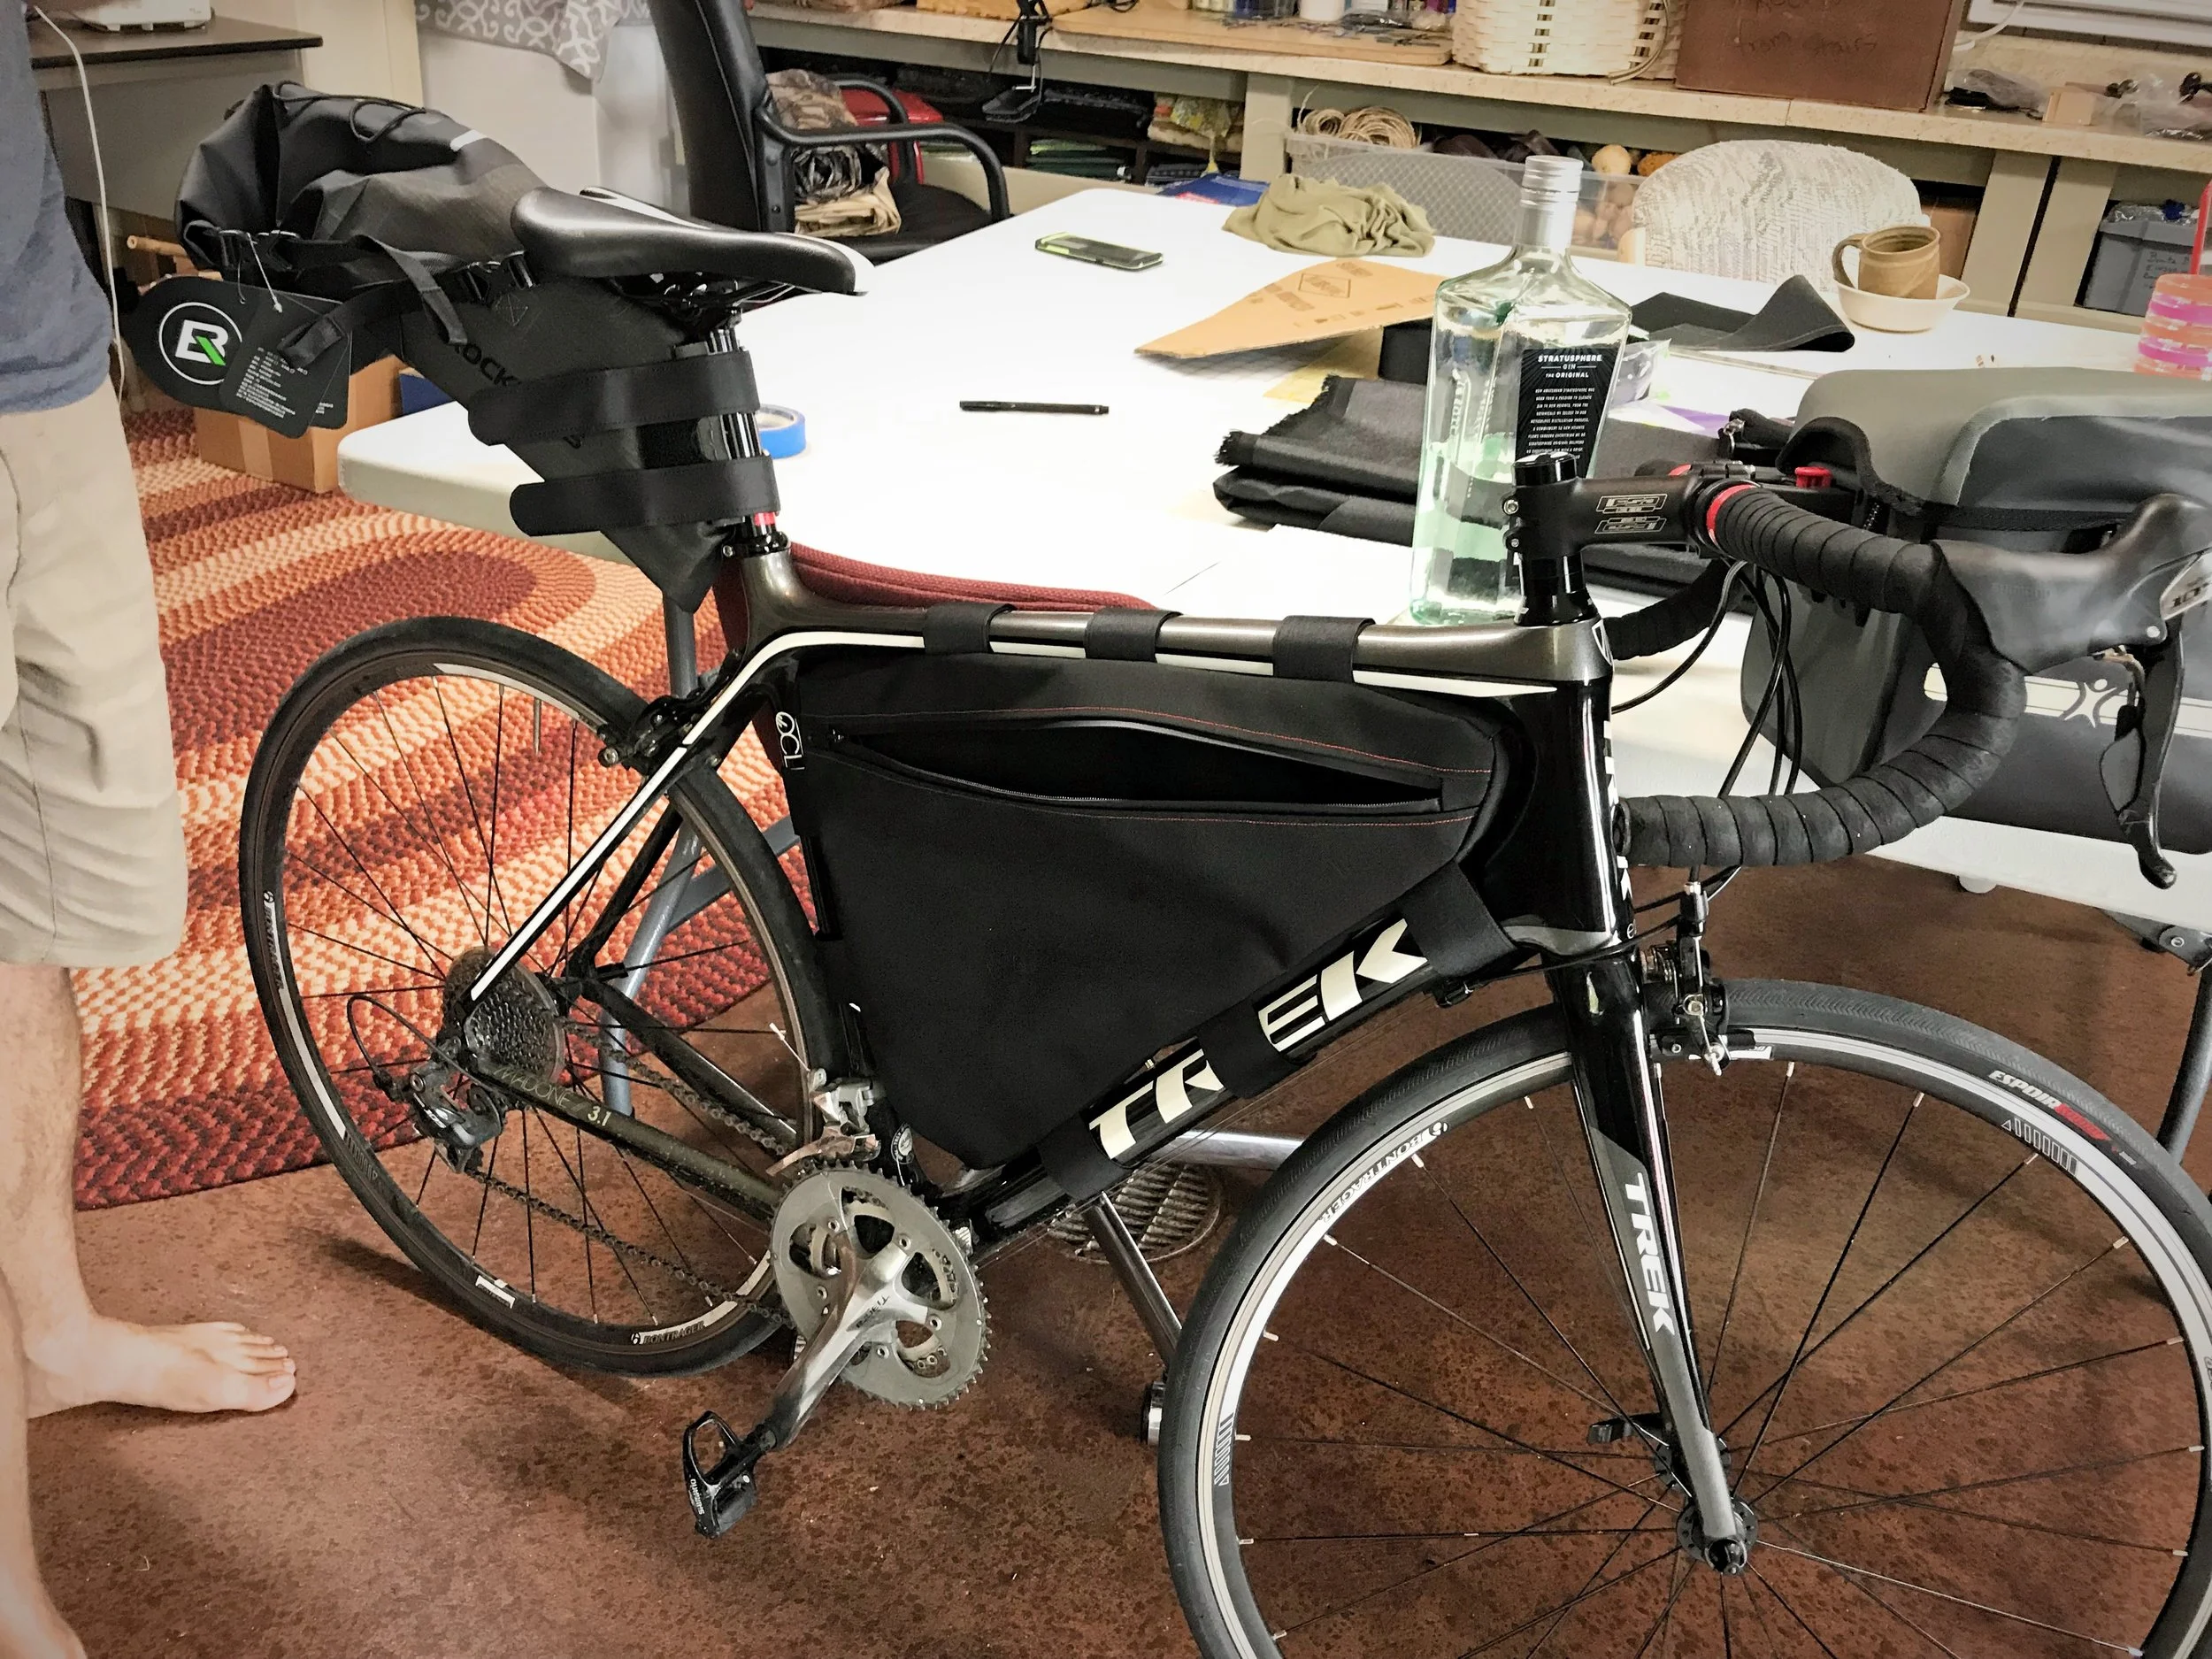
Ian’s finished frame pack fits his bike nearly perfectly, unlike any bag we could buy.
The DIY custom frame pack holds a surprising amount of gear and food for bike touring.
Posts Also Tagged:
Beer, Bikepacking, Bike Touring, Biking, Cycling Gear, Food, Frame Packs, Free Camping, Frugal Travel, Lake Superior, Lake Superior Circle Tour, Minimal Living, Panniers, Stashers, Travel
Share your tips and DIYs for bike touring or bike camping by leaving a comment for others below.